Chapter 6 ClipLink Operation
94
Chapter 6 ClipLink Operation
You can rewrite the reel number, Mark IN/OUT points
and OK/NG status included in the ClipLink log data.
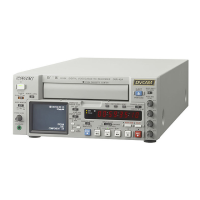
Changing the Reel Number
To change the reel number of the data item selected on
the ClipLink log data list, proceed as follows.
1
Using the jog/shuttle dial, move the selection mark
(asterisk) to the desired data item on the ClipLink
log data list.
2
Hold down the STOP button and press the SET
button.
The following setting screen appears.
3
Turn the jog/shuttle dial to select the digit to
change.
Rotating the jog/shuttle dial clockwise moves the
current digit position to the right, and
counterclockwise moves it to the left.
4
Hold down the search button and turn the jog/
shuttle dial to change the digit indicated by an
arrow (µ).
5
Repeat steps 3 and 4 until the settings for all digits
are complete.
6
When all digits have been set, hold down the
ENTRY/SHIFT button and press the TRIM+/
MARK button.
The reel number changes.
7
Hold down the STOP button and press the SET
button.
This returns to the original ClipLink log data list.
Note
If you carry out step 7 skipping step 6, the original
ClipLink log data list appears again on the monitor
and, in this case, the reel number is not rewritten.
Changing Mark IN/OUT Points
To change Mark IN/OUT points selected on the
ClipLink log data list, perform the following
procedure.
When Mark IN/OUT points are rewritten to the
cassette memory, the frame digits of the address data
are processed as follows.
For Mark IN point: Any frame-digits value is
counted as 1 second.
For Mark OUT point: Any frame-digits value is
ignored.
Rewriting ClipLink Log Data
Chapter 6 ClipLink Operation
Chapter 6 ClipLink Operation
95
1
Using the jog/shuttle dial, move the selection mark
(asterisk) to the desired data item on the ClipLink
log data list.
The Mark IN point address is stored as the IN
point and the Mark OUT point address is stored as
the OUT point. At the same time, IN button and
the OUT button light.
2
Perform either one of the following operations.
•Hold down the ENTRY/SHIFT button and press
the TRIM–/LIST button, exiting from the
ClipLink log data list.
•Cue up to the IN point or OUT point. (See page
93.)
3
Cue up to the tape position to be made the new
Mark IN point. (See the section “Finding Edit
Position — Search” on page 49.)
4
Holding down the IN button, press the ENTRY/
SHIFT button.
The ENTRY/SHIFT button lights and the Mark IN
point address changes.
5
Cue up to the tape position to be made the new
Mark OUT point. (See page 49.)
6
Holding down the OUT button, press the ENTRY/
SHIFT button.
The Mark OUT point address changes.
7
Holding down the ENTRY/SHIFT button, press
the TRIM–/LIST button to display the ClipLink
log data list, then make sure the selection mark
(asterisk) is kept at the position of the desired data
item selected in step 1.
If the selection mark (asterisk) is at a wrong
position
Using the jog/shuttle dial, return the selection mark
to the desired data item.
8
Holding down the ENTRY/SHIFT button, press
the TRIM+/MARK button.
The ENTRY/SHIFT button goes out and the Mark
IN point and Mark OUT point addresses are
rewritten.
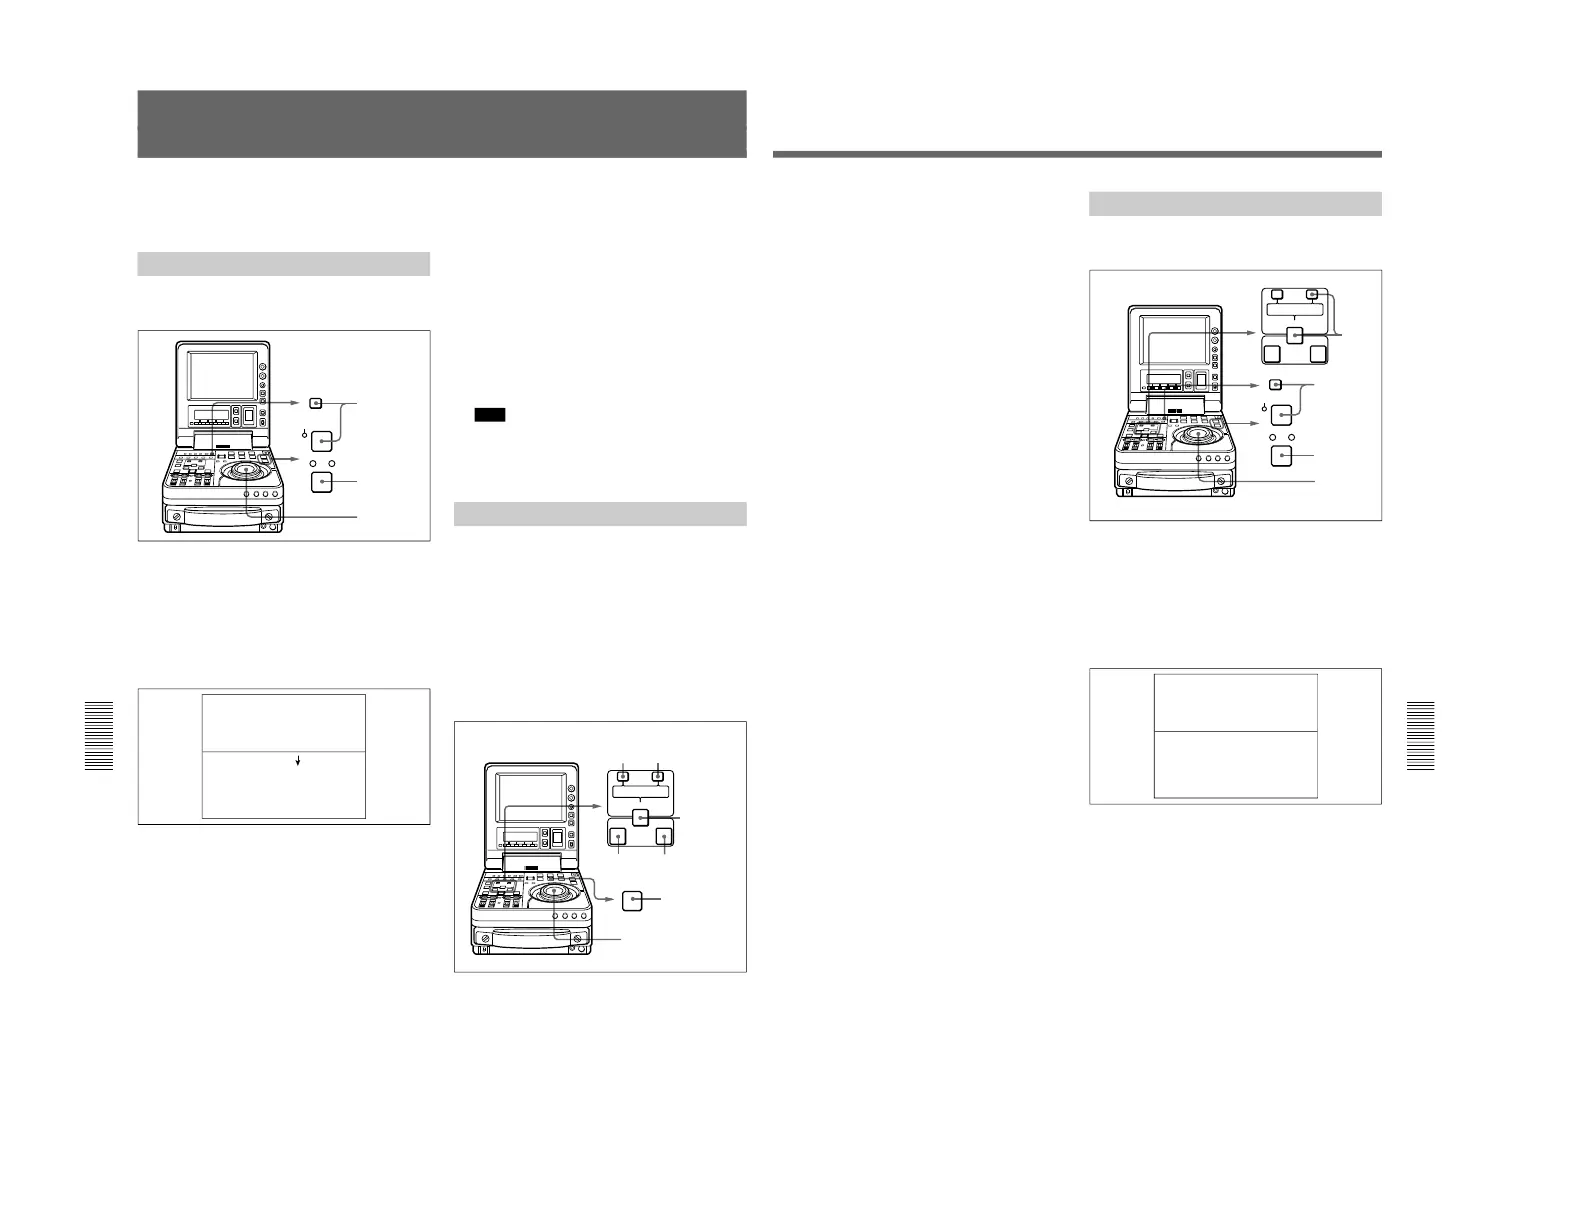
Changing the OK/NG Status
To change the OK/NG status of the data item selected
on the ClipLink log data list, proceed as follows.
1
Using the jog/shuttle dial, move the selection mark
(asterisk) to the desired data item on the ClipLink
log data list.
2
Hold down the STOP button and press the SET
button.
The following setting screen appears.
3
Hold down the search button and turn the jog/
shuttle dial to change the setting to OK or NG as
required.
4
Holding down the ENTRY/SHIFT button, press
the TRIM+/MARK button.
The OK/NG status is rewritten.
 Loading...