Selecting an Edit Mode
Chapter 3 Editing
50
Chapter 3 Editing
Setting Edit Points
In editing operations, there are four edit points: an IN point and an OUT
point on the recorder side, and an IN point and an OUT point on the player
side. As soon as you set three of the edit points, the fourth edit point is
calculated automatically.
In insert editing, you can set IN points for audio separately from the IN
points for video (audio split editing).
For details, see “To set audio IN points separately from video IN points (audio
split editing)” on page 51.
Note
If it is necessary to operate the buttons or dial on the player, set setup
menu item 006 “LOCAL FUNCTION ENABLE” to ENA beforehand (see
page 102).
Setting Edit Points
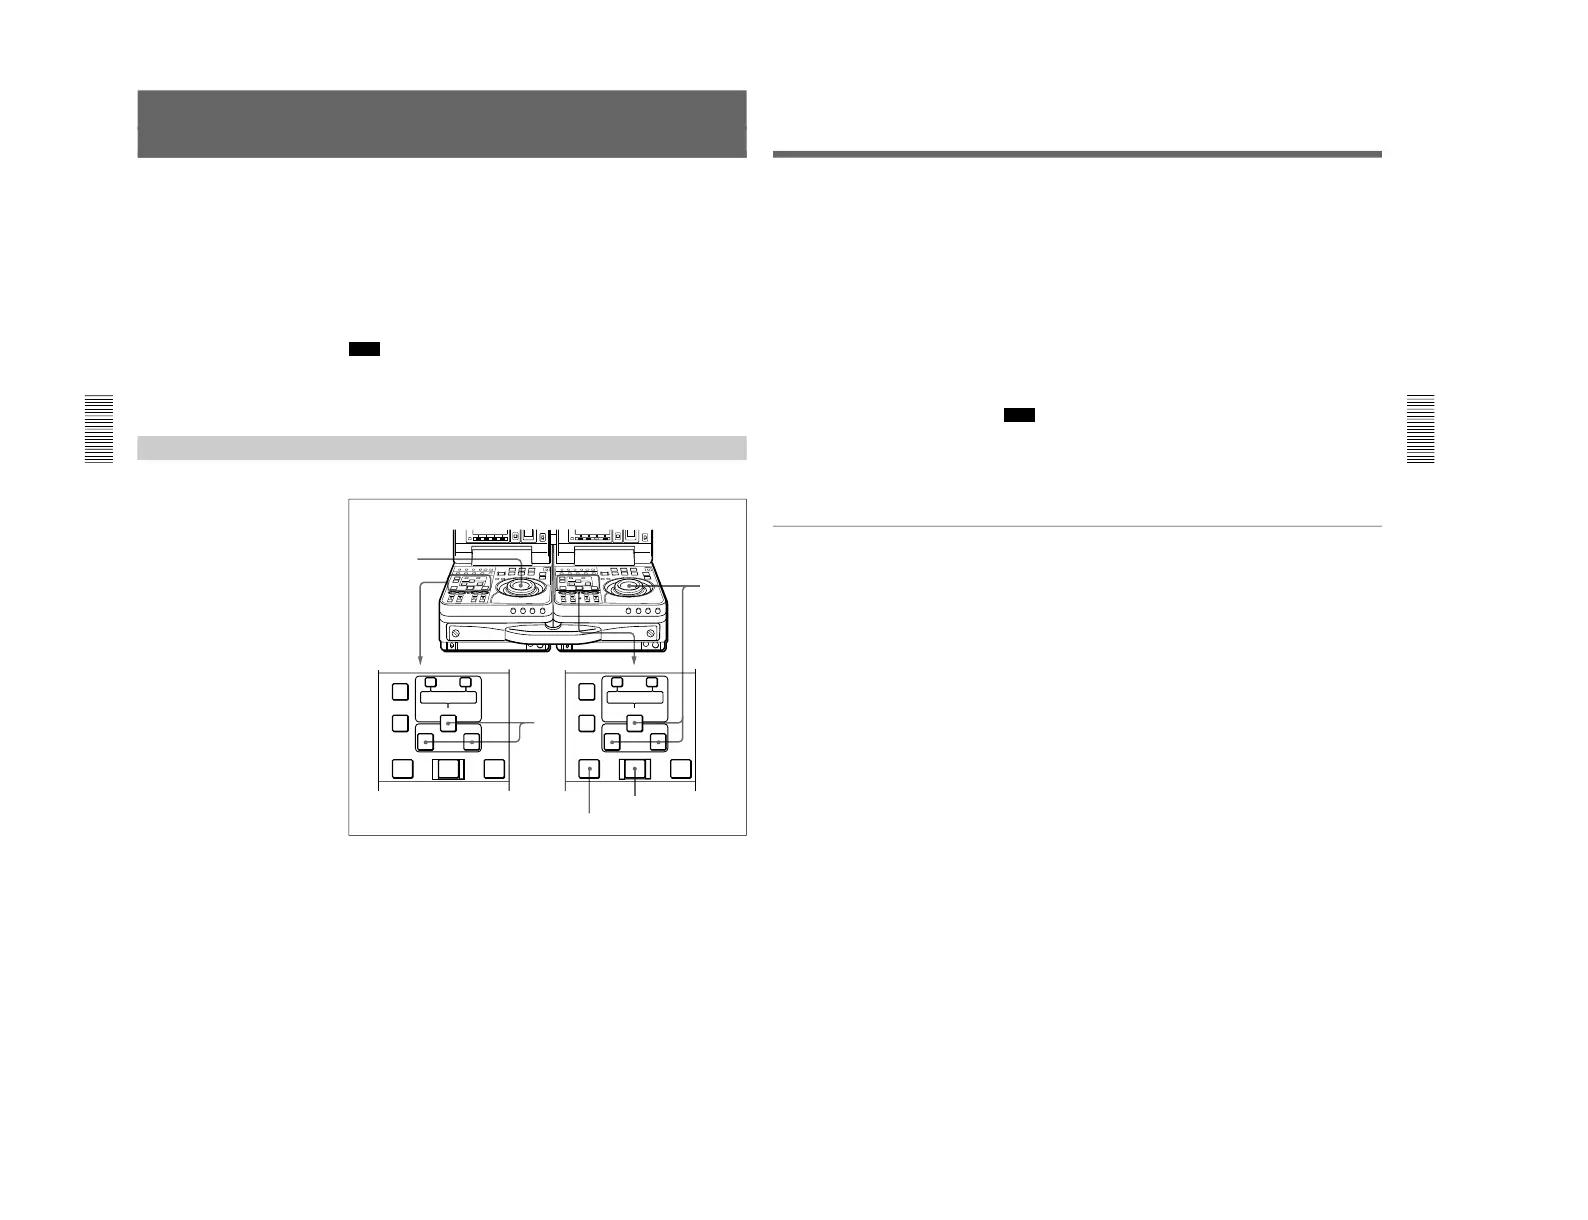
Proceed as follows to set edit points.
1
Rotate the player side jog or shuttle dial to find the player edit points.
For details about jog/shuttle dial operations, see “Finding Edit Points
— Search” on page 49.
PREVIEW button
Chapter 3 Editing
Chapter 3 Editing
51
2
Press the IN button together with the ENTRY/SHIFT button at the
point you want to set as the IN point. Press the OUT button together
with the ENTRY/SHIFT button at the point you want to set as the
OUT point.
The IN and OUT points are set, and the IN and OUT buttons light.
3
Repeat steps 1 and 2 on the recorder side to set the recorder IN or
OUT point.
As soon as you set three edit points on the player and recorder, the
PREVIEW button and the AUTO EDIT button light to indicate that
you can conduct a preview or edit.
Note
If you set four or more edit points on the player and recorder, the
DELETE button flashes. You cannot conduct an edit when the unit is
in this state. Delete the unneeded edit points.
For details, see “Modifying Edit Points” on page 55.
To set audio IN points separately from video IN points (audio split editing)
In insert editing, press the AUDIO IN button together with the ENTRY/
SHIFT button at the point you want to set as the audio IN point.
The audio IN point is set and the AUDIO IN button lights.
 Loading...