Chapter 9 Maintenance and Troubleshooting
128
Chapter 9 Maintenance and Troubleshooting
Digital hours meter
The digital hours meter can display seven items of
information in the sub LCD, in corresponding display
modes, about the operational history of the unit. Use it
as a guide in scheduling periodic maintenance.
For periodic maintenance, cousult your Sony dearler.
Display modes of the digital hours meter
H01: OPERATION mode
Displays the total number of hours the unit has been
powered on in units of 1 hour.
H02: DRUM RUNNING mode
Displays the total number of hours the drum has run
with tape threaded in units of 1 hour.
H03: TAPE RUNNING mode
Displays the total number of hours the unit has been in
fast forward, rewind, playback, search, recording or
editing (except for stop and still) mode in units of 1
hour.
H04: THREADING mode
Display the total number of times tape has been
threaded in the unit.
H12: DRUM RUNNING mode (resettable)
Same as H02 except that the count is resettable.
This can be used as a guide in determining when to
replace the drum.
H13: TAPE RUNNING mode (resettable)
Same as H03 except that the count is resettable.
This can be used as a guide in determining when to
replace such components as stationary heads and pinch
roller.
H14: THREADING mode (resettable)
Same as H04 except that the count is resettable.
This can be used as a guide in determining when to
replace, for example, the threading motor.
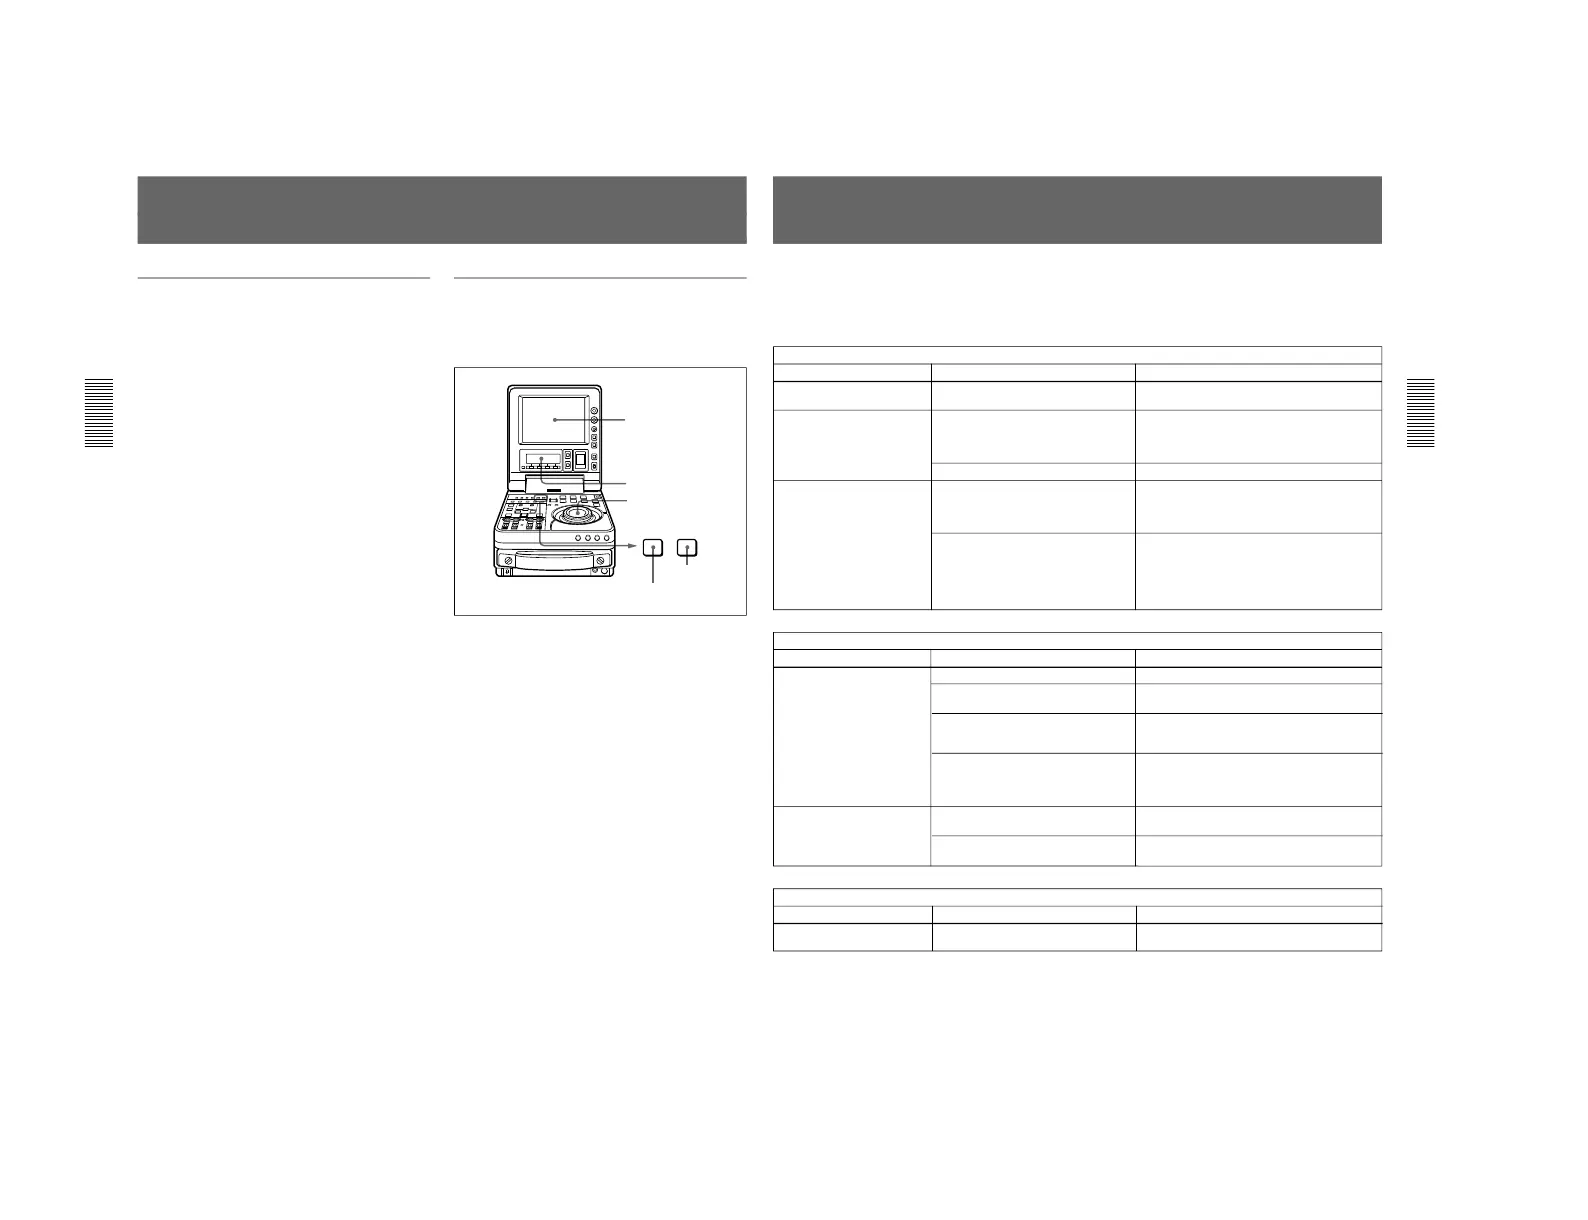
To display the hours meter
Press the MENU button, then turn the jog or shuttle
dial to display the required item in the LCD monitor
and sub LCD.
To exit from the hours meter
Press the MENU button or SET button.
Periodic Maintenance
Chapter 9 Maintenance and Troubleshooting
Chapter 9 Maintenance and Troubleshooting
129
Troubleshooting
If an alarm message appears on the monitor (this unit’s
LCD monitor or the video monitor connected to this
unit) or in the sub LCD, or if the unit appears to be
malfunctioning, please check the following before
contacting your Sony dealer.
Tape problems
Symptom Cause Remedy
Recording is not possible. The cassette’s REC/SAVE switch is set
to SAVE.
a)
Set the REC/SAVE switch to REC.
The unit’s tape transport
control buttons (PLAY, F FWD,
REW, etc.) do not work.
The REMOTE/LOCAL switch is set to
REMOTE and stepup menu item 006
(LOCAL FUNCTION ENABEL) is set to
ST&EJ or DIS.
a)
Set the REMOTE/LOCAL switch to LOCAL and
setup menu item 006 to ENA.
No cassette is loaded.
a)
Insert a cassette.
The NO EDIT indication
appears in the sub LCD.
The recording mode selected on this unit
does not coincides with that of the
loaded tape.
a)
• Set the unit for the same recording mode as with
the tape.
• When your current purpose is recording, you
can use the tape currently loaded in the unit.
The recording format of the currently
loaded tape is “DV”.
a)
• If you are using the unit for recording, you can
use the currently loaded tape.
• You can use the currently loaded tape as a
source tape for playback and editing.
• You cannot use the tape as a recording tape for
editing.
Time data problems
Symptom Cause Remedy
Cannot freely set the time
data’s initial value.
The TC INT/EXT switch is set to EXT
a)
. Set the TC INT/EXT switch to INT.
Sub LCD menu item PRESET/REGEN is
set to REGEN.
Set the sub LCD menu item PRESET/REGEN to
PRESET.
CNT is selected as the time data type to
be displayed. (The time data indication
CNT is displayed in tha sub LCD.)
a)
Press the COUNTER SELECT button to display
the time data indication TC or UB.
The REMOTE/LOCAL switch is set to
REMOTE and setup menu item 006
(LOCAL FUNCTION ENABLE) is set to
ST&EJ or DIS.
a)
Set the REMOTE/LOCAL switch to LOCAL and
setup menu item 006 to ENA.
Input problems
Symptom Cause Remedy
It is not possible to record an
SDTI signal.
No SDTI signal is input to the unit.
a)
Connect an SDTI (QSDI) signal to the SDTI
(QSDI) IN connector.
a) In these states, alarm messages appear on the monitor screen
and in the sub LCD.
The tape is running, but the
time data indication is not
shown in the sub LCD.
The HOLD button on the display panel
has been pressed.
Press the button once again to exit the time code
preset mode.
The time data indication UB is displayed
in the sub LCD.
Press the COUNTER SELECT button to display
the time data indication CNT or TC.