Operating the System Using the GUI Control Software
Operation 6-9
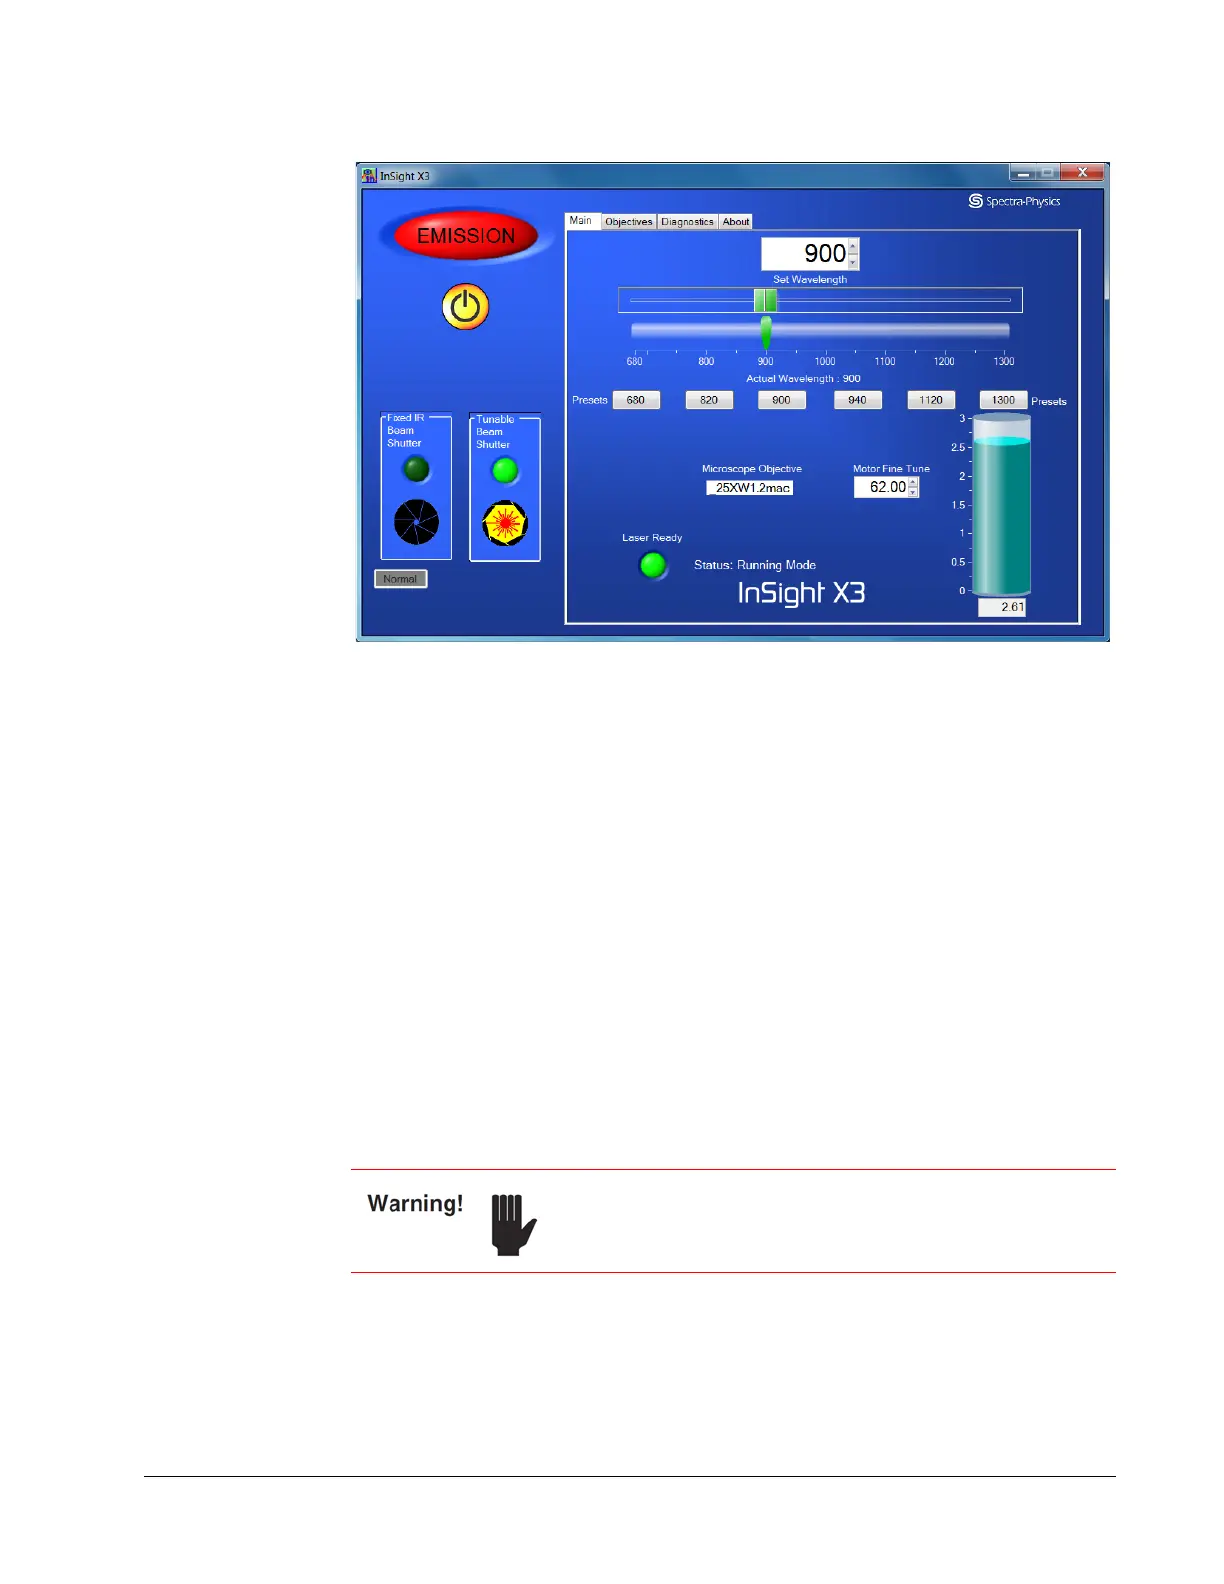
Figure 6-5 Main tab display showing laser on and shutter open
NOTE: The left portion of the display (the section with the emission indicator and
the on/off and tunable beam shutter controls) is always displayed no matter
which tab is selected on the right.
Laser power climbs gradually and the system enters pulsing (mode-locked)
operation.
8. Set the desired wavelength by moving the upper horizontal slider, then wait for the
lower Actual Wavelength slider to move to that same position.
9. Open the shutter. Click and hold down the appropriate aperture icon until the icon
opens (turns yellow, about 3 seconds).
When the shutter opens, laser emission is present.
Output power should reach maximum output within 30 minutes.
This completes the turn on sequence.
Turning Off the System
1. To temporarily block laser output without turning off the laser, click the red and
yellow tunable beam shutter or fixed IR beam shutter aperture icon (
Figure 6-6).
The shutter closes, emission is blocked, and the aperture icon closes (turns black).
However, the emission lights remain on to warn of possible emission (the laser
diode is still on).
To shut down the laser, it is imperative that you follow the
shutdown procedure outlined on
page 6-4 to ensure
trouble-free operation.
 Loading...