Removing and Replacing a CPU-I/O Enclosure
Installing and Replacing System Components
5-13
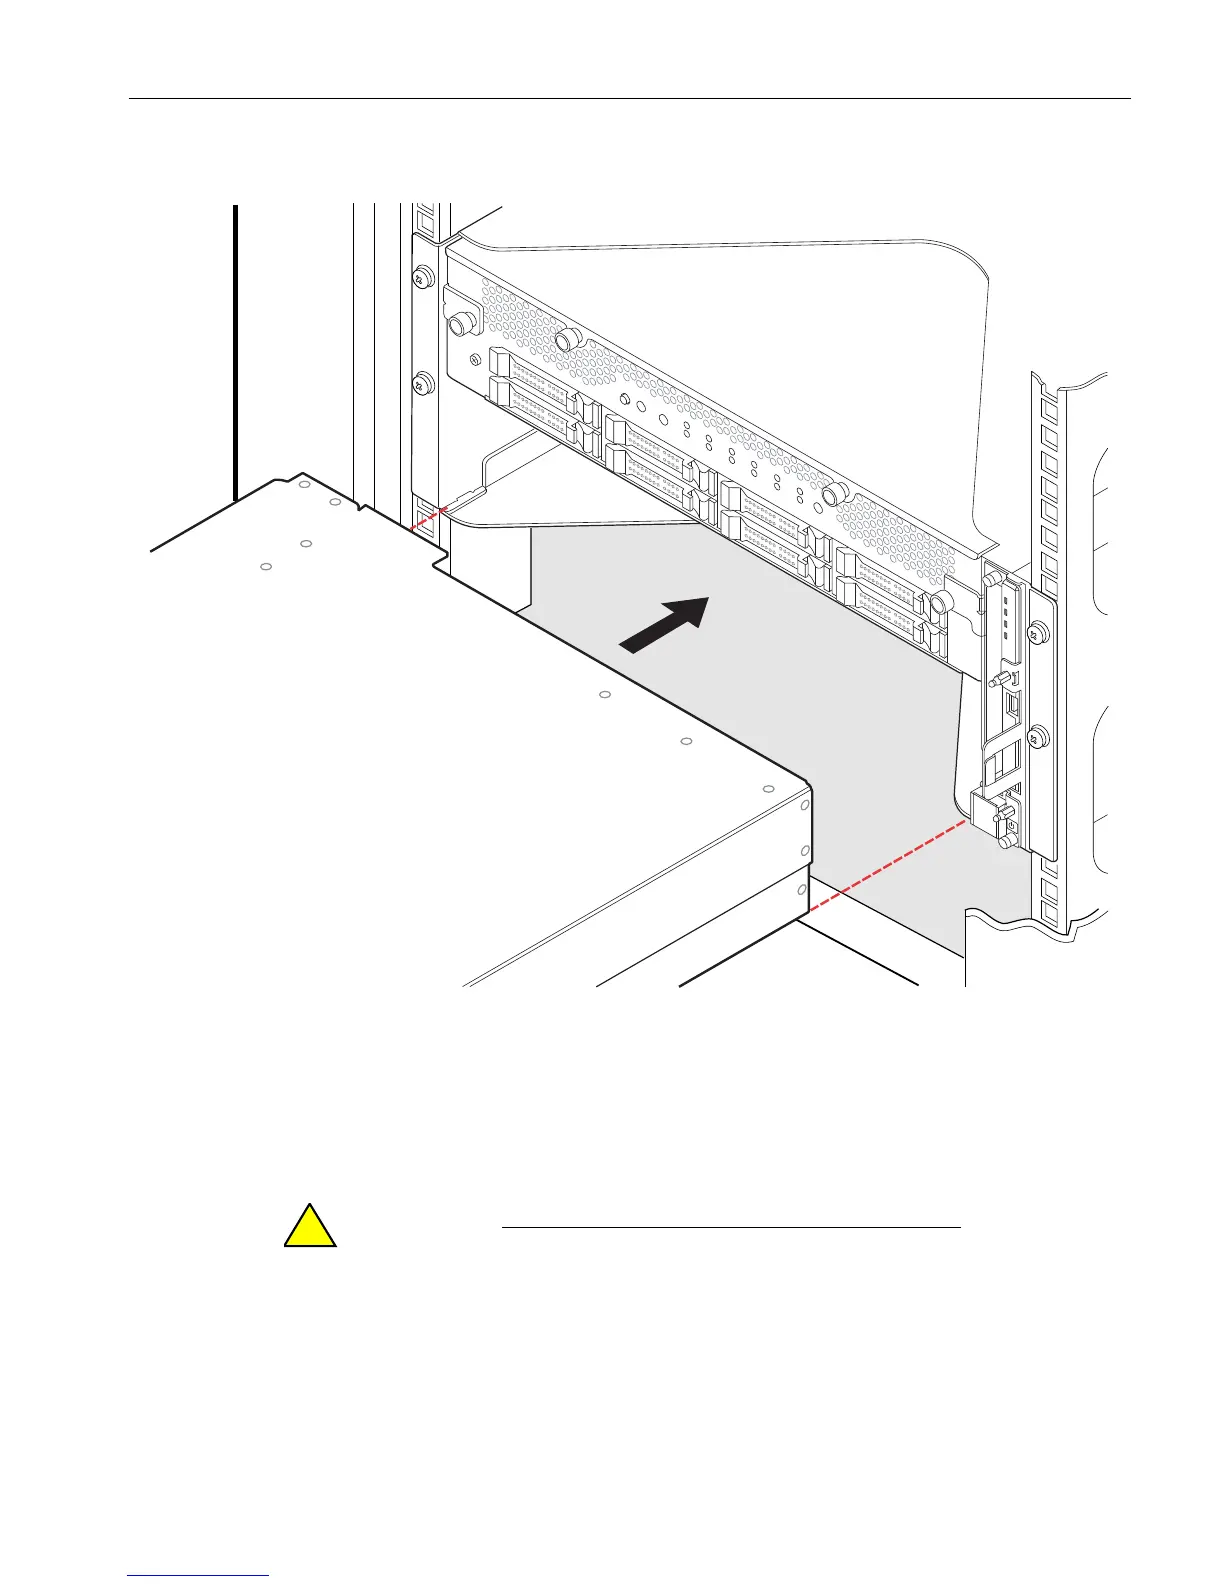
Figure 5-6. Aligning the CPU-I/O Enclosure
2. With the release levers in the open position (front end of lever pushed down), slide
the enclosure almost all the way into its opening.
3. Position the lower ends of the release levers (number 1 in Figure 5-7) over the
inside edge of the positioning pins (number 2), and push the release levers into
their fully-closed position to push the enclosure into place.
Be sure to press the release levers flush against the front
of the system before tightening the thumbscrews;
otherwise, the thumbscrew threads will be stripped. You
should feel two points of resistance as you press the
release levers into the fully flush position.