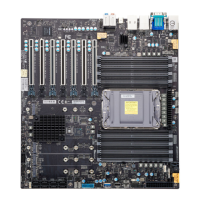
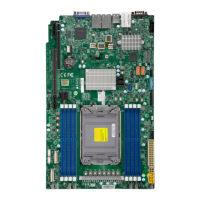
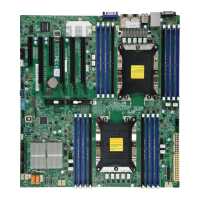
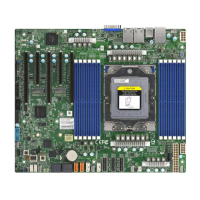
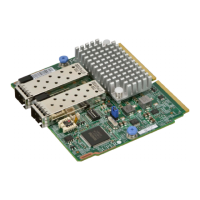
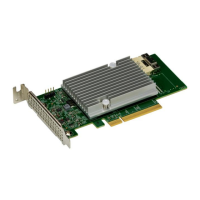
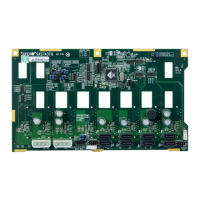
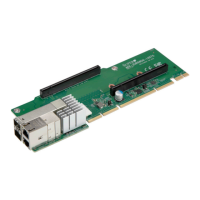
Note: Images displayed are for illustration purposes only. The components installed in
your system may or may not look exactly the same as the graphics shown in the
manual.
2. Locate the mounting holes on the motherboard. See Motherboard Installation for the
location.
Figure 2-3. Locate the Mounting Holes
3. Locate the matching mounting holes on the chassis. Align the mounting holes on the
motherboard against the mounting holes on the chassis.
Figure 2-4. Align the Mounting Holes
4. Install standoffs in the chassis as needed.
5. Install the motherboard into the chassis carefully to avoid damaging other motherboard
components.
6. Insert pan head #6 screws into the mounting holes on the motherboard and the matching
mounting holes on the chassis.
7. Make sure that the motherboard is securely placed in the chassis.
35
X14SAE/X14SAE-F: Component Installation

 Loading...

