CHAPTER THREE - OPERATION
26
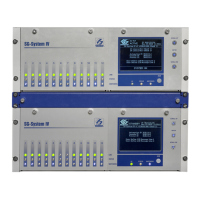
SG-System I Operating Manual
3
• IP Accounts
NOTE: The number in parentheses represents the number of times the value has been changed or the size of a particular
table.
To return to System Information while viewing any of the above, press the Up and Down buttons simultaneously. Pressing the Up and Down
buttoms once more will take you to the Top Level menu.
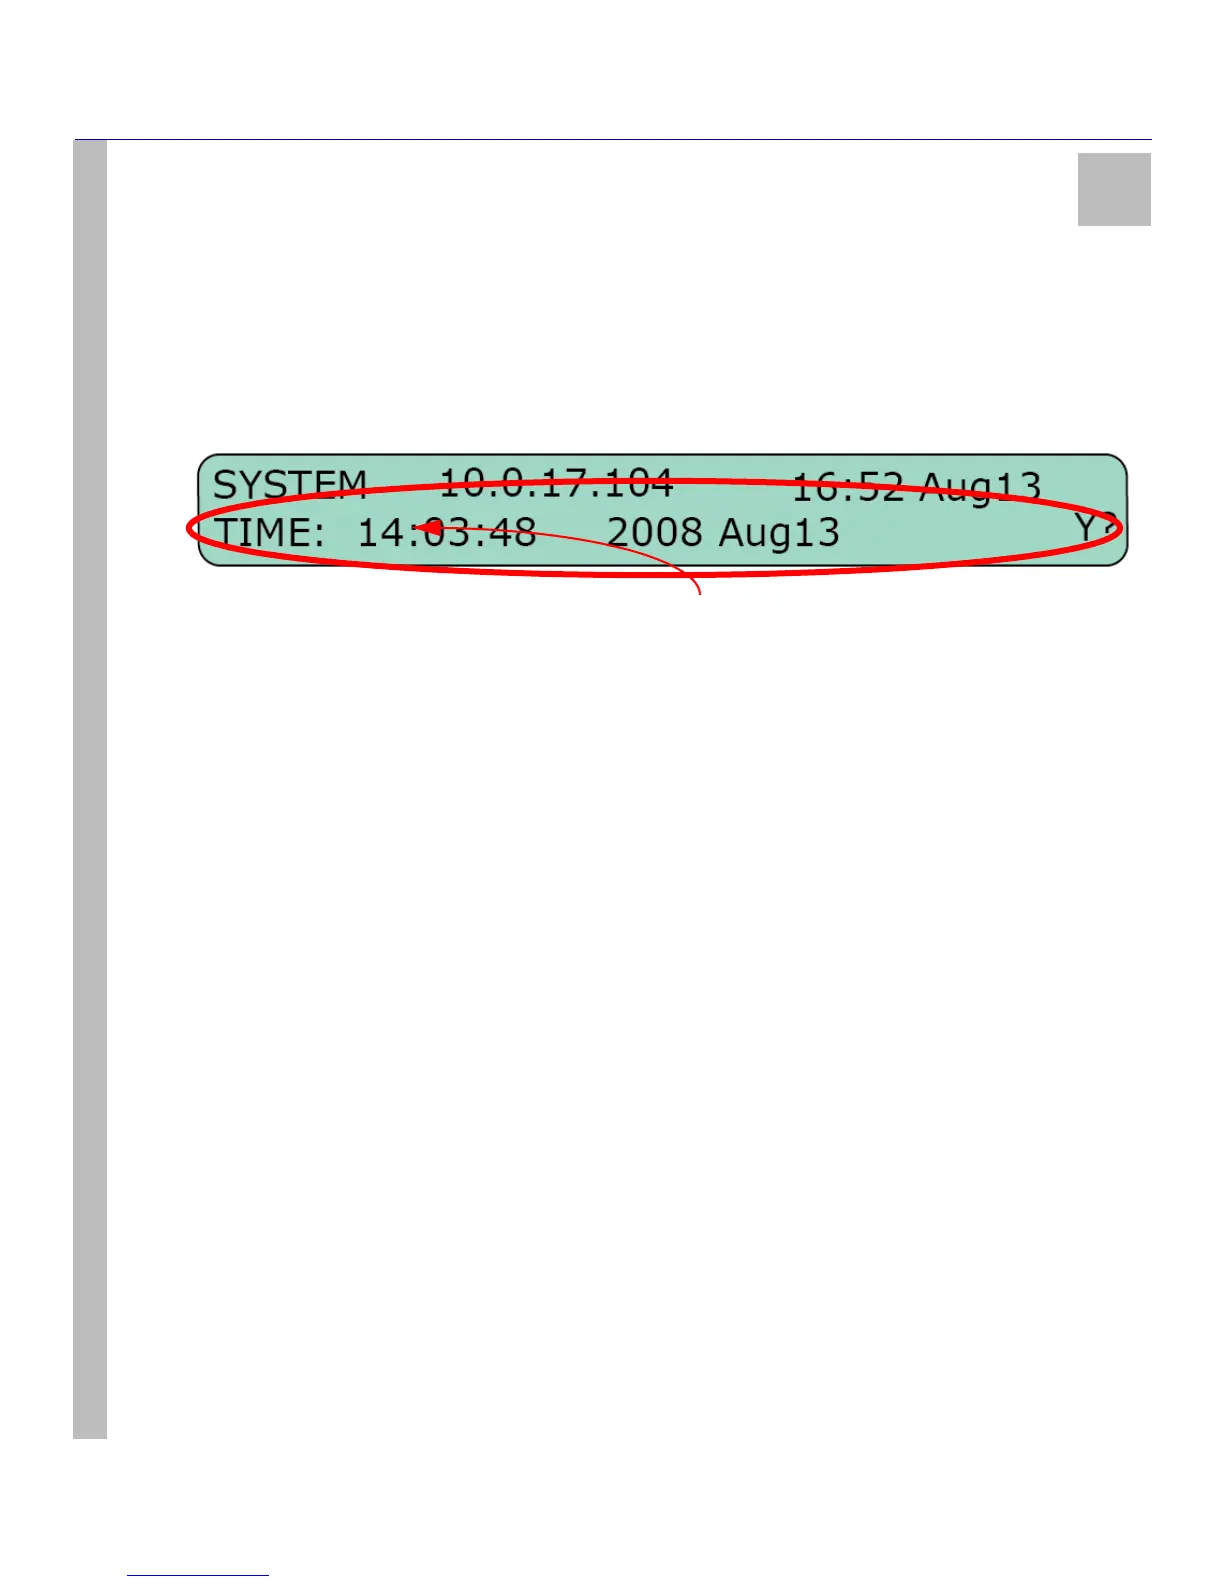
Change Date and Time
Having chosen to enter Change Date and Time by pressing the Enter button, the unit’s LCD appears as below:
1. Changes to the time and date begin at the far left of the screen with the hour, and proceed to the right. The Up button will increase the
value of the digit; the Down button will decrease its value.
2. Having made a change, press the Enter button to advance to the next digit on the right. Pressing the Enter button without having
made any changes will also move the cursor to the next digit on the right.
3. Once the Day has been entered and the Enter button pressed, the user will be asked by the SG-System I to confirm the changes: N?
for no; Y? for yes. Use the Up and Down buttons to navigate between yes and no.
4. Press the Enter button to save your changes.
NOTE: At any point before the time and date have been saved, pressing the Up and Down buttons simultane-
ously will cancel any unsaved changes and return the user to the System Functions Menu.
Default SG-System I
When Default SG-System I is selected, the LCD will prompt the user to confirm that the entire system is to be returned to its default values.
Selecting Y? for yes will default the system; selecting N? for no will leave system settings as they are. Either of the Up and Down buttons
can be used to cycle between answers.
Reset SG-System I
When Default SG-System I is selected, the LCD will prompt the user to confirm that the entire system is to be reset. This action may be
taken to enable a programming change, or to restore an ailing system to working order. Selecting Y? for yes will reset the system; selecting
N? for no will leave the system as it is. Either of the Up and Down buttons can be used to cycle between answers.
Visual Indicator Test
Selecting the Visual Indicator Test turns on all of the LCD pixels and the unit’s buzzer, to confirm that they are in good working order.
Exit Menu
When in Top Level Menu > Exit Menu, pressing the Enter button will take the user back one level to the Base (Active mode or Manual
mode) level. When in System Functions Menu > Exit Menu, pressing the Enter button will take the user back one level to Top L e ve l
Menu > System Functions. While in System Functions, navigate to Exit Programming. Pressing the Enter button will take the user back to
the Base (Active mode or Manual mode) level.
Miscellaneous LED Indicators
View Trouble
To enter View Trouble, the unit must first be in Active mode or Manual mode, and have no events to be acknowledged in Manual mode.
Press the Up and Down buttons simultaneously to enter View Trouble. Once there, the Up and Down buttons can be used to review the list of