SERVICE 5-8 Manual 0-4691
5
G. Torch will not pilot; no gas flow; AC indicator ON, GAS indicator ON, DC indicator ON
1. Start cartridge missing from torch
a. Shut off power supply. Remove shield cup, install start cartridge. Reinstall torch tip and shield cup. Turn power
supply ON / OFF switch to ON (up).
2. Shield cup is loose on torch
a. Check shield cup; tighten if necessary.
NOTE
When operating the torch in a normal condition, a small amount of gas vents through the gap between the shield cup
and torch head. Do not attempt to over tighten the shield cup as irreparable damage to internal components may result.
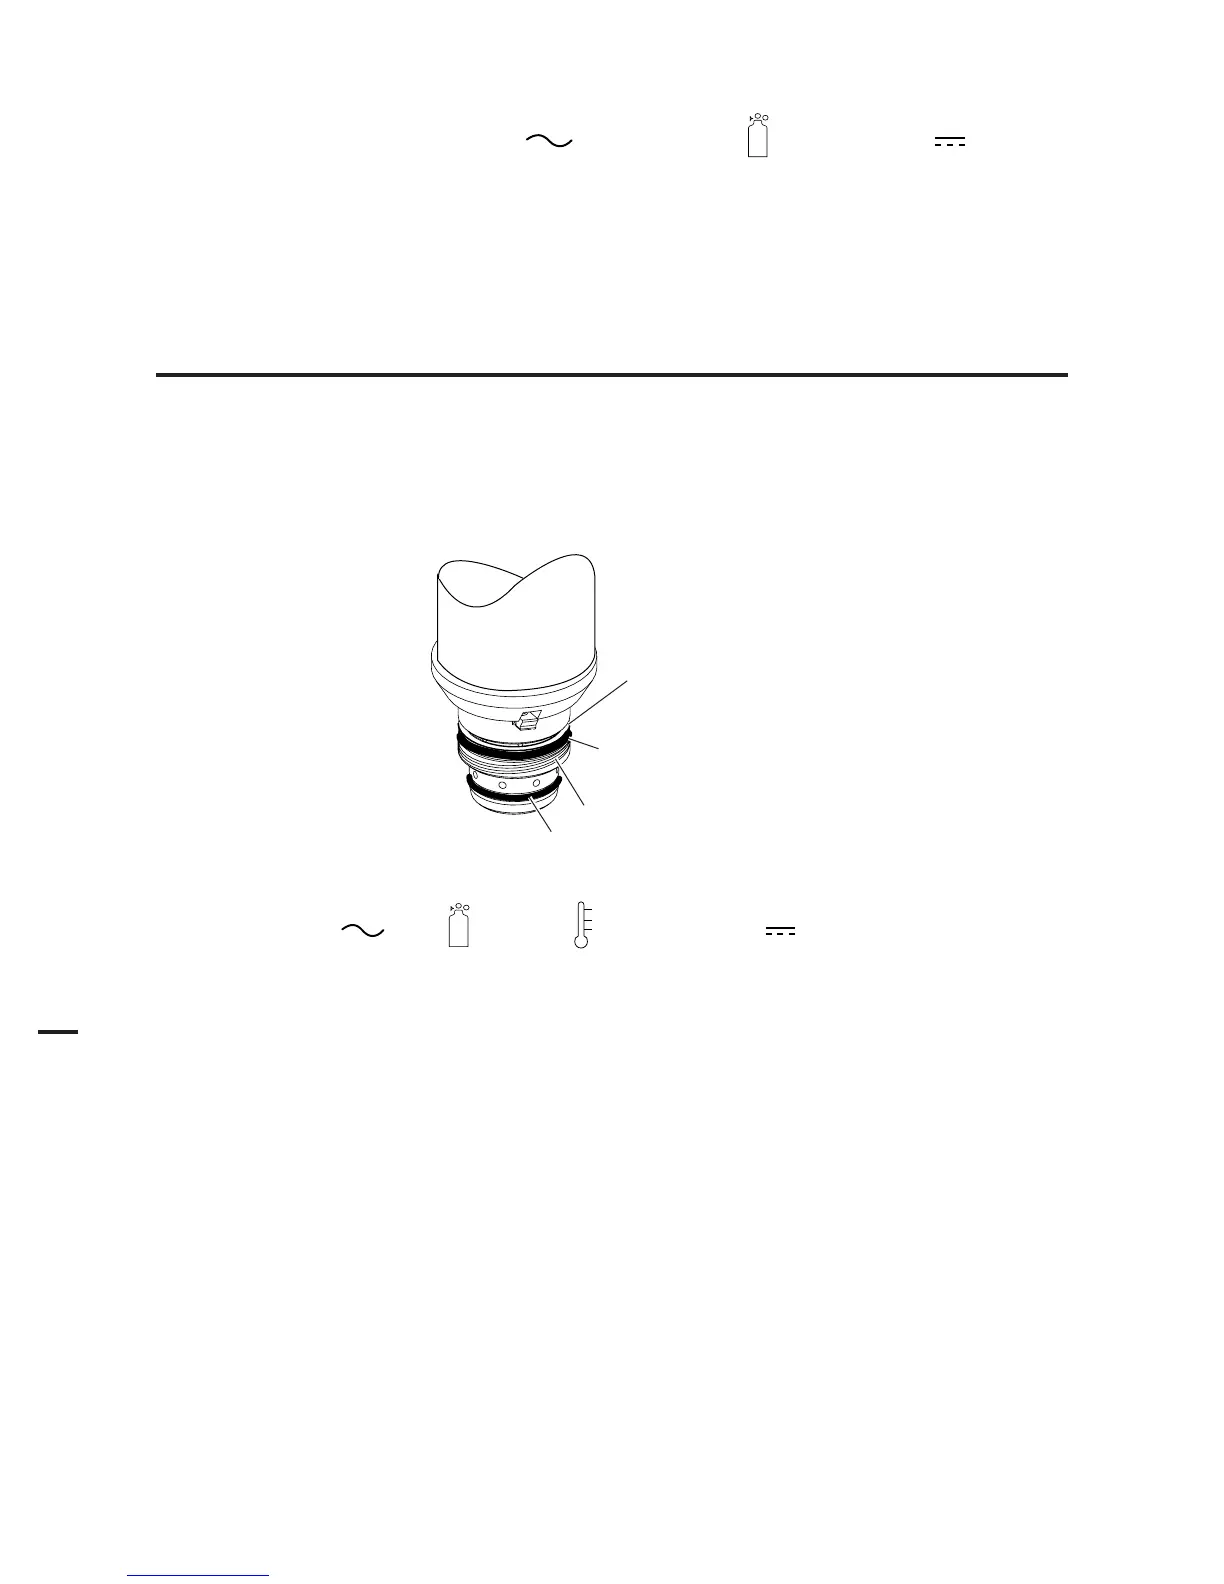
3. Upper O-ring on torch head is in wrong position.
a. Remove shield cup from torch; check position of upper O-ring. Correct if necessary.
Upper Groove
with Vent Holes
Must Remain Open
Threads
Upper O-Ring
in Correct Groove
Lower O-Ring
Art # A-03725
H. Torch will not pilot; AC , GAS , and TEMP indicators ON, DC indicator OFF
1. Air flow blocked
a. Check for blocked air flow around the unit and correct condition.
2. Unit is overheated
a. Let unit cool down for at least 5 minutes. Make sure the unit has not been operated beyond Duty Cycle limit. Refer
to duty cycle data in Section 2.
3. Input line voltage is low
a. Check and connect to proper input power line.