81
BASIC OPERATIONS
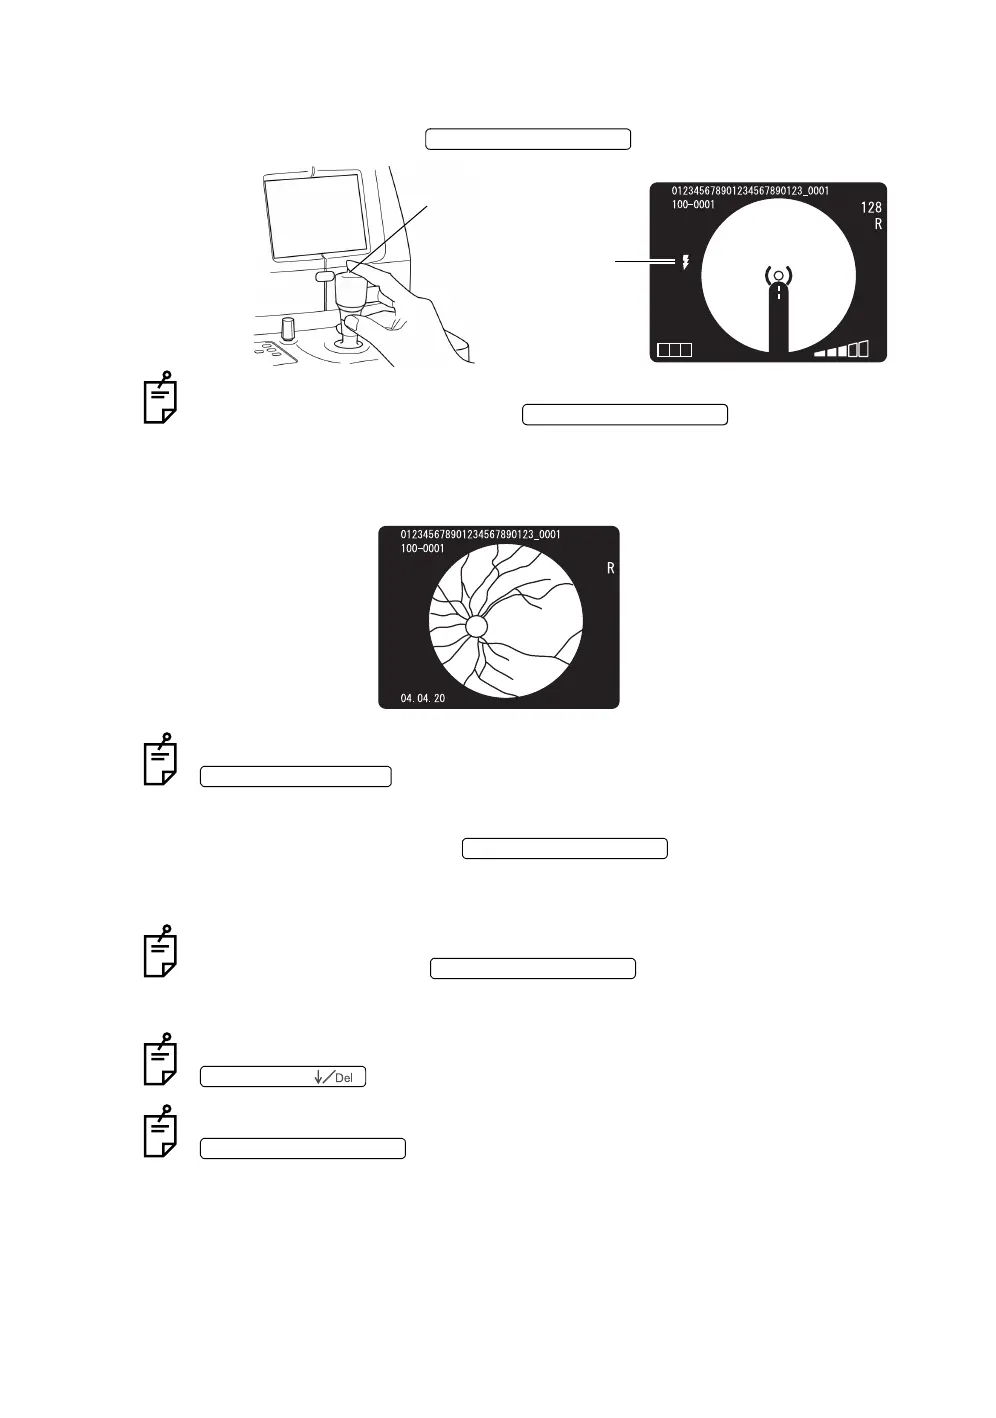
11 Make sure that the split line is aligned with the bright spot on the color video
monitor. Press the when the patient does not wink.
When the xenon charging display flickers on the color video monitor, photography
is not possible even by pressing the .
12 When the captured image is displayed on the color video monitor, it is
stored on the CompactFlash
®
card.
If the light intensity of the captured image is not correct, adjust it with the
and repeat the alignment and photography procedure.
13 To return to the Monitor screen from the photography image display on the color
video monitor, press the again. (TYPE1 MODE)
14 Take a picture by repeating Procedure 1~13 if necessary.
When the xenon charging display flickers on the color video monitor, photography
is not possible even if the is pressed.
It takes several seconds to write data on the CompactFlash
®
card. Wait until writ-
ing is finished to take the next picture.
If the captured image is not good, it can be deleted by pressing the
.
When the captured image is displayed on the color video monitor and the
is pressed to return to the Monitor screen, the captured
image can be stored on the CompactFlash
®
card. (TYPE2 MODE) The captured
image can be displayed only while data is being written on the CompactFlash
®
card. (TYPE3 MODE).
To alter to these modes, contact your dealer or TOPCON (see the back cover).
PHOTOGRAPHY SWITCH
Photography switch
T CN
Xenon charging
display
PHOTOGRAPHY SWITCH
FLASH LEVEL SWITCH
PHOTOGRAPHY SWITCH
PHOTOGRAPHY SWITCH
No. SWITCH (
PHOTOGRAPHY SWITCH
 Loading...