58
INITIAL SETTING
SETTING THE BUILT-IN CCD CAMERA
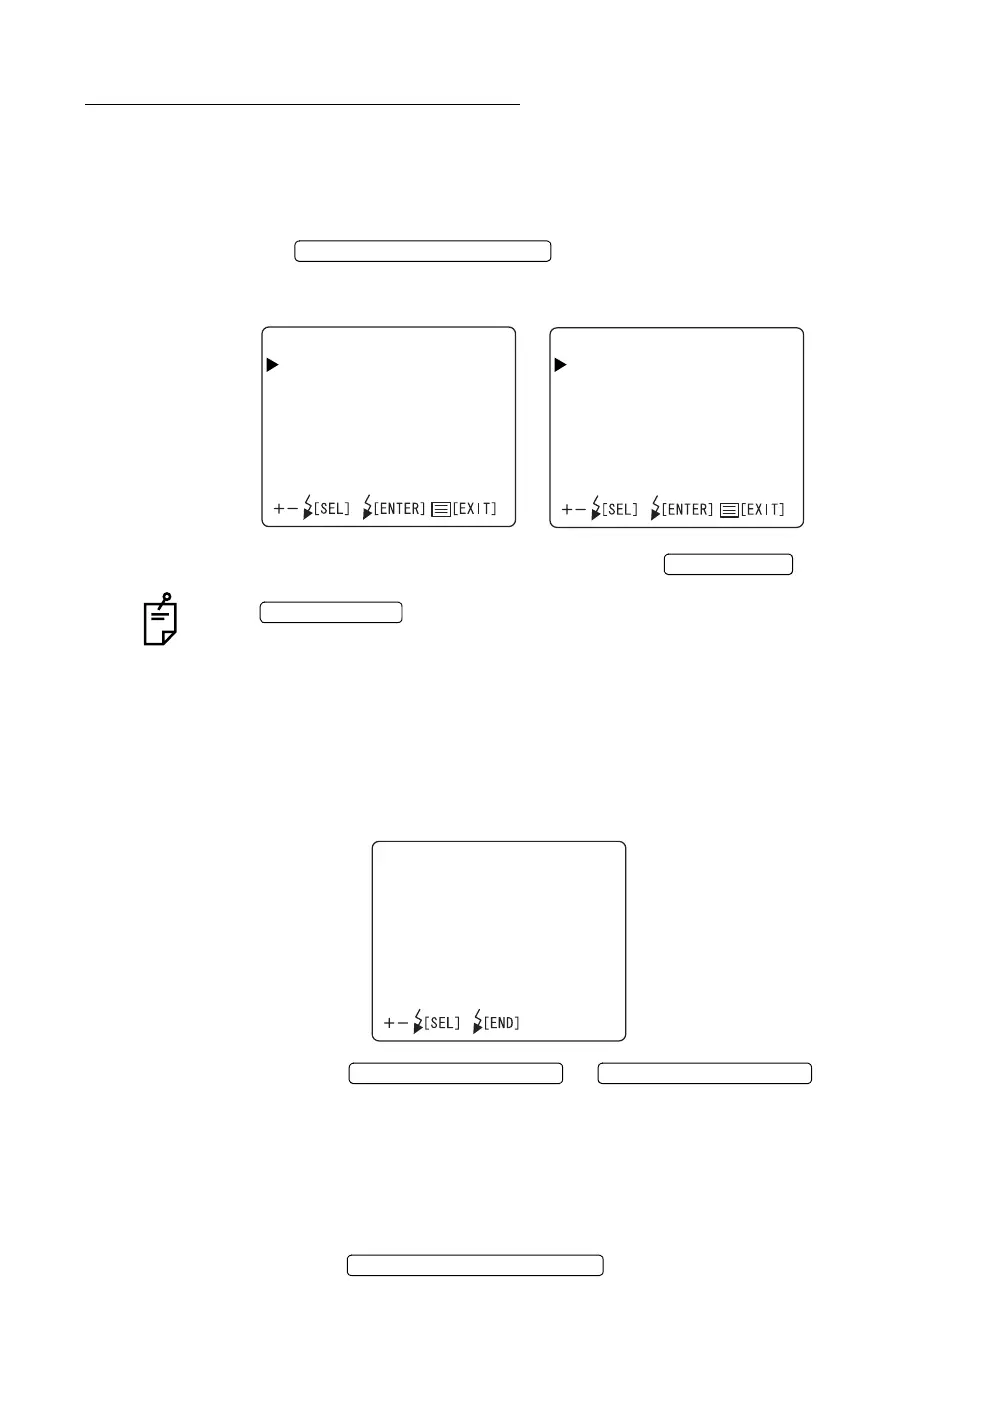
In the "CAMERA" display menu, the compression ratio, record pixels, gain, white
balance, image emphasis, contrast, color, CF format, PC mode, image name,
date/time, date form, file protect and print can be set.
1 Move the cursor to "CAMERA" on the "INITIAL MENU" display and press
the . The Monitor display changes to the
"CAMERA" display.
For “CAMERA”, two displays are automatically switched by moving the cursor.
2 To exit from the "CAMERA" display, press the .
If the is set to "OFF" (O) without exiting from the "INITIAL
MENU" display, the settings are not changed.
File compression ratio
You can set the compression ratio of the file to be stored.
When shipped, "BASIC" is set.
1 Select "QUALITY" on the "CAMERA" display. The "QUALITY" display appears.
2 Press the or and select
the desirable ratio from the following:
"BMP" (No compression)
"TIFF" (No compression)
"FINE" (Compression to approx. 1/4)
"NORMAL" (Compression to approx. 1/8)
"BASIC" (Compression to approx. 1/16)
3 Press the ; the setting is done and the
"CAMERA" display appears again.
FLASH LEVEL SWITCH (RESET
CAMERA1/2
QUALITY
SIZE
GAIN
WHITEBAL.
ENHANCE
CONTRAST
COLOR
CFFORMAT
PCMODE
CAMERA2/2
IMAGENAME
DATE
DATEFORM
FILEPROTECT
PRINT
BACKUP
MENU SWITCH
POWER SWITCH
QUALITY
BMP
TIFF
FINE
NORMAL
BASIC
FLASH LEVEL SWITCH (+)
FLASH LEVEL SWITCH (
)
FLASH LEVEL SWITCH (RESET



 To Next Page