71
BASIC OPERATIONS
BASIC OPERATIONS
PREPARATION FOR PHOTOGRAPHY
Applying the power supply
1 Carefully check the power cable connection.
For details about the connection, see "CONNECTING THE POWER
CABLE" on page 21.
2 Install the CompactFlash
®
card. For details of the installation, see
"INSTALLATION OF THE COMPACTFLASH
®
CARD" on page 22.
3 Turn ON the of the instrument and the external recording
device .
4 Confirm that the Title screen is displayed and then in a few seconds the
Monitor screen is displayed.
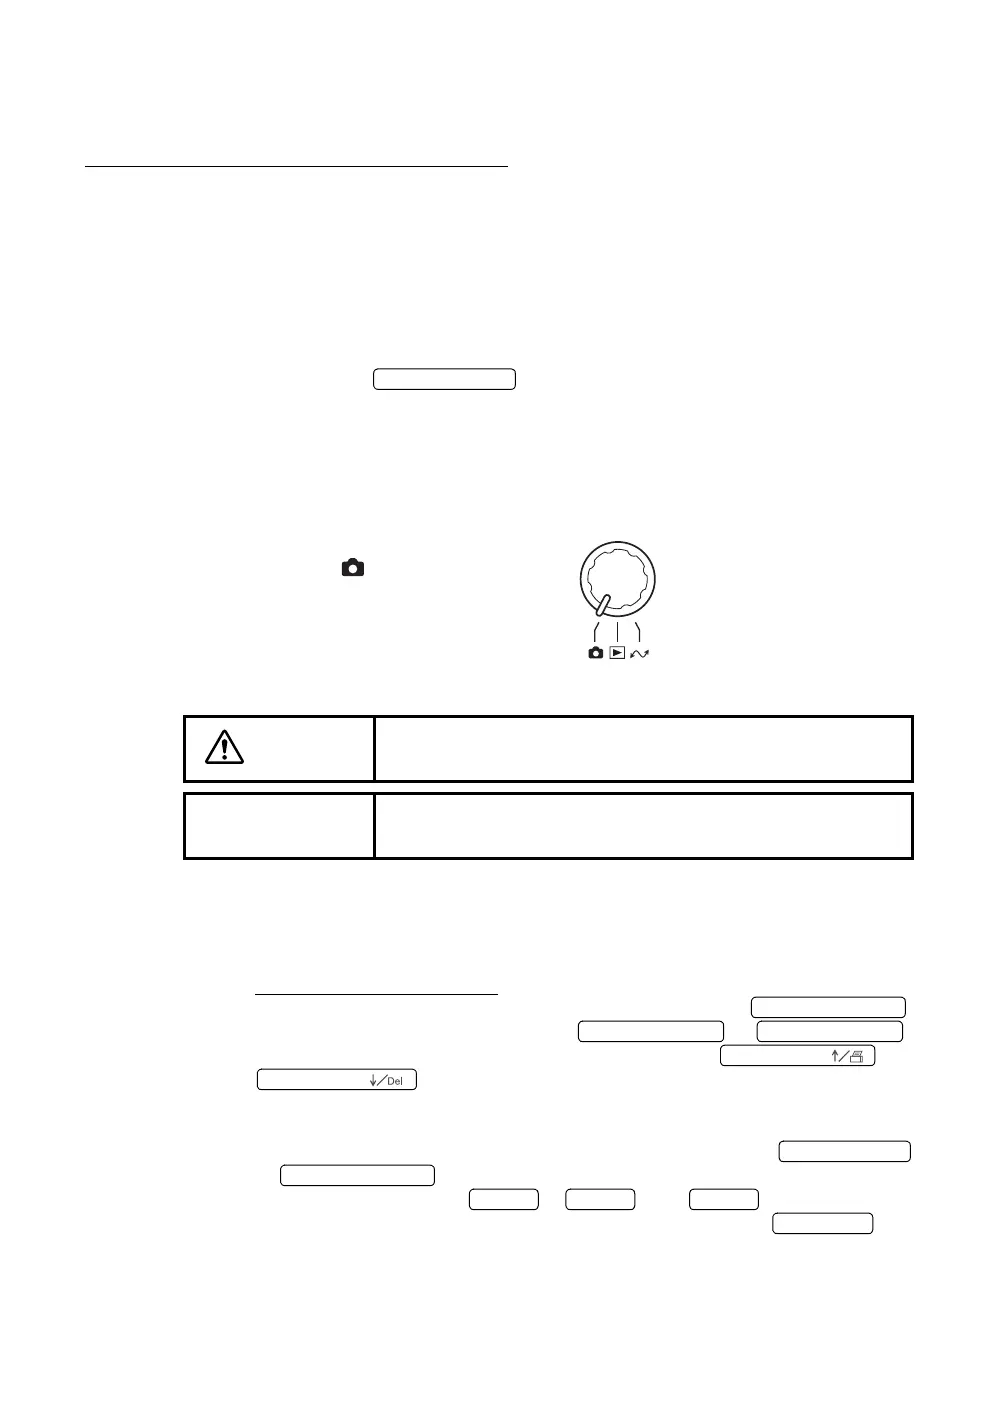
Changing the mode
Turn the mode selector knob to set at
"photography" ( ).
Setting of the patient
1 Make sure the main Monitor screen is on.
2 When using the ID number, input all patient information before seating the
patient in front of the instrument.
When using the ID number:
Change the photography mode to the input mode with the .
Select a digit to be inputted with the or .
Select numerals (0~9,-, A~Z) to be inputted with the or
.
You can input numerals with the ten button keypad (optional).
When inputting optional numerals with the ten button keypad (optional),
change the photography mode to the input mode with the
or .
Input numerals with the ~ , and .
Change the input mode to the photography mode with the .
CAUTION
Adjust the height of the chinrest while watching the patient
directly.
NOTE
If the patient wears glasses or contact lenses, let him/her
remove them first.
POWER SWITCH
No. SWITCH (Num
No. SWITCH ( ←
No. SWITCH ( →
No. SWITCH (
No. SWITCH (
KEY (NumLock)
No. SWITCH (Num
KEY (1
KEY (9
KEY (
KEY (Enter
 Loading...