18
-EN
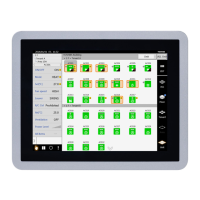
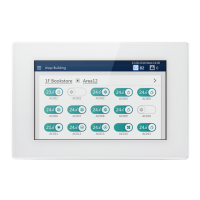
Central Control Device (Touch Screen Controller) Installation Manual
Wiring connections
This section shows wiring connection examples with the indoor units, power meter interface, digital I/O interface, and remote
monitoring PC.
Air conditioning unit group settings
• Indoor units can be set together for each group unit.
• Groups 1 to 64 correspond to the central control addresses 1 to 64 of the indoor units.
• The central control wiring has two communication lines, LINK1 terminal and LINK2 terminal. There are 128 groups in each
communication line, and there are 256 groups and 256 zones together.
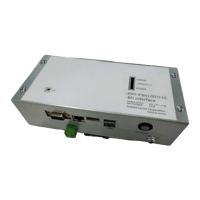
Interface connection
Connect the power meter interface and the digital I/O interface to the RS-485 cable line. For details of the connection method
refer to the interface installation manual.
When you remove the rear panel of this Unit, there is SW100 which is the termination resistance between LINK1 and LINK2
terminals.
For the central control wiring (Uh line), set the two terminating resistors at both ends of the wiring between this Unit and the air
conditioner to ON "Close" as much as possible.
Gr1 Gr5 Gr8 Gr16
Gr32Gr32
Gr32
Gr112
Gr2 Gr10
Gr17
Gr97 Gr99
Gr22 Gr25
Gr105 Gr107
Gr30
Gr109
Gr32
Gr128Gr113 Gr114 Gr119 Gr122 Gr124
Gr19
LINK1 terminal
Central control wiring
(Uh line)
LINK2 terminal
Central control wiring
(Uh line)
Group
1 to 16
Group
17 to 32
Group
97 to 112
Group
113 to 128
Gr = Group
Hub
LAN cable
LAN cable
RS-485
Power meter
interface
Digital I/O
interface
Remote monitoring PC
Control wiring (Uv line)
Control wiring (Uv line)
Control wiring (Uv line)
Control wiring (Uv line)

 Loading...