EasyManuals Logo

Toshiba TECRA A11 Series User Manual

Toshiba TECRA A11 Series
462 pages
To Next Page IconTo Next Page
To Previous Page IconTo Previous Page
Page #368 background imageLoading...
Page #368 background image
4-78 [CONFIDENTIAL] TECRA A11/S11/P11 Satellite Pro S500 Series Maintenance Manual (960-784)
Installing the CPU/fin/DC fan
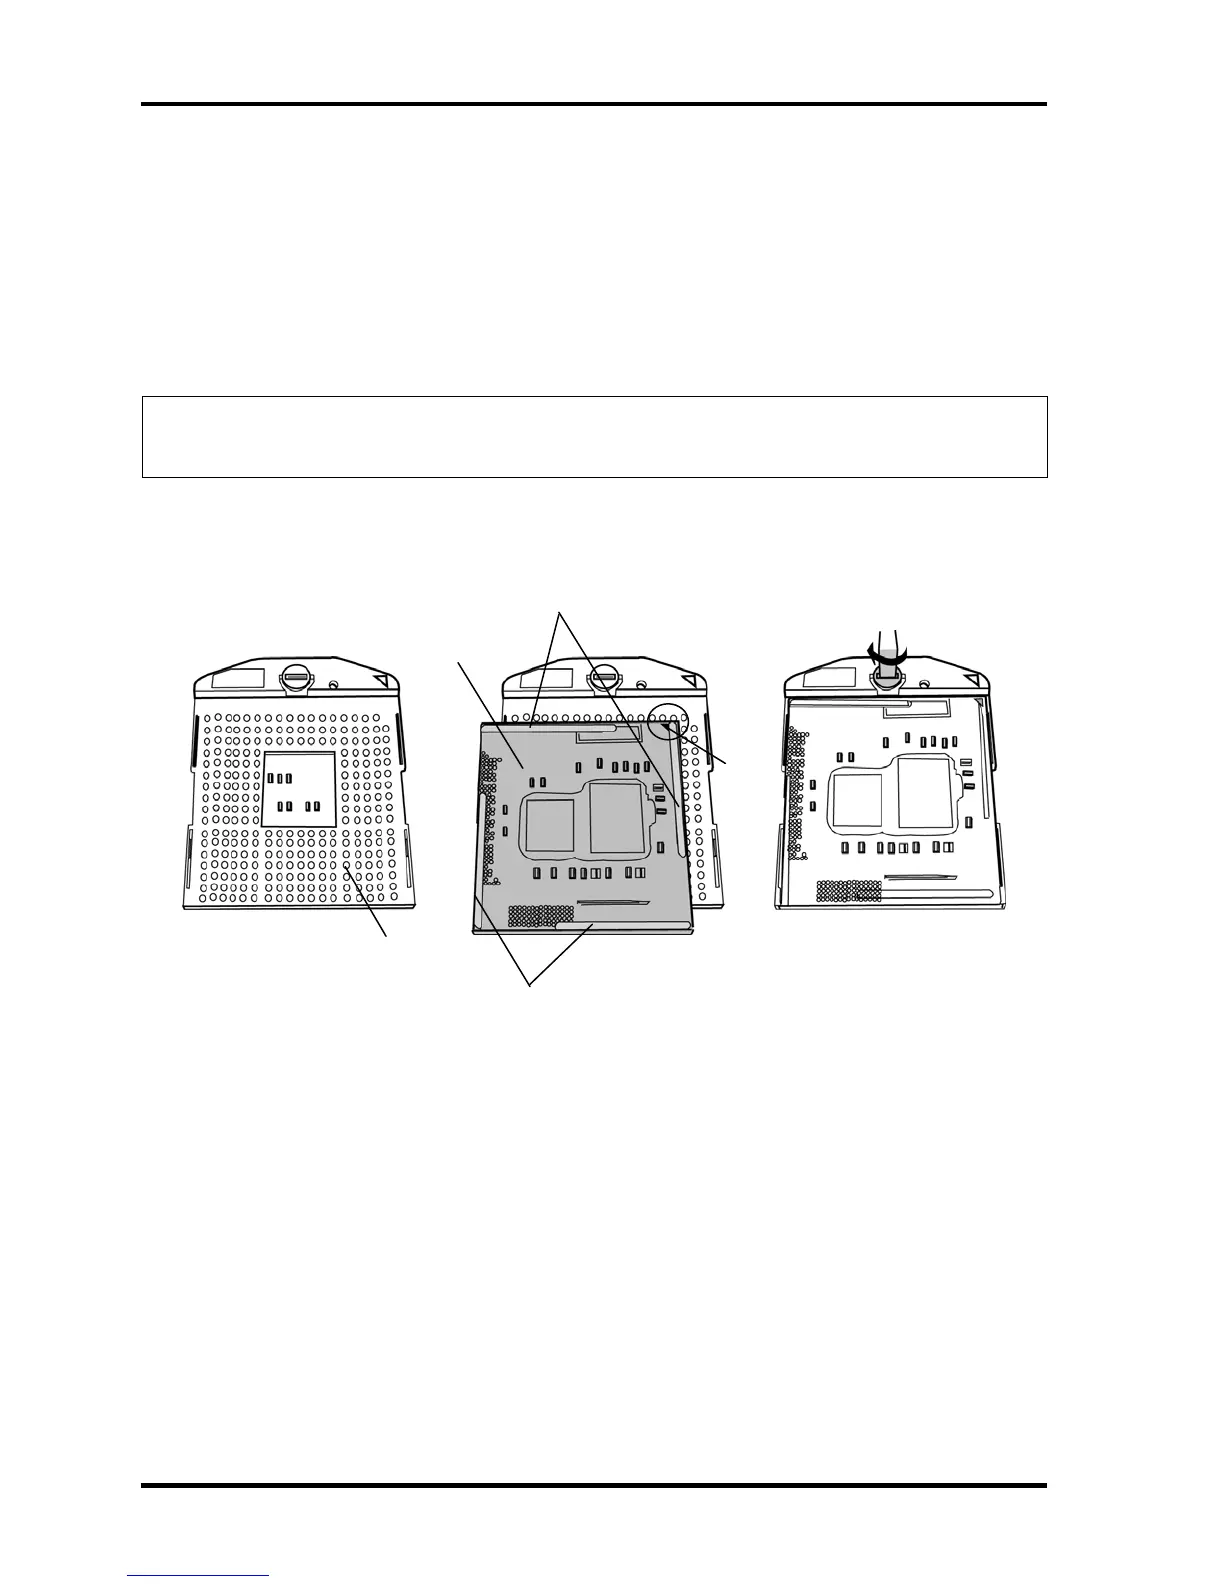
To install the CPU/fin/DC fan, follow the steps below and refer to Figure 4-38 to 4-43.
2. Set the CPU to the correct position in the CPU socket. Make sure the position of the
NOTE: When replacing the CPU with a new one, stick the insulator (INSU SQUARE) to
1. Make sure that the cam of the CPU socket is in the unlock (OPEN) position.
CPU (triangle mark) is correct to avoid damaging pins on the CPU.
the CPU in place.
3. Lock the CPU by rotating clockwise the cam on the CPU socket by 180 degrees with
a flat-blade driver.
Figure 4-42 Installing the CPU
Mark
CPU
CPU socket
INSU SQUARE
INSU SQUARE

Table of Contents

Questions and Answers:

Question and Answer IconNeed help?

Do you have a question about the Toshiba TECRA A11 Series and is the answer not in the manual?

Toshiba TECRA A11 Series Specifications

General IconGeneral
RAMUp to 8GB DDR3
Operating SystemWindows 7 Professional
Battery LifeUp to 4 hours
Optical DriveDVD SuperMulti Drive
LANGigabit Ethernet
ProcessorIntel Core i3, i5, or i7
Display15.6-inch HD (1366x768)
StorageHDD up to 500GB
GraphicsIntel HD Graphics
Wireless802.11 a/g/n
WebcamIntegrated webcam
PortsUSB 2.0, VGA, RJ-45
Card ReaderSD
Battery6-cell Li-ion
Dimensions374 x 250 mm
ChipsetMobile Intel QM57 Express Chipset

Related product manuals