Manual VIPA CPU 21x Chapter 4 Deployment of the CPU 21x-2BT10 with TCP/IP
HB103E - Rev. 05/45 4-25
• The CP part of the CPU 21xNET is projected as CP343-1 from
Siemens. Place a virtual CP343-1 (Simatic300 \ CP-300 \ Industrial
Ethernet \ CP 343-1 \ 6GK7 343-1EX11 0XE0) at slot 4.
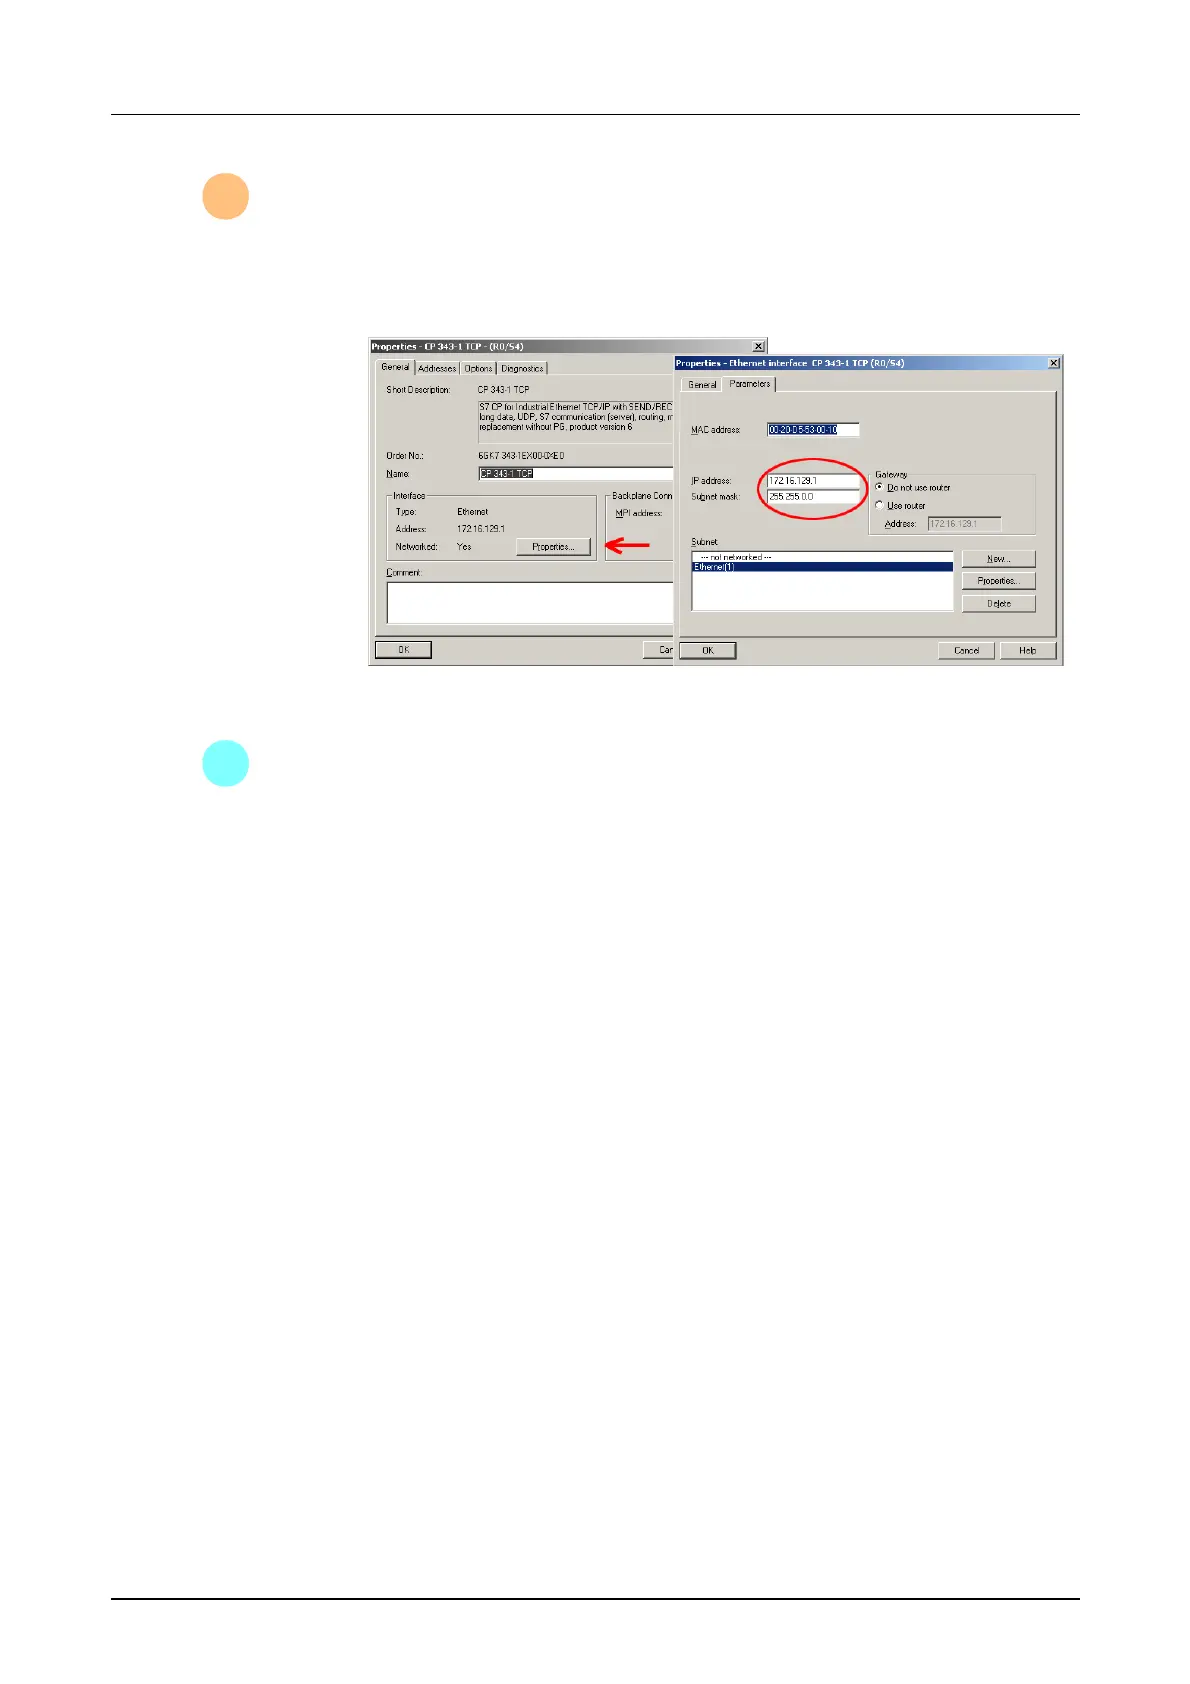
• Via a double click on the CP 343-1 you open the "properties" window.
Type in the IP address and Subnet mask and choose your Subnet.
• if wished parameterize the CPU 315-2DP. Now you have to create a
new Profibus subnet with Profibus address > 1.
• Attach the System "VIPA_CPU21x" to the subnet. The respective
entries are located in the hardware catalog at PROFIBUS DP \
Additional Field Devices \ IO \ VIPA_System_200V. Assign Profibus
address 1 to this slave.
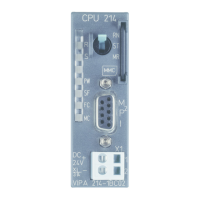
• Place the VIPA CPU 21xNET that you want to deploy at 1
st
slot.
• Include your System 200V modules in the location sequence starting
from plug-in location 1.
• Save and translate your project.
to
2
to
3
 Loading...