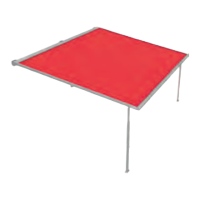
PergoTex II/ PergoTex II LED
Instructions for assembly
We reserve the right to make technical changes
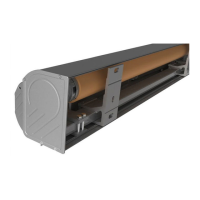
1. With 2 socket head cap screws M10x30 (7) and 2 countersunk hex head screws
M6x12 Torx (8), loosen the „wall connection bracket"“ (2) and „wall connection
bracket upper part top section" (3) from the side channel (1).
2. Push into the wall gap sealing profile (4) before this is mounted to the wall.
3. Swivel side channel (1) into the "wall connection bracket" (2) and bolt again using 2
socket head cap screws M10x30 (7) and 2 countersunk hex head screws M6x12 Torx
(8).
Note:
This installation is necessary for roofs between two walls, for example, as there is no
space sideways to push in the side channel.
The same applies to the third side channel in the centre.
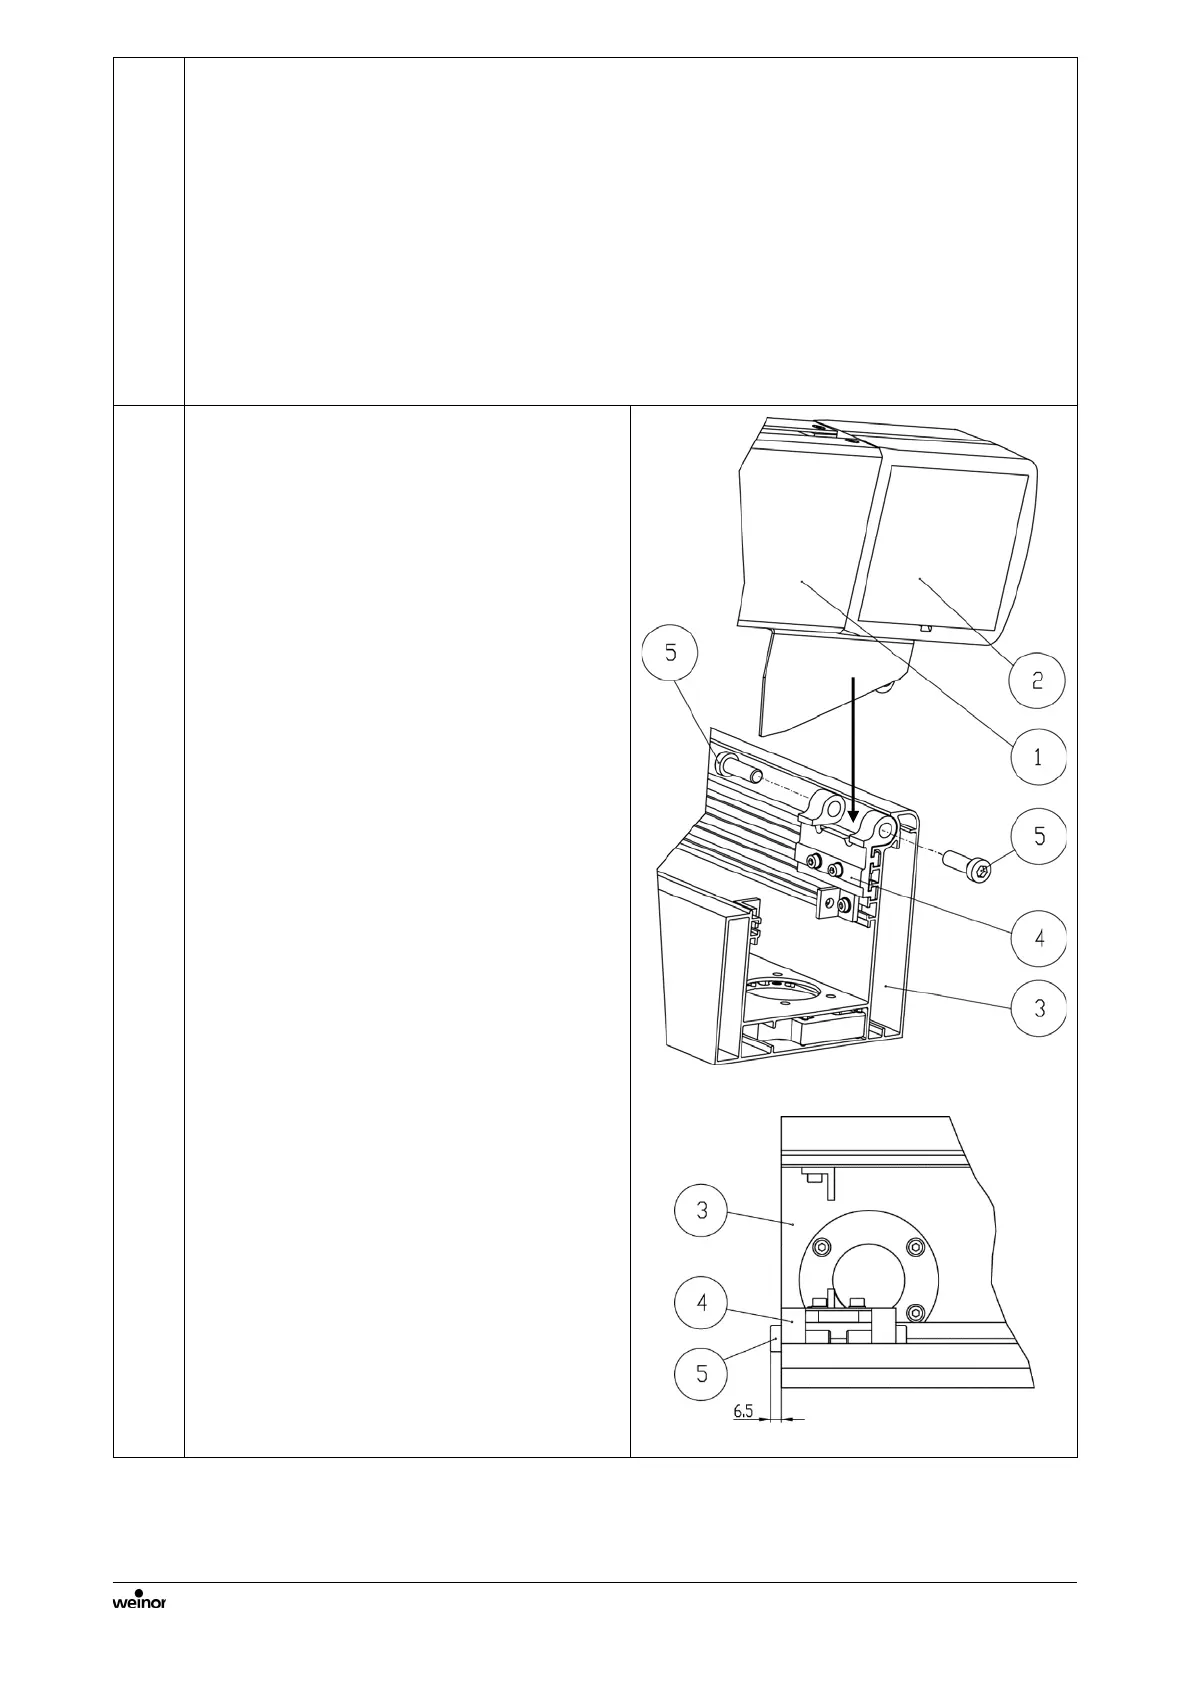
Mounting the side channel to the
guttering
1. Place side channel (1) with the end cap
(2) on the "guttering end cap bracket"
(4) bolted in the guttering (3).
2. Bolt from both sides with the 2 socket
head cap screws M10x30 (5).
Note:
The outer edge of the "guttering end cap
bracket" (4) must be flush with the outer
edge of the guttering (3). Hence the screw
head of the socket head cap screw M10x30
(5) is projecting 6.5 mm over the outer
edge of the guttering (3) (see Detail A).

 Loading...