5 Machine Status
52
1.
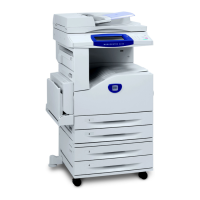
Select [Setup] on the [PDF]
screen.
2.
Enter a 3-digit parameter item
number in the [Item Number]
field.
3.
Select [Change Value] to change the displayed value, or select [Confirm] if no
change is required.
4.
If you selected [Change Value], enter the required value in the [New Value] field.
5.
Select [Save].
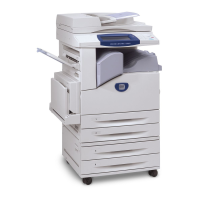
Password
Allows you to enter a password to restrict access to PDF direct printing.
1.
Select [Password] on the [PDF]
screen.
2.
Enter a password using the
keyboard.
3.
Select [Next].
4.
Re-enter the password.
5.
Select [Save].
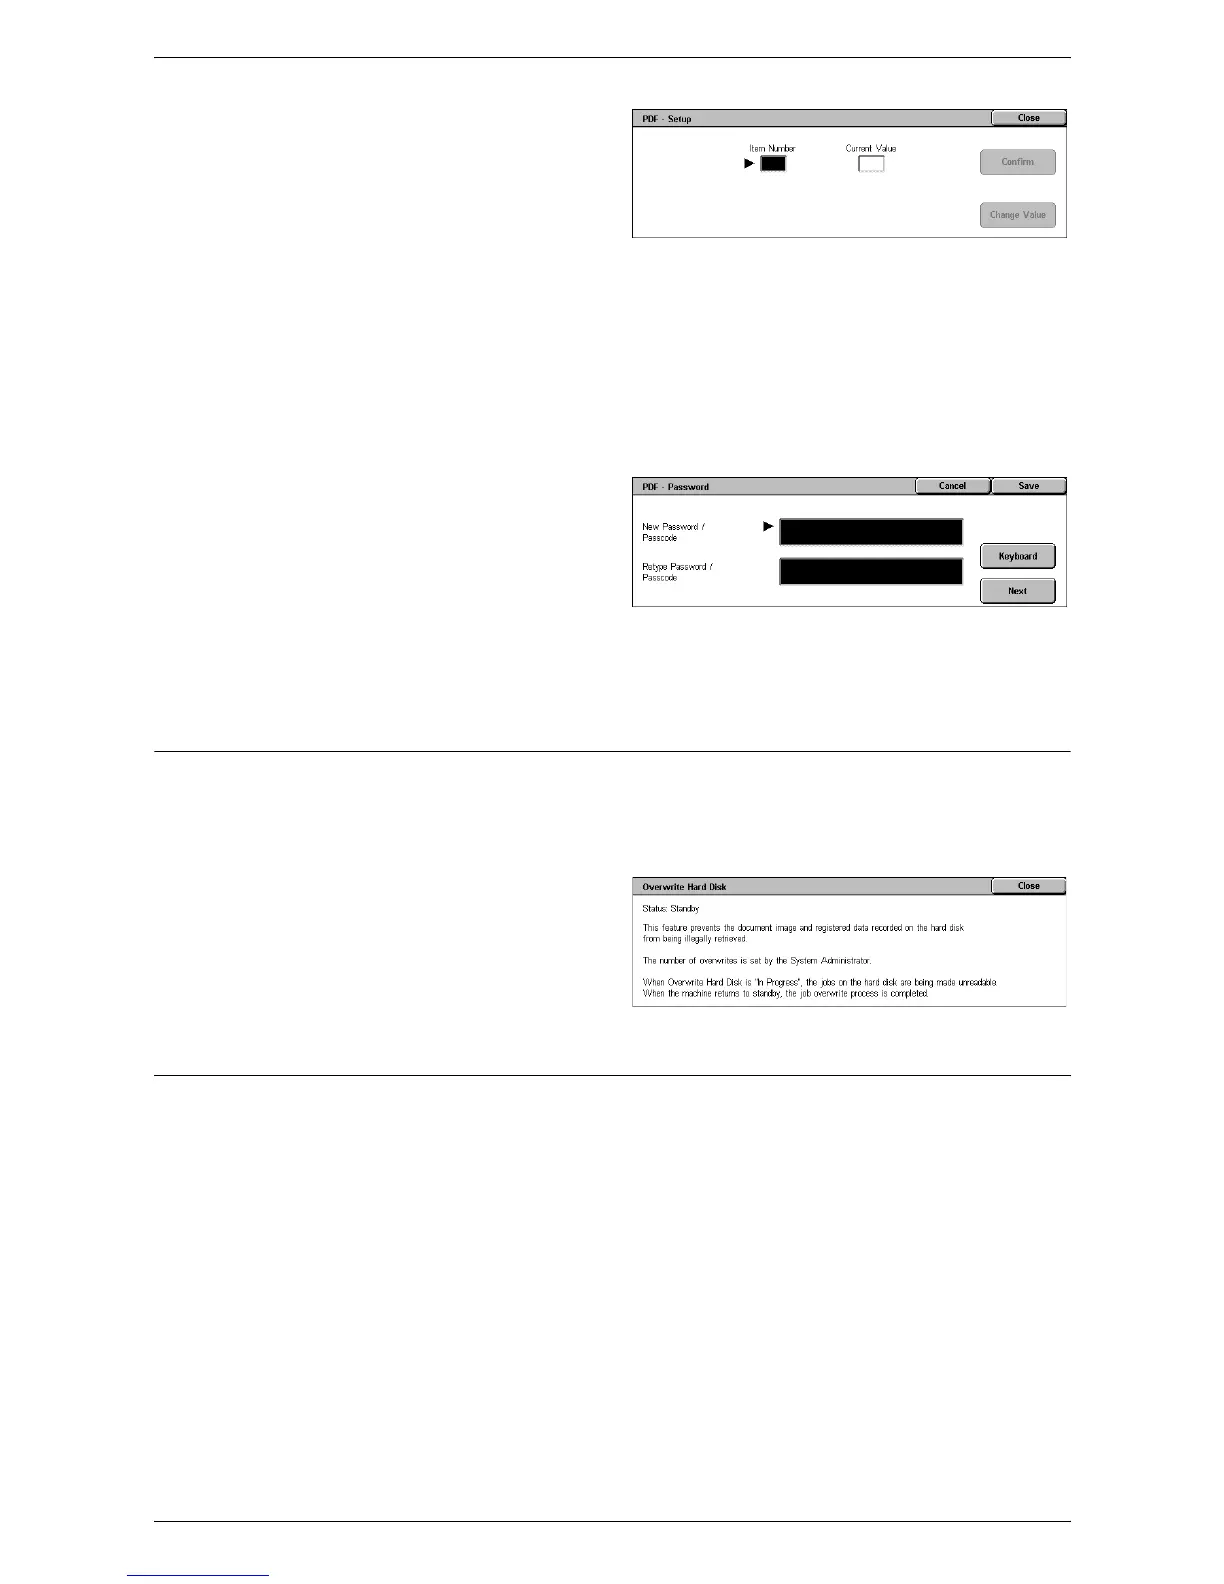
Overwrite Hard Disk
This feature displays the overwrite status of the hard disk.
NOTE: This option is displayed when [Authentication/Security Settings] > [Overwrite
Hard Disk] is enabled.
1.
Select [Overwrite Hard Disk] on
the [Machine Information]
screen.
Print Reports
This feature allows you to print various reports/lists for each service.
NOTE: [Print Reports] is displayed when [System Settings] > [Common Service
Settings] > [Reports] > [Print Reports Button] is enabled. For more information, refer to
Reports in the Setups chapter on page 72.
NOTE: Some of the reports/lists on this screen are not displayed unless you are
logged in as the System Administrator.
NOTE: The reports/lists displayed on this screen vary depending on the enabled fax
service.