January 2016
3-15
WorkCentre WorkCentre 4150/4250/4260WorkCentre 4150/4250/42604150/
IQ9, IQ10
Image Quality
• Check the wiring between the HVPS and the terminal assembly, PL 4.15 Item 13.
• Install a new HVPS, PL 1.10 Item 2.
8. (4250/4260) Refer to Wiring Diagram 18. Perform the following:
• Check the spring contacts in the terminal assembly, PL 4.15 Item 13. The spring
contacts supply the voltages to the xerographic module and the side cover assem-
bly. If necessary, clean the spring contacts. If necessary, install a new terminal
assembly, PL 4.15 Item 13.
• Check the wiring between CON2 on the HVPS and the terminal assembly, PL 4.15
Item 13.
• If necessary, install a new HVPS, PL 1.15 Item 2.
9. (4265) Refer to Wiring Diagram 34. Perform the following:
• Check the spring contacts in the terminal assembly, PL 4.15 Item 13. The spring
contacts supply the voltages to the xerographic module and the side cover assem-
bly. If necessary, clean the spring contacts. If necessary, install a new terminal
assembly, PL 4.15 Item 13.
• Check the wiring between CON2 on the HVPS and the terminal assembly, PL 4.15
Item 13.
• If necessary, install a new HVPS, PL 1.15 Item 2.
10. Install a new transfer roll, PL 7.35 Item 19.
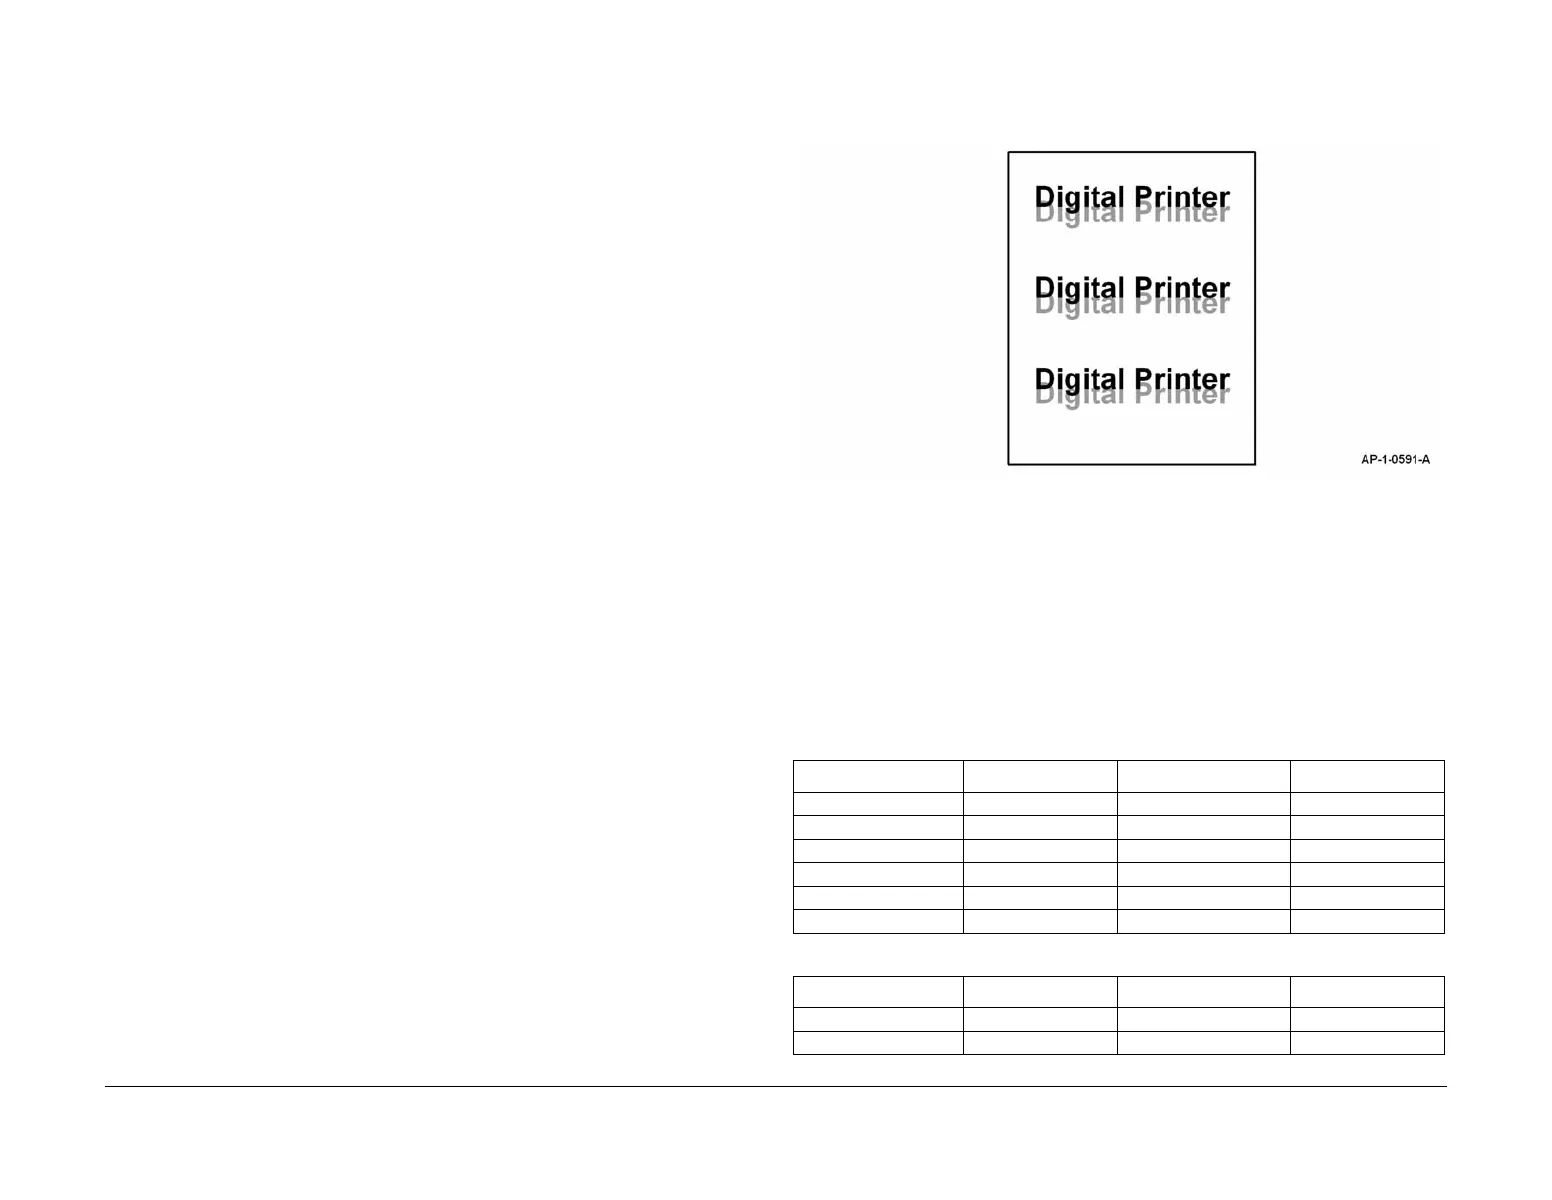
IQ10 Ghost Images RAP
Use this RAP when the printed sheets have ghost images, as shown in Figure 1.
Figure 1 Ghost images
Procedure
WARNING
Switch off the electricity to the machine. Disconnect the power cord from the customer
supply while performing tasks that do not need electricity. Electricity can cause death or
injury. Moving parts can cause injury.
Perform the following:
1. Measure the distance between the image and the ghosted image. Refer to Table 1 (4150)
or Table 2 (4250/4260) to determine the possible cause of the defect.
Table 1 Defect distance (4150)
Defect distance Roller Component Parts List Ref.
94mm (3.7 inches) Xerographic drum Xerographic module PL 9.10 Item 1
38mm (1.5 inches) Charge roller Xerographic module PL 9.10 Item 1
44mm (1.7 inches) Supply roller Xerographic module PL 9.10 Item 1
57mm (2.2 inches) Transfer roller Transfer roller PL 7.35 Item 19
126mm (4.9 inches) Heat roller Fuser assembly PL 10.26 Item 13
155mm (6.1 inches) Pressure roller Fuser assembly PL 10.26 Item 23
Table 2 Defect distance (4250/4260)
Defect distance Roller Component Parts List Ref.
94mm (3.7 inches) Xerographic drum Xerographic module PL 9.10 Item 1
38mm (1.5 inches) Charge roller Xerographic module PL 9.10 Item 1

 Loading...


