3-1
IM 04P03B01-01E
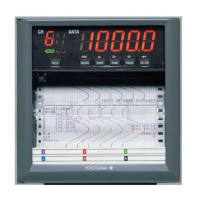
Setup Operations for Convenient Functions (Setting Mode)
3
3.1 Setting the Trend Recording Interval (Dot
Model)
The trend recording interval (dot printing interval) on the dot model can be set.
Procedure
1. Hold down the
MENU
key for 3 seconds to enter Setting mode.
2. Carry out the procedure shown in the figure below.
Press the
or key to select the value.
If you press the key, the operation is cancelled, and the display returns to a
higher level menu.
Set the dot printing interval to AUTO or FIX.
Select “TREND.”
The settings are activated.
Select the “AUX.”
(AUX)
(TREND)
(AUTO)
(OK)
3. If you are done, press the key.
4. Hold down the
MENU
key for 3 seconds to return to Operation mode.
Explanation
Trend Recording Interval
AUTO ( ): The trend recording interval is set according to the chart speed so
that the dots do not overlap.
FIX (
): The trend recording interval is fixed to 10 s/6 dots.
When set to AUTO When set to FIX
Dot
Recording Intervals When AUTO Is Selected
Chart speed
10 mm/h
15 mm/h
20 mm/h
25 mm/h
30 mm/h
40 mm/h
50 mm/h
60 mm/h
75 mm/h
80 mm/h
90 mm/h or higher
Integration Time Set to 50Hz/60Hz/AUTO
90 s
60 s
45 s
36 s
30 s
22 s
18 s
15 s
12 s
11 s
10 s
Integration Time Set to 100 ms
90 s
60 s
45 s
35 s
30 s
22.5 s
17.5 s
15 s
10 s
10 s
10 s
Chapter 3 Setup Operations for Convenient Functions (Setting Mode)
 Loading...