4-3
IM 04P03B01-01E
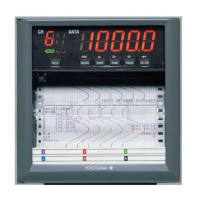
Setup Operations for Changing/Adding Functions (Basic Setting Mode)
4
4.2 Changing the Integration Time of the A/D
Converter
The integration time of the A/D converter can be set. Basic Setting mode cannot be
entered when recording is in progress.
Procedure
1. Hold down the
MENU
key for 3 seconds to enter Setting mode.
2. Hold down the
and keys simultaneously for 3 seconds to display the
Basic Setting mode screen.
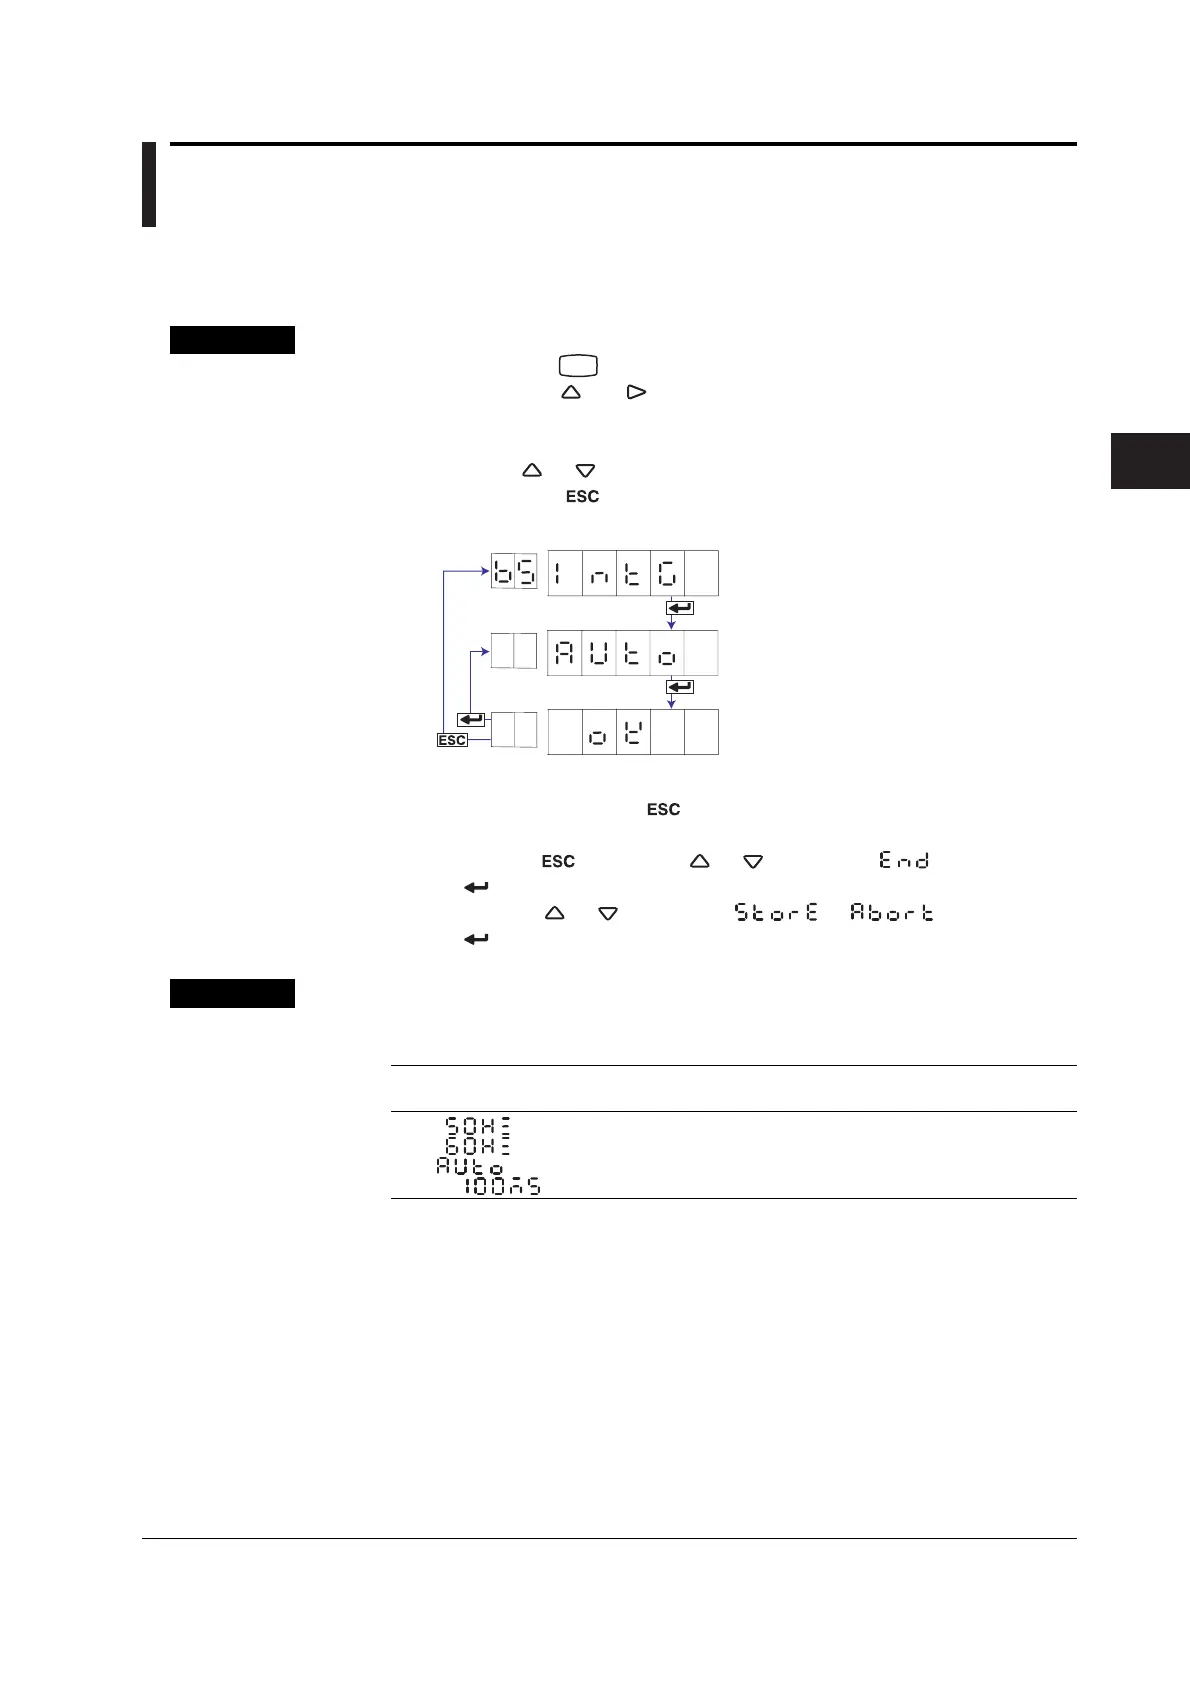
3. Carry out the procedure shown in the figure below.
Press the
or key to select the value.
If you press the key, the operation is cancelled, and the display returns to a
higher level menu.
The settings are activated.
Select the integration time of the
A/D converter.
Select “INTG.”
(INTG)
(AUTO)
(OK)
4. If you are done, press the key.
5. To return to the Operation mode,
1. Press the
key, use the or key to select , and press the
key.
2. Press the or key to select or , and press the
key.
Explanation
Integration Time
Selects the integration time of the A/D converter.
Selectable Settings Integration Time Scan Interval Recording Interval
(Pen Model) (Dot Model)
50 Hz ( ) 20 ms 125 ms 1 s
60 Hz ( ) 16.7 ms 125 ms 1 s
Auto ( ) 20 ms or 16.7 ms
*2*3
125 ms 1 s
100 ms ( )
*1
100 ms – 2.5 s
*1 Selectable only on the dot model.
*2 Automatically switch by detecting the power supply frequency.
*3 The integration time is fixed to 20 ms if “Auto” is selected when using the DC power supply on
a model with the /P1 option.
 Loading...