Data Capture
128
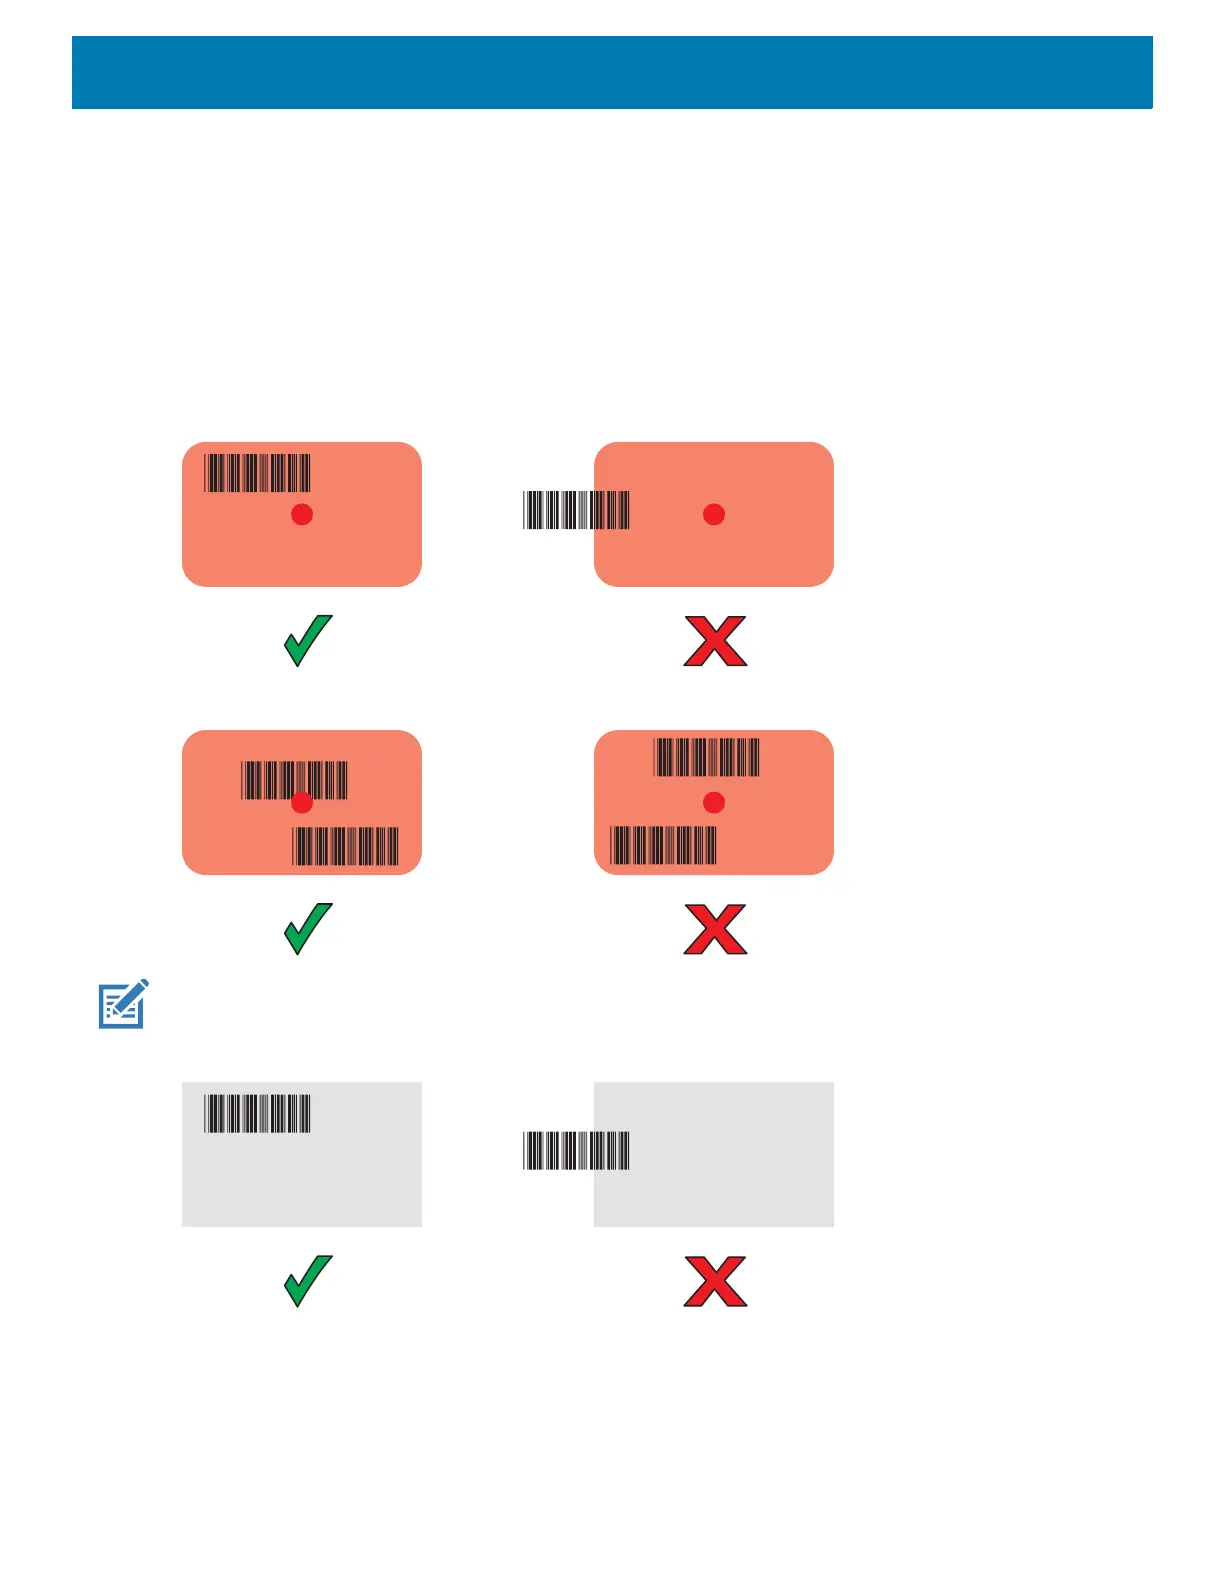
3. Adjust the position of the device so that the:
• Red aiming dot appears at the center of the barcode on devices with the SE4710 imager.
• White LED appears around the barcode on devices with the SE2100 imager.
Ensure the barcode is within the area formed by the aiming pattern. On devices with the SE4710 imager,
the aiming dot is used for increased visibility in bright lighting conditions.
4. Press the Scan key.
The Status LED illuminates red. Upon successful decode, the Status LED changes from red to green and
an audible beep sounds.
Figure 85 SE4710 Imager Decode Mode
Figure 86 SE4710 Imager Picklist Mode
NOTE: Picklist Mode is only available on the PS20 with the SE4710 imager. When the PS20 is in Picklist Mode, the imager
does not decode the barcode until the crosshair or aiming dot touches the barcode.
Figure 87 SE2100 Imager Decode Mode
5. Release the Scan key.
The barcode data displays on the screen.
 Loading...