HFA3 Instructions for Use 2660021166131 Rev. A 2018-11
Go to Contents Data Synchronization
10-7
Configuration for Data Synchronization
There are two choices depending on the model:
• HFA II-i (USB drive) - Configuration for Data Synchronization, OR;
• HFA II-i (Floppy drive) Configuration f
or Data Synchronization - Manual
Configuration
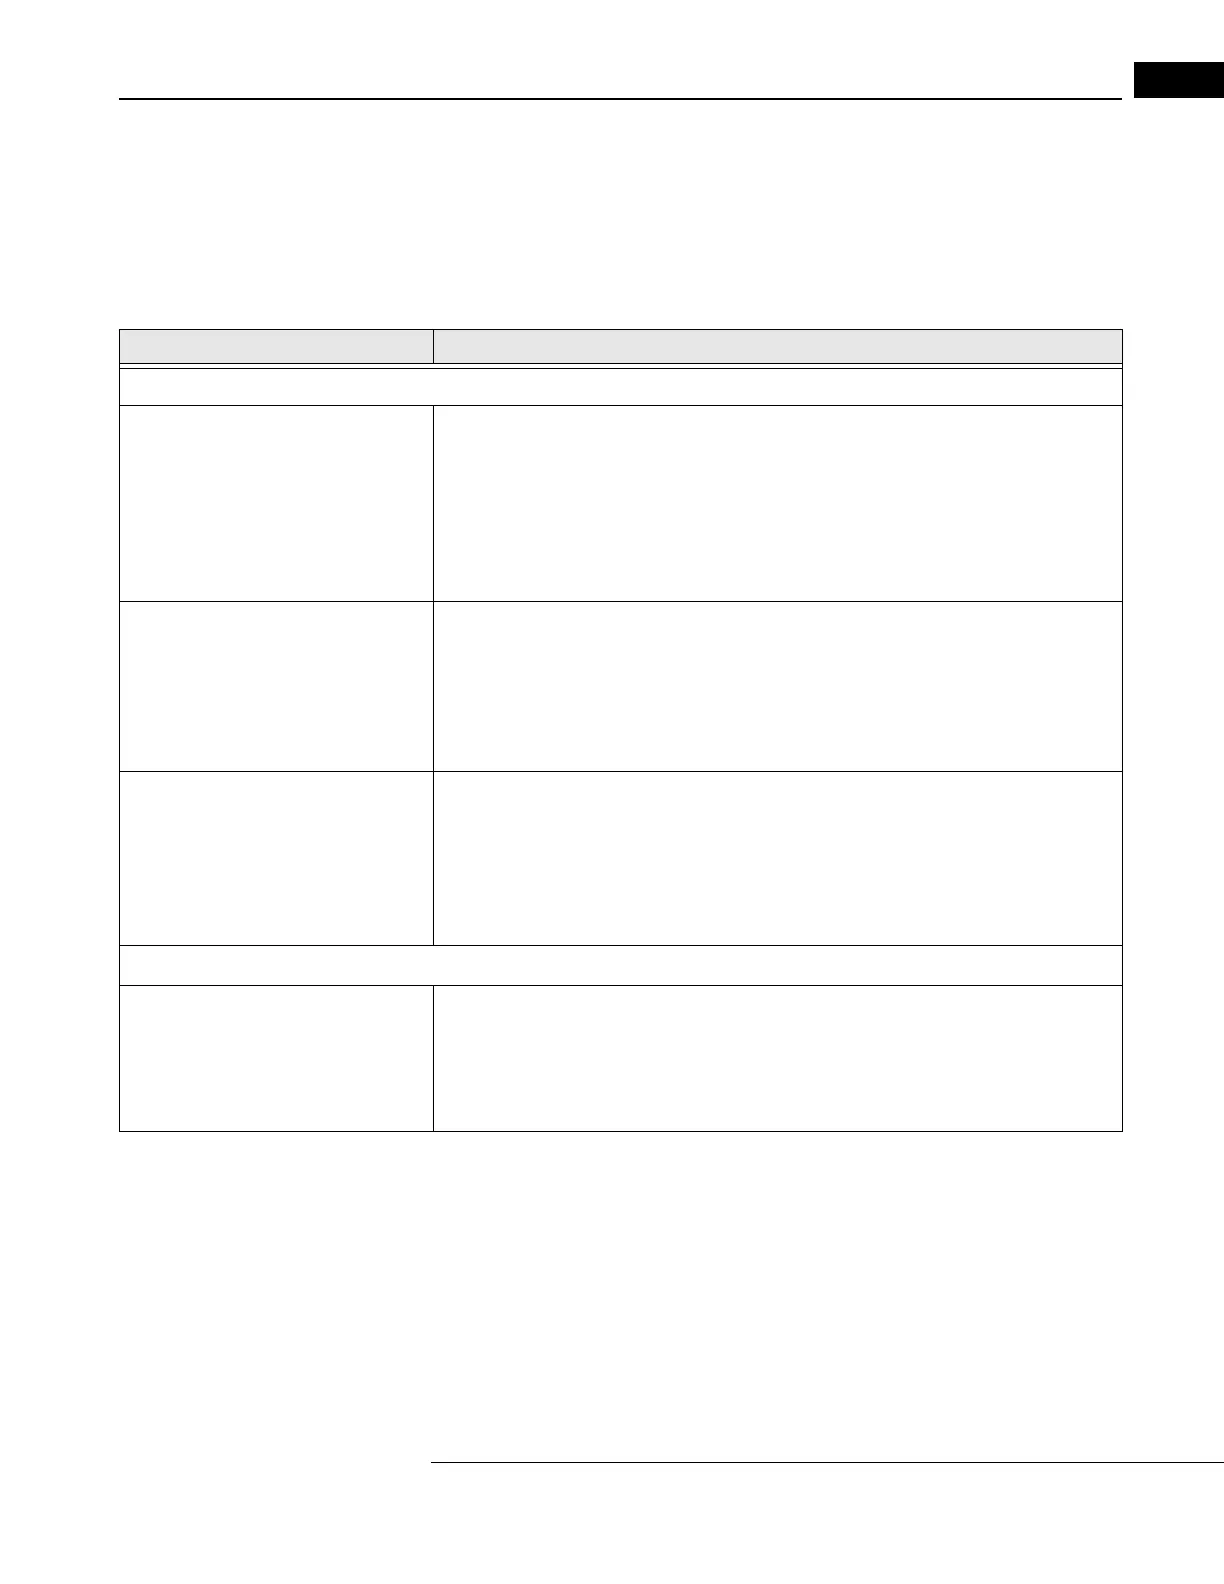
Step Description
HFA II-i (USB drive) - Configuration for Data Synchronization
1. On the HFA II-i Go to: System Setup > Additional Setup > Backup Configuration
A dialog appears prompting you to select a USB stor
age device. Do the following steps:
A. Insert a USB storage device into a USB port on the HFA.
B. Select the desired US
B storage device by pressing the button with its device name.
C. When the message: Con
figuration Backup is complete appears, press OK to return to
the Additional Setup screen.
D. Remove USB drive when backup is c
ompleted.
2. On the HFA3 Go to: Setti
ngs > Specific Settings > HFA II-i Configuration.
Take the USB drive to the HFA3. Do the following steps:
A. Insert USB drive into USB port.
B. Enter HF
A II-i Serial Number.
C. Select Up
date configuration.
D. Remove USB drive when update is
completed.
3. On the HFA II-i Take the USB drive back to the HFA II-i and do the following steps:
A. Select System Setu
p > Additional Setup > Restore Configuration
B. Insert USB drive into USB port.
C. Select the ap
propriate media by pressing the button with its device name.
D. When the message: Con
figuration update is complete appears, press OK.
E. After a 15 second pause, your HFA II-i will restart automatically.
HFA II-i (Floppy drive) Configuration for Data Synchronization - Manual Configuration
1. On the HFA3 Go to: Settings > Specific Settings > HFA II-i Configuration
A. Enter the HF
A II-i serial number.
B. Select button: Ma
nual Settings.
C. Print out the instructions from the HFA3.
D. Go to the HFA II-i and follow the instructions.

 Loading...


