673D SYSTEMS, INC.
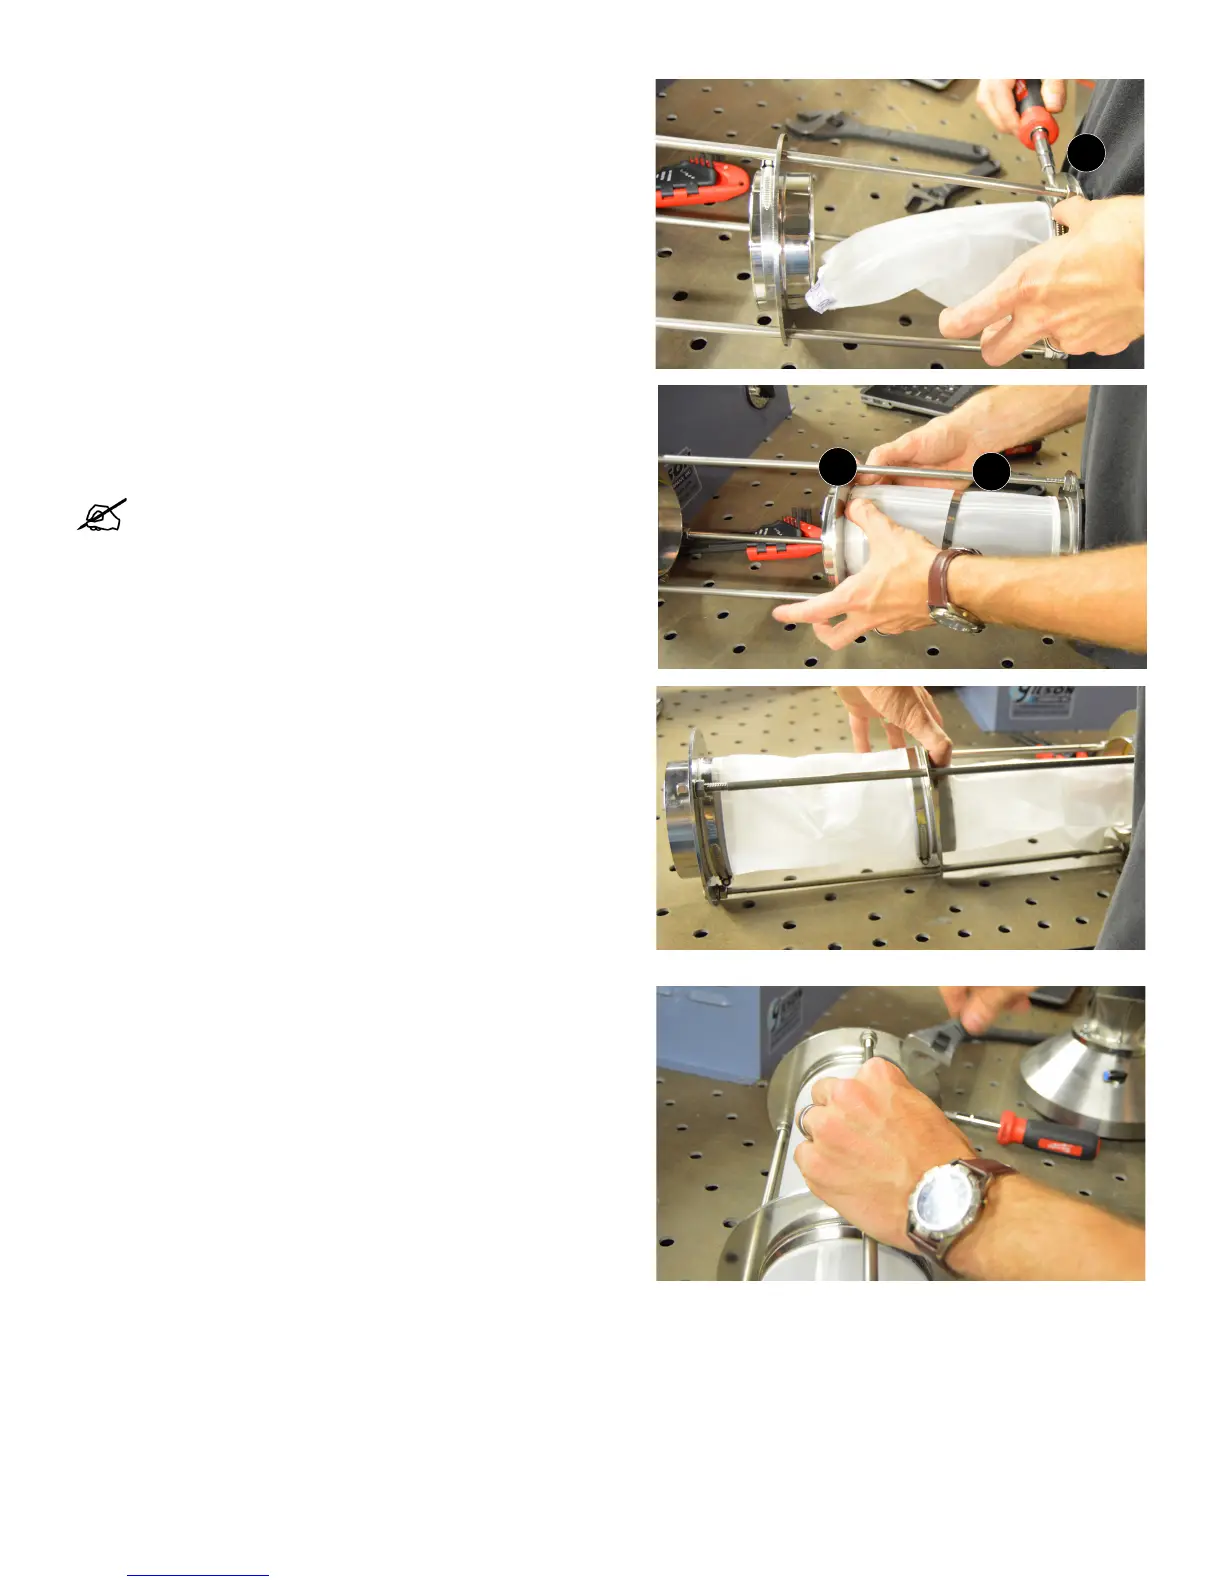
4. Remove old screen by loosening clamps holding screen on (4),
slide screen off of rings. Dispose of old screen according to local
regulations.
5. Place new screen sleeve over ring (5) and take clamp (6) that
was removed and place that over mesh on top of ring. Tighten
with a athead screwdriver. Ensure that you are looking at
the arrow on the sieving mesh and replacing mesh in proper
direction.
NOTE: Middle ring will move left and right. Put the rst
screen piece on so it ts securely but does not have to be
tight. This will get tightened down in the last step.
6. Repeat Steps 4 and 5 for the other side.
7. Secure screens by tightening up bars on rings with an adjustable
wrench.
4
5
6