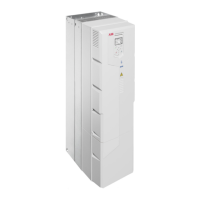
Installing the drive vertically
See section Free space requirements (page 45) for the required free space above
and below the drive.
1. To mark the hole locations, use the mounting template included in the package.
Do not leave the mounting template under the drive. The drive dimensions
and hole locations are also shown in the dimension drawings.
2. Drill the mounting holes.
3. Insert anchors or plugs into the holes and start the screws or bolts into the
anchors or plugs. Drive the screws or bolts long enough into the wall to make
them carry the weight of the drive.
4. Put the drive onto the bolts on the wall.
5. For R6 and R8 with option +B056 (UL Type 12): Install the hood on top of the
drive before you tighten the upper attaching bolts. Put the vertical edge of
the hood in between the wall and the drive back plate.
6. Tighten the bolts in the wall securely.
Mechanical installation 53

 Loading...


