52
Installation and Commissioning Guide 500-700 Tri-Capacity Split Ducted
Doc. No.0525-098 Ver. 2 210330
Installation and Commissioning Guide
Split Tri-Capacity
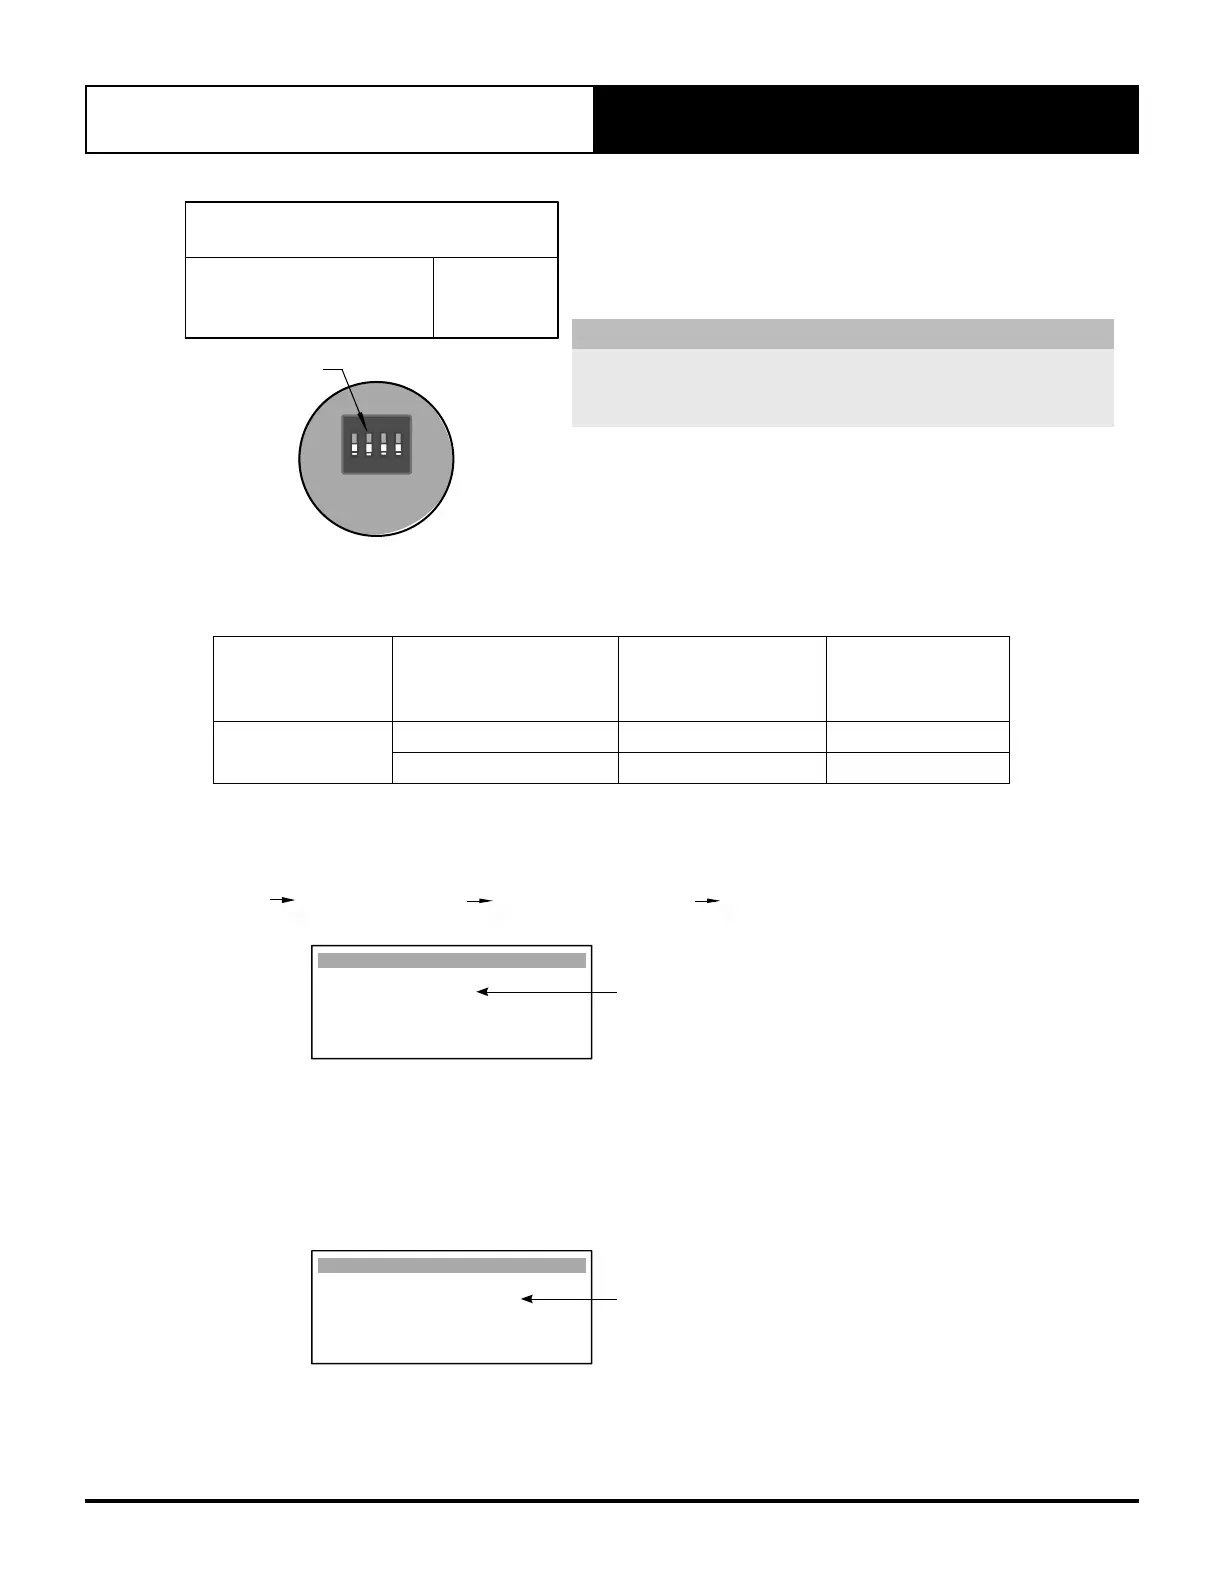
Final defined value for the fan (on the CIB01 seven segment
has to be written on the unit wiring diagram FINAL
COMMISSIOINING FAN SET POINT VOLTAGE as shown on
the side.
R
This drawing remains the intellectual property of Actron Engineering
Pty Ltd. Reproduction, modification and/or distribution are prohibited
without written consent.
Base
Model No:
Variation:
Description:
EVY620-700T-6Q2 STANDARD
INDOOR EVAPORATOR WIRING DIAGRAM WITH
CIB01 INDOOR FAN CONTROL BOARD & EC INDOOR FAN
Variation Code:
N
A
240V AC
POWER IN
COM
10V 10V
A(+)
COM
DI1
0V
0V
B(-)
NC
FAULT
INPUT
0-10V
IN
0-10V
OUT
485
OUTDOOR
AUX
OUTPUT
AUX
SENSOR
COIL
SENSOR
13
12
NO
PWM2
PWM1
1
1
4
4
FAN POWER 1
240V AC
FAN POWER 2
240V AC
AANN
OFF
ON
DIP SWITCH
1234
AC250VAC/10A
FUSE1
GLASS FUSE
250V AC 10 A
SLOW BLOW
SIZE 5 x 20mm
POT
ADJUST
IFB
OFF
ON
EXTERNAL COM CONTROL
PWM % SPD CONTROL
0-10V OUT SPD CONTROL
EXT. COM - 3RD PARTY
0-10V IN FAN CONTROL
EXT. COM - POT ADJUST
FAN CONTROL
485 MODBUS COM CONTROL
12 34
IFB STANDARD
DIP SWITCH
SETTINGS
IF-1
3 EC
L1
L2
L3
RSA
RSB
GND
COM
NC
I02
YELLOW
BLACK
WHITE
GREEN
WHITE
BLACK
FIELD WIRING BY INSTALLER -
CABLE MUST BE 2 CORE 7/0.30
SHIELDED TWISTED PAIR DATA CABLE
WITH SCREEN WIRE CONNECTED TO
J9FBUS1 "GND" TERMINAL ON OCB IN
OUTDOOR UNIT
GREEN
YELLOW
ACTIVE
RSB (-)
RSA (+)
NEUTRAL
EARTH
LINE 1
LINE 3
LINE 2
CONNECTION
BY INSTALLER
INDOOR FAN
POWER IN
DATA
CONTROL
POWER IN
TO
CONDENSER
UNIT
WHITE
BLACK
(SERVICE
USE ONLY)
DO NOT
REMOVE LOOP
DIP
SWITCH
No. 2
UNIT SET
DIAL
POSITION
INDOOR
FAN
DEFAULT
FAN SPEED
(@100pa)
OFFF
FAN SPEED SET VIA
CP05 & CP10 CONTROLLERS
- FACTORY DEFAULT
FINAL COMMISSIONING
FAN SETPOINT VOLTAGE
Fan Speed:
Date:
.................... V or %
....../....../.....
Rev.
Description
Date
By
PCR
A
ORIGINAL
Revision
A
0515-8804
A5
Size:
Drawing No:
Drawn:
Date:
11-01-2021
JL
Approved:
RL
Date:
11-01-2021
NOTE
When unit is commissioned as a system (Indoor - Outdoor
operation) make sure that the final defined value entered on screen
GFc4 is the same as the Medium speed on CP05.
1 2 3 4
ON
DIP
SWITCH
UNIT SET
SWITCH OFF
DIP SWITCH 2
18.03. Compressor Configuration
External input modes can be set up as per table below
Component
External Input
Configuration
Compressor
Configuration
Procedure
Wiring Diagram
Compressors
24VAC
18.03.01 26.01 /26.03
0-10VDC
18.03.02 26.02 /26.04
To configure the External Input of Compressors control combination, perform the specific configuration procedure
for the Compressors, as detailed below:
Unit control mode is set to EXTERNAL INPUT via Gfc11 screen.
G. Service Gf. Service settings Gfc. Thermoregulation Gfc11. S. Configuration
EXTERNAL INPUT
S. Conguration Gfc11
Unit control mode :
EXTERNAL INPUT
Supply Fan Control :
Select Wall Control :
SINGLE CL01
On screen C1, set the Mode to Auto change over, so the Third Party Control will have full control of the compressor
operation.
By setting the mode to Cool only will restrict the compressor operation to Cool only.
By setting the mode to Heat only will restrict the compressor operation to Heat only.
Auto cycle will cycle the indoor fans on/off with the compressor.
AUTO CHANGE OVER/HEAT/COOL Options
Heat / Cool C1
Mode: AUTO CHANGE OVER
Fan mode: Auto cycle