Optimizing Swept
Signal Generator
Performance
Creating and Applying
the User Flatness
Correction Array
The following examples demonstrate the user atness correction
feature:
1. Using an HP/Agilent 437B p ower meter to automatically enter
correction data for a swept 4 to 10 GHz measurement.
2. Manually entering correction data for a stepped (List Mo de)
measurement.
3. Making swept mm-wave measurements, automatically entering
correction data for an arbitrary list of correction frequencies.
4. Making scalar analysis measurements with automatically-entered
correction data that comp ensates for p ower variations at the
output of a directional bridge.
Each example illustrates how to set up correction tables for a
dierent measurement requirement. Mo dify the instrument setups
shown to suit your particular needs. Completed correction tables
may be easily edited if more correction data is required for y
our
measurement. Additional correction frequencies may b e added
by using the auto ll feature or byentering correction frequencies
individually. The auto ll feature adds but do es not delete correction
frequencies.
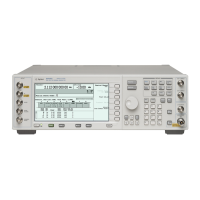
There are two basic front-panel metho ds of creating a atness
correction array. The rst and quickest metho d is to use an
HP/Agilent 437B p ower meter. Refer to Figure 1-18 for the setup.
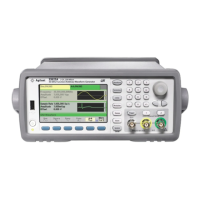
The second metho d is just as accurate, but requires a little more
interaction between the op erator and the instruments. Figure 1-19
shows the setup for the second metho d.
Getting Started Advanced 1-33