8 Maintaining the COC Inlet
To Check the Needle-to-Column Size on the COC Inlet
Maintaining Your GC 127
To Check the Needle-to-Column Size on the COC
Inlet
1 Gather the following:
• Insert, see “Consumables and Parts for the Cool On-Column Inlet” on page 120.
• Syringe needle
2 Place GC in maintenance mode: Maintenance > Instrument > Perform Maintenance >
Maintenance Mode > Start Maintenance. Wait for the GC to become ready.
Be careful! The oven and/or inlet may be hot enough to cause burns. If either is hot, wear
heat-resistant gloves to protect your hands.
Wear safety glasses to protect your eyes from flying particles while handling, cutting, or
installing glass or fused silica capillary columns. Use care in handling these columns to
prevent puncture wounds.
3 Check that the needle is the correct size for the desired column id. If needed, replaced the
needle with one of the correct size. See “Consumables and Parts for the Cool On-Column
Inlet” on page 120, and “To Replace a Needle in a Syringe” on page 135 or “To Replace
the Fused Silica Needle in a Syringe for the COC Inlet” on page 136.
4 Identify the correct insert for the column size. See “Consumables and Parts for the Cool
On-Column Inlet” on page 120. Use the insert that is the same size as the syringe needle to
verify that the column you plan to use is the correct size.
5 Make a clean cut on the end of the column. See “To Install a Capillary Column with the
Cool On-Column Inlet” on page 124.
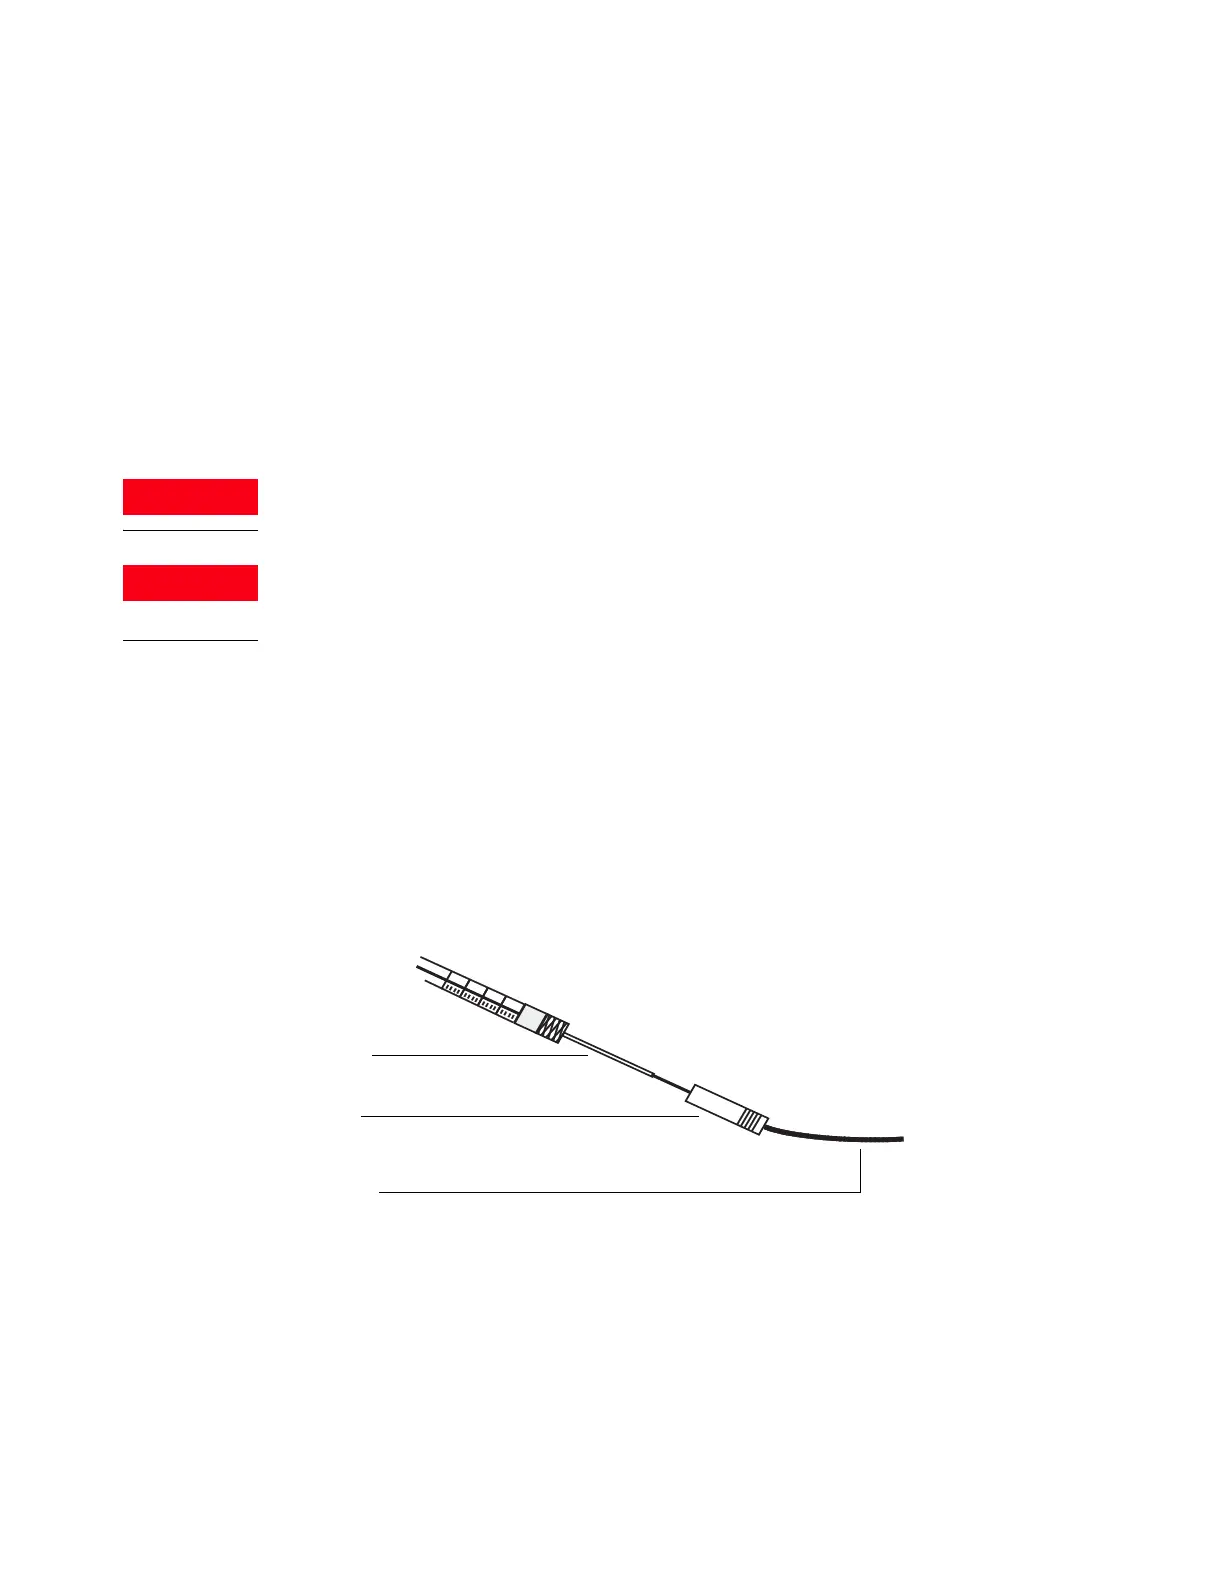
6 Insert the column into one end of the insert.
7 Insert the syringe needle through the other end of the insert and into the column. The
needle should visibly enter the column without any obstruction. If the needle cannot pass
easily into the column, reverse the insert to try the needle and column in the other end.
8 Exit maintenance mode. Select Maintenance > Instrument > Perform Maintenance >
Maintenance Mode > Finished.

 Loading...


