3 Maintaining the GC
To Change the Hydrogen Sensor Calibration Gas Cylinder
Maintaining Your GC 27
To Change the Hydrogen Sensor Calibration Gas
Cylinder
Replace the calibration gas cylinder when you cannot adjust it to provide the correct flow rate
during calibration, or if it expires.
Connect only the Agilent calibration gas to the hydrogen sensor fitting. The calibration gas is
2% hydrogen in air and is not potentially explosive. Gases with higher concentrations of
hydrogen can create a dangerous condition in the oven or damage the hydrogen sensor.
Be careful! The oven and/or detector may be hot enough to cause burns. While hydrogen
sensor calibration can be performed at any temperature, cool the oven and detector to safe
handling temperatures, < 40 °C, before continuing.
1 Make sure the old cylinder is empty.
2 Turn the pressure regulator completely off and set the output pressure as low as possible
(full CCW).
3 Remove the pressure regulator from the old cylinder and install it onto the new cylinder.
4 Install the new cylinder into the stand.
5 Turn on the pressure in the new cylinder.
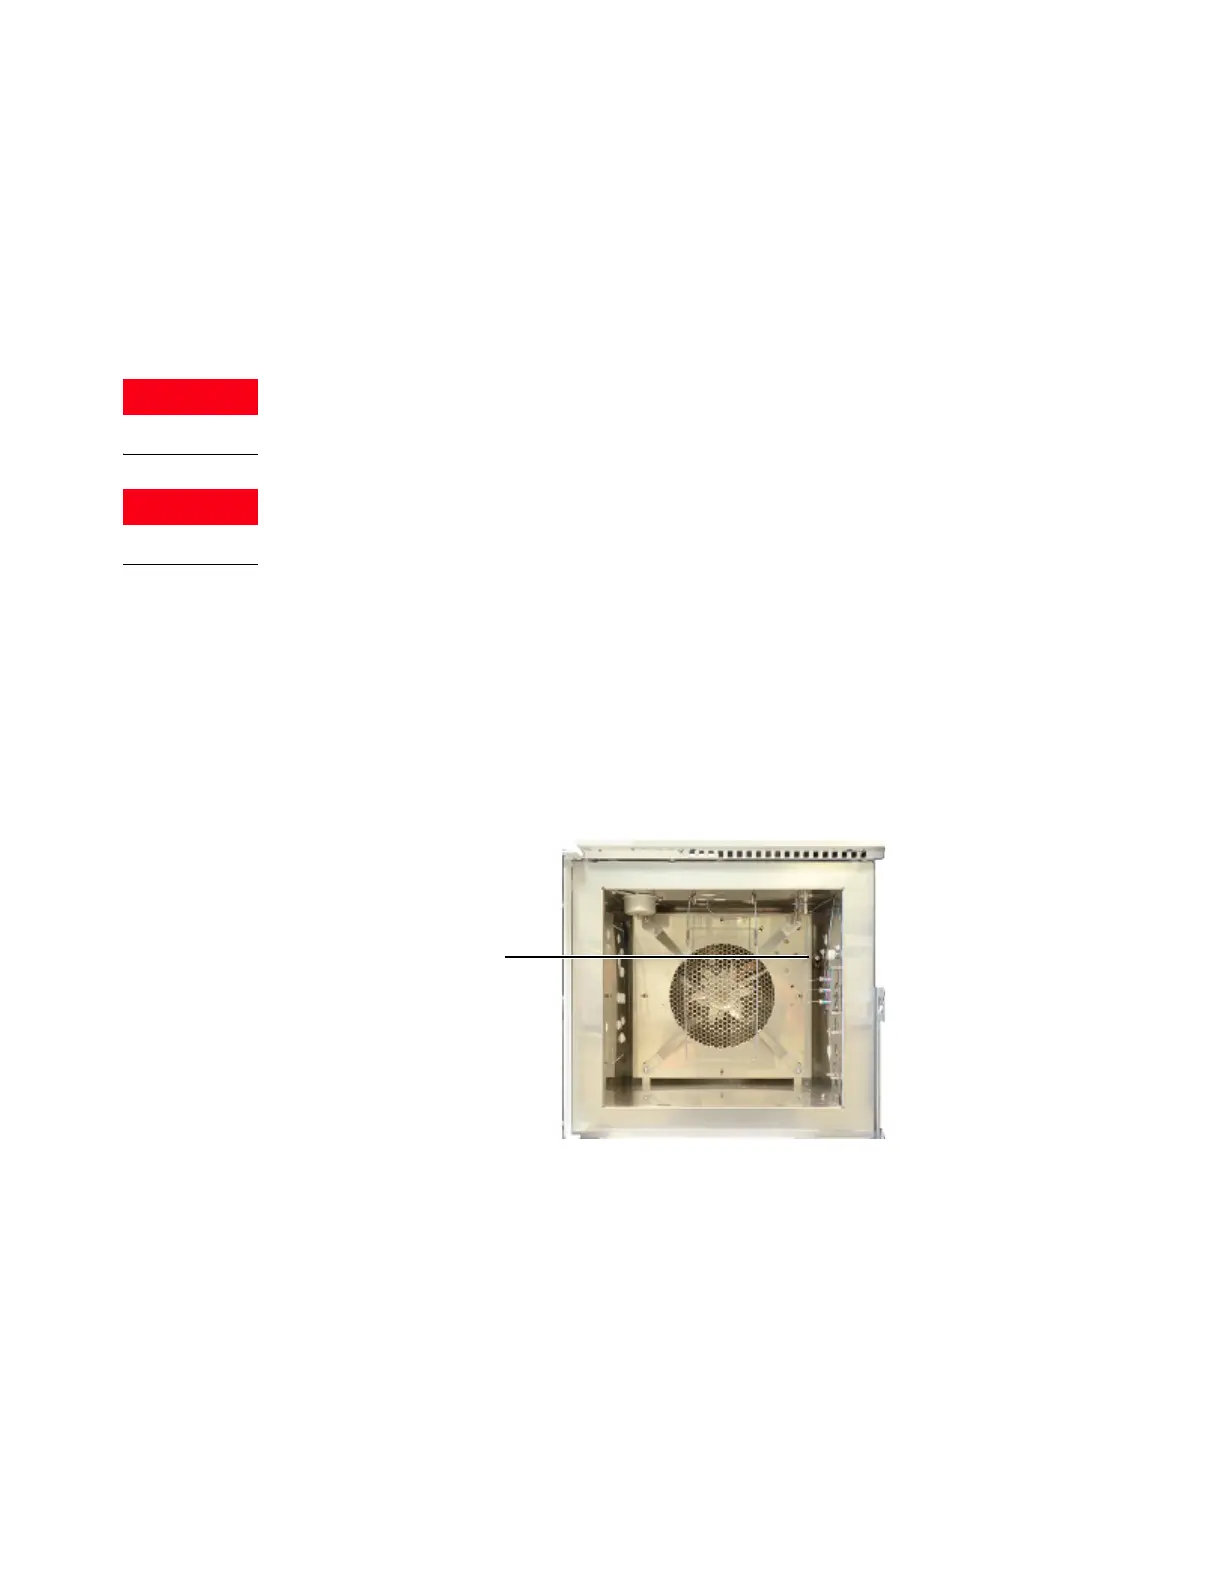
6 Open the GC oven door and connect a flowmeter tube to the sensor tube in the oven.
7 Select Settings > Calibration > Hydrogen Sensor > Start Calibration Cycle? > On/Yes. The
calibration cycle begins. The hydrogen sensor module will wait to stabilize, then will begin
to send calibration gas across the sensor.
8 While continuing to measure the flow rate from the tube, adjust the pressure regulator on
the calibration gas cylinder until the flow rate is approximately 30 mL/min. Remove the
flowmeter and close the oven door.
9 Allow the calibration cycle to complete (approximately 5 minutes total).
10 Check for leaks.
Connect the flow
meter to the hydrogen
sensor tube next to
the oven heater

 Loading...


