7 Maintaining the Packed Column Inlet
To Install a Packed Glass Column
Maintaining Your GC 115
To Install a Packed Glass Column
1 Gather the following:
• 9/16-inch wrench
• Two 1/4-inch brass nuts. See “Consumables and Parts for the Packed Column
Inlet” on page 96.
• Two 1/4-inch Vespel/graphite ferrules
• Lint-free gloves
2 Launch the GC maintenance wizard: Maintenance > Column > Perform Maintenance >
Install Column > Start Maintenance. Wait for the GC to become ready.
The wizard will walk through the steps needed to replace the septum (those same steps
are repeated below).
Be careful! The oven, inlet, and/or detector may be hot enough to cause burns. If the oven,
inlet, or detector is hot, wear heat-resistant gloves to protect your hands.
Wear clean, lint-free gloves to prevent contamination of parts with dirt and skin oils.
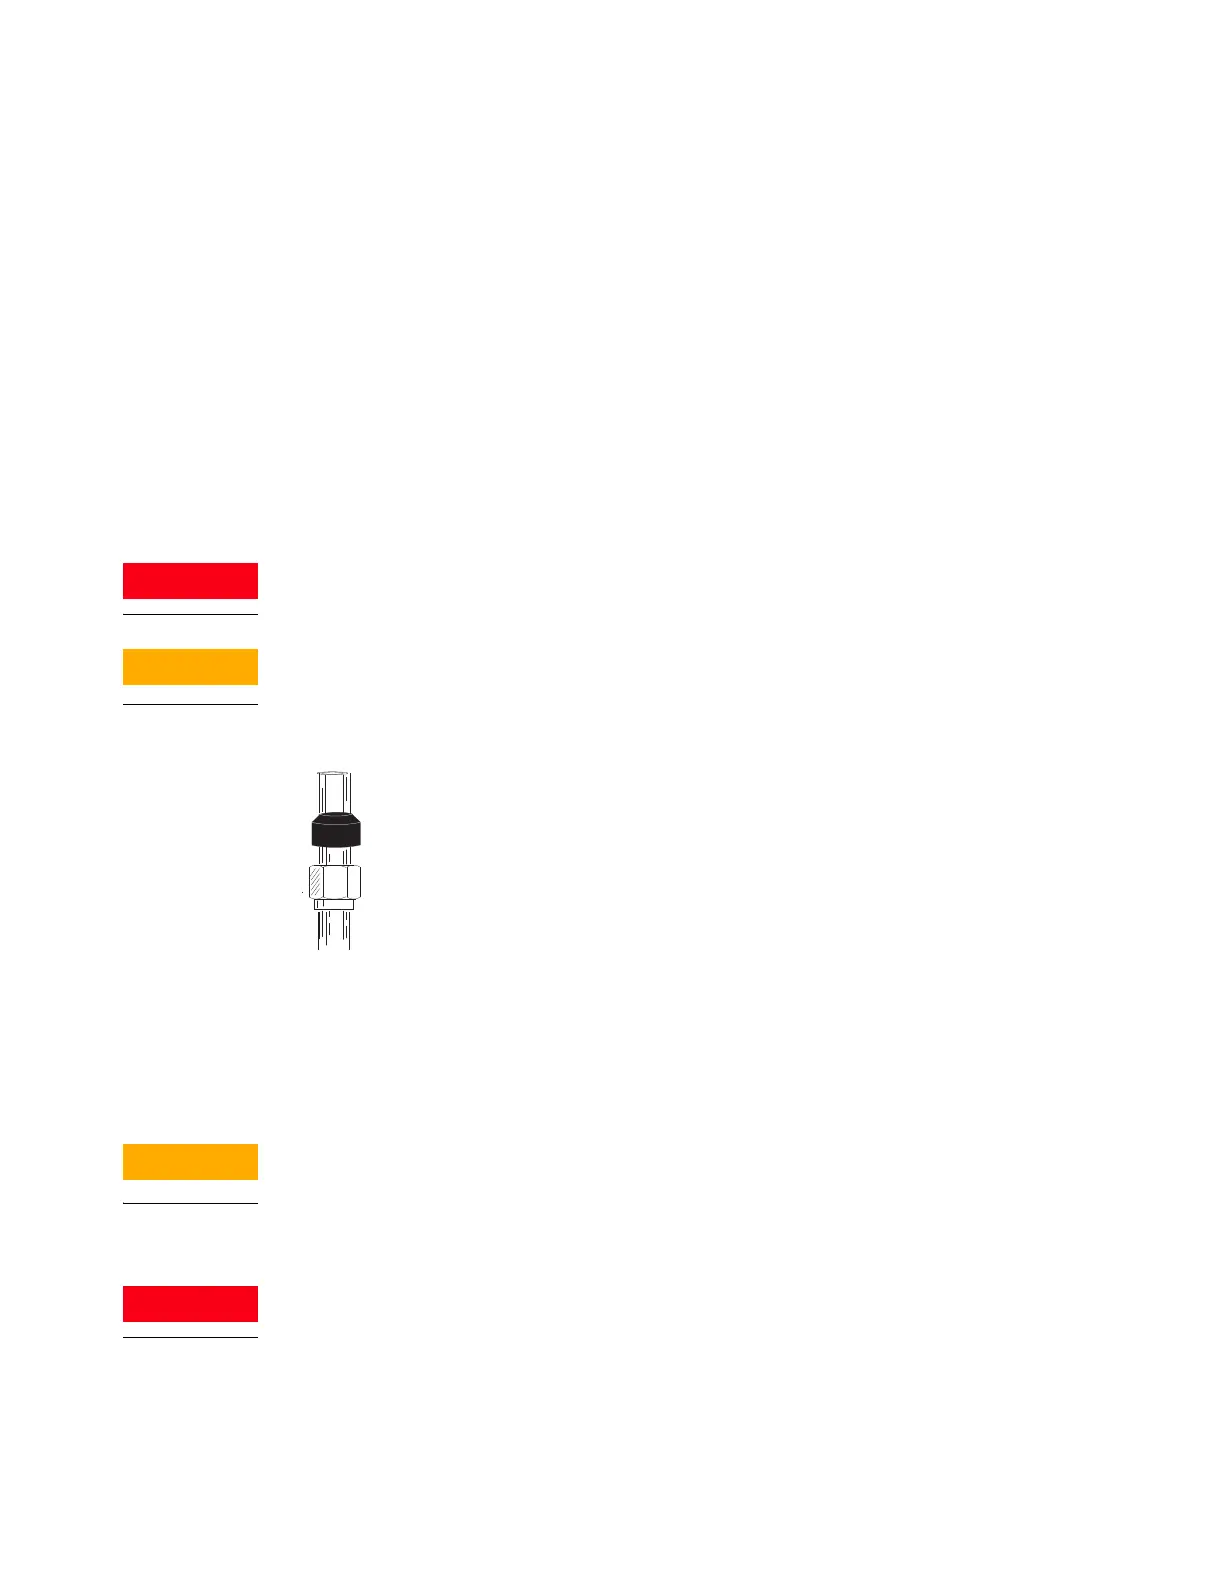
3 Assemble a brass nut and Vespel/graphite ferrule on each end of the column.
Glass columns must be simultaneously inserted into the inlet and detector and installed
parallel to the oven door. When conditioning the column, do not attach the column to the
detector.
4 If conditioning the column, insert the column into the packed column inlet until it bottoms.
Withdraw the column 1 to 2 mm. Finger-tighten the inlet column nut. See “To Condition a
Packed Column” on page 117.
Overtightening the column nut or forcing it to bottom in either the inlet or detector may
shatter the column.
5 Tighten the inlet column nut 1/4 turn with a wrench.
Do not use hydrogen as the carrier for conditioning! It could vent into the oven and present an
explosion hazard.
6 After conditioning, remove the column from the inlet.

 Loading...


