5 Maintaining the Split/Splitless Inlet
To Clean the Septum Seat in the Insert Assembly of the Split/Splitless Inlet
52 Maintaining Your GC
To Clean the Septum Seat in the Insert Assembly of
the Split/Splitless Inlet
1 Gather the following:
• Replacement septum, see “Consumables and Parts for the Split/Splitless Inlet” on
page 42.
• Wrench, hex for changing septum
• 0- or 00-grade steel wool (optional)
• Tweezers
• Compressed, filtered, dry air or nitrogen
• Wrench, capillary inlet (optional)
2 Manually set the inlet and oven temperature to < 40 °C, and wait for the inlet, oven, and
other parts you might come into contact with inside the oven, to cool before continuing.
Alternately, place the GC in maintenance mode: Maintenance > Instrument > Perform
Maintenance > Maintenance Mode > Start Maintenance.
Be careful! The oven and/or inlet may be hot enough to cause burns. If either is hot, wear
heat-resistant gloves to protect your hands.
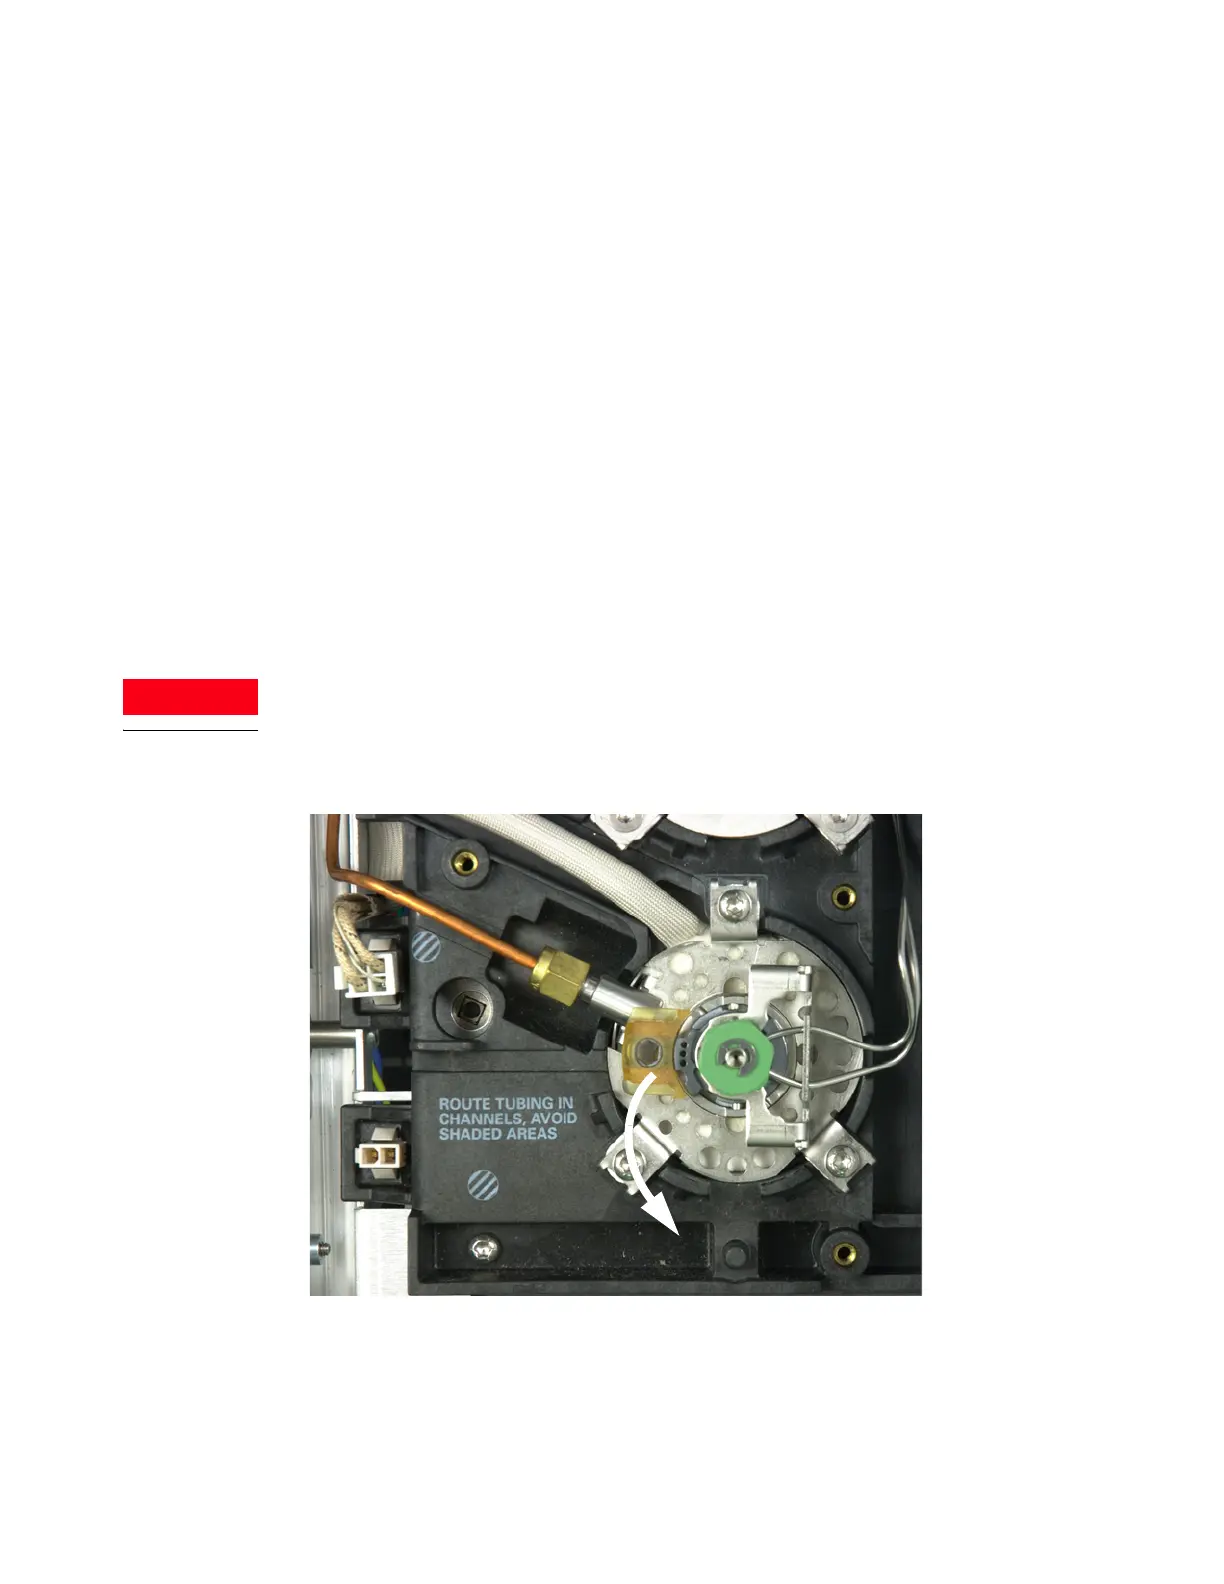
3 Slide the locking tab forward (counterclockwise). Lift the insert assembly straight up and
away from the inlet to avoid chipping or breaking the liner.
4 Remove the septum retainer nut or Merlin cap.
5 Use tweezers to remove the septum or Merlin Microseal from the retainer nut. See “To
Change the Septum on the Split/Splitless Inlet” on page 50.

 Loading...


