5 Maintaining the Split/Splitless Inlet
To Clean the Septum Seat in the Insert Assembly of the Split/Splitless Inlet
Maintaining Your GC 53
6 Scrub the residue from the retainer nut and septum holder with a small piece of rolled-up
steel wool and tweezers. Do not do this over the inlet.
7 Use compressed air or nitrogen to blow away the pieces of steel wool and septum.
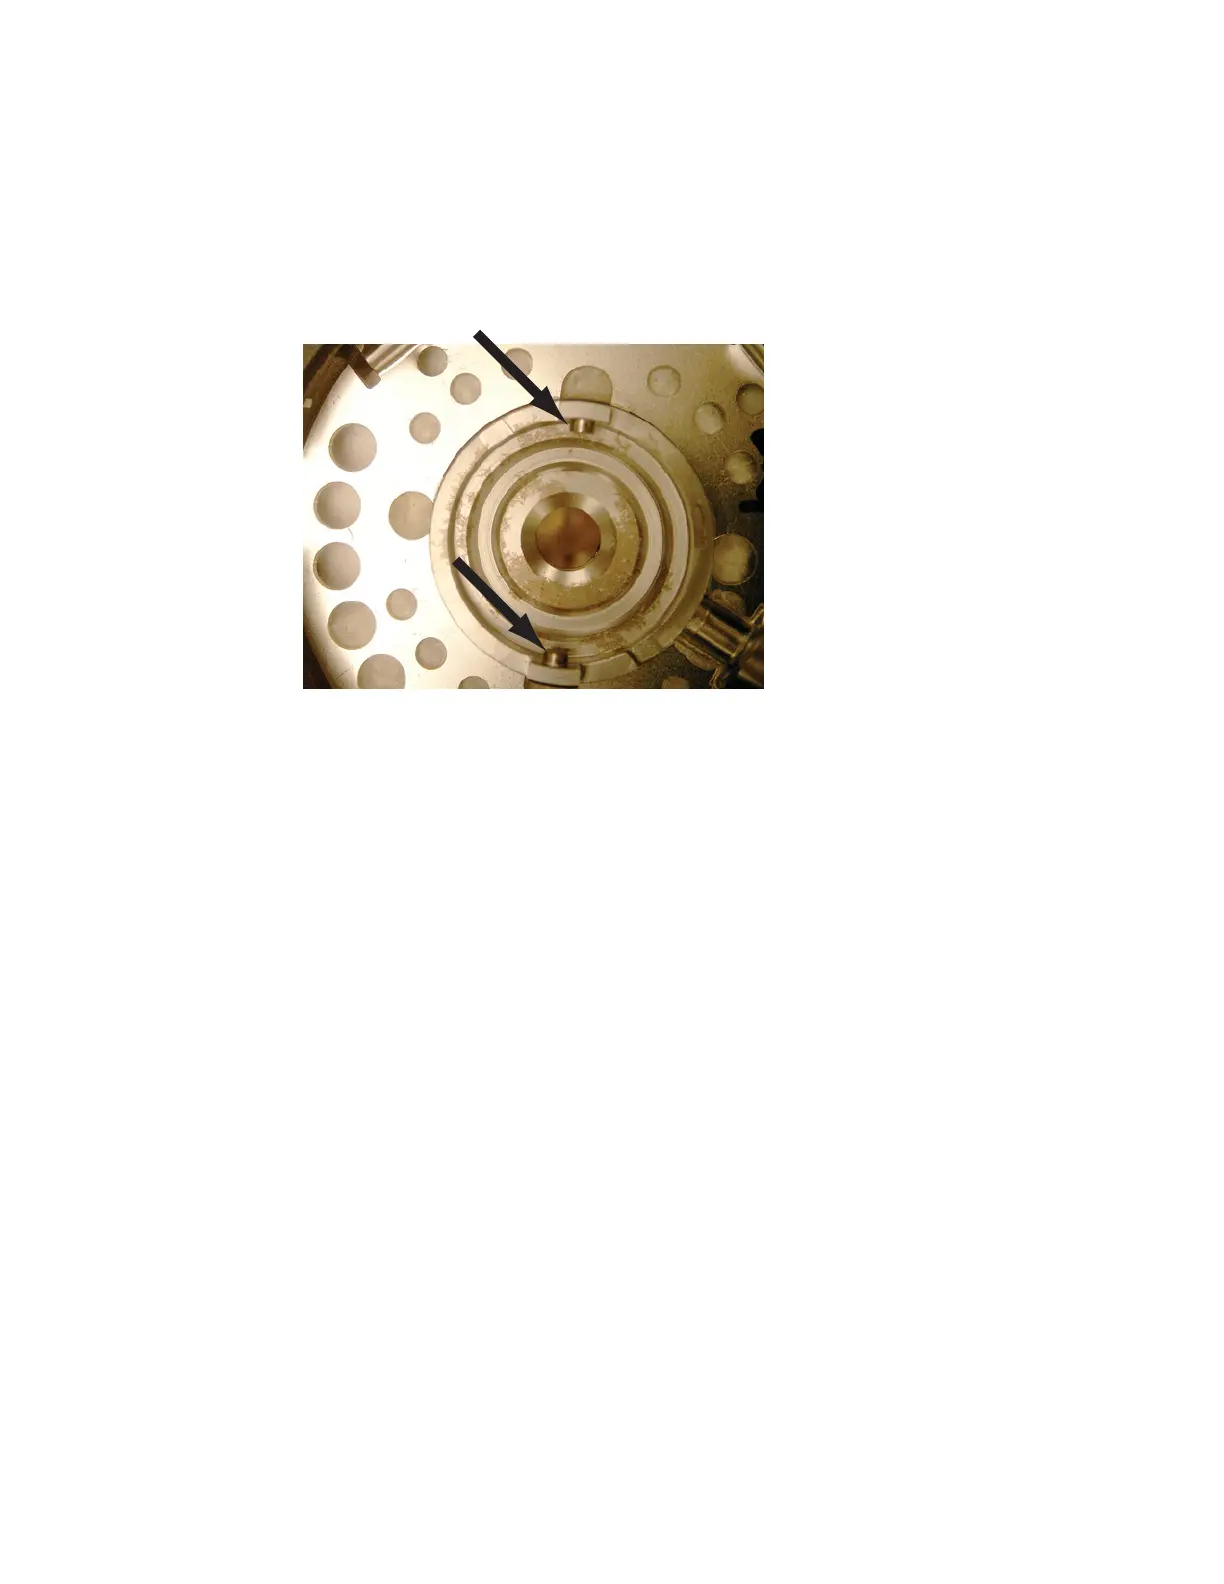
8 Line up the tab on the bottom of the insert assembly with the slot on the inlet body and
push down to connect. Slide the locking tab to the left.
9 Firmly press the new septum or Merlin Microseal into the fitting. See “To Change the
Septum on the Split/Splitless Inlet” on page 50.
10 Replace the septum retainer nut or Merlin cap and finger-tighten. See “To Change the
Septum on the Split/Splitless Inlet” on page 50.
11 Exit maintenance mode. Select Maintenance > Instrument > Perform Maintenance >
Maintenance Mode > Finished.
12 Select Maintenance > Inlet > Septum injections, then select Reset.
13 Perform a Leak & Restriction test.
14 Restore the analytical method.

 Loading...


