5 Maintaining the Split/Splitless Inlet
To Install a Capillary Column with the Split/Splitless Inlet
48 Maintaining Your GC
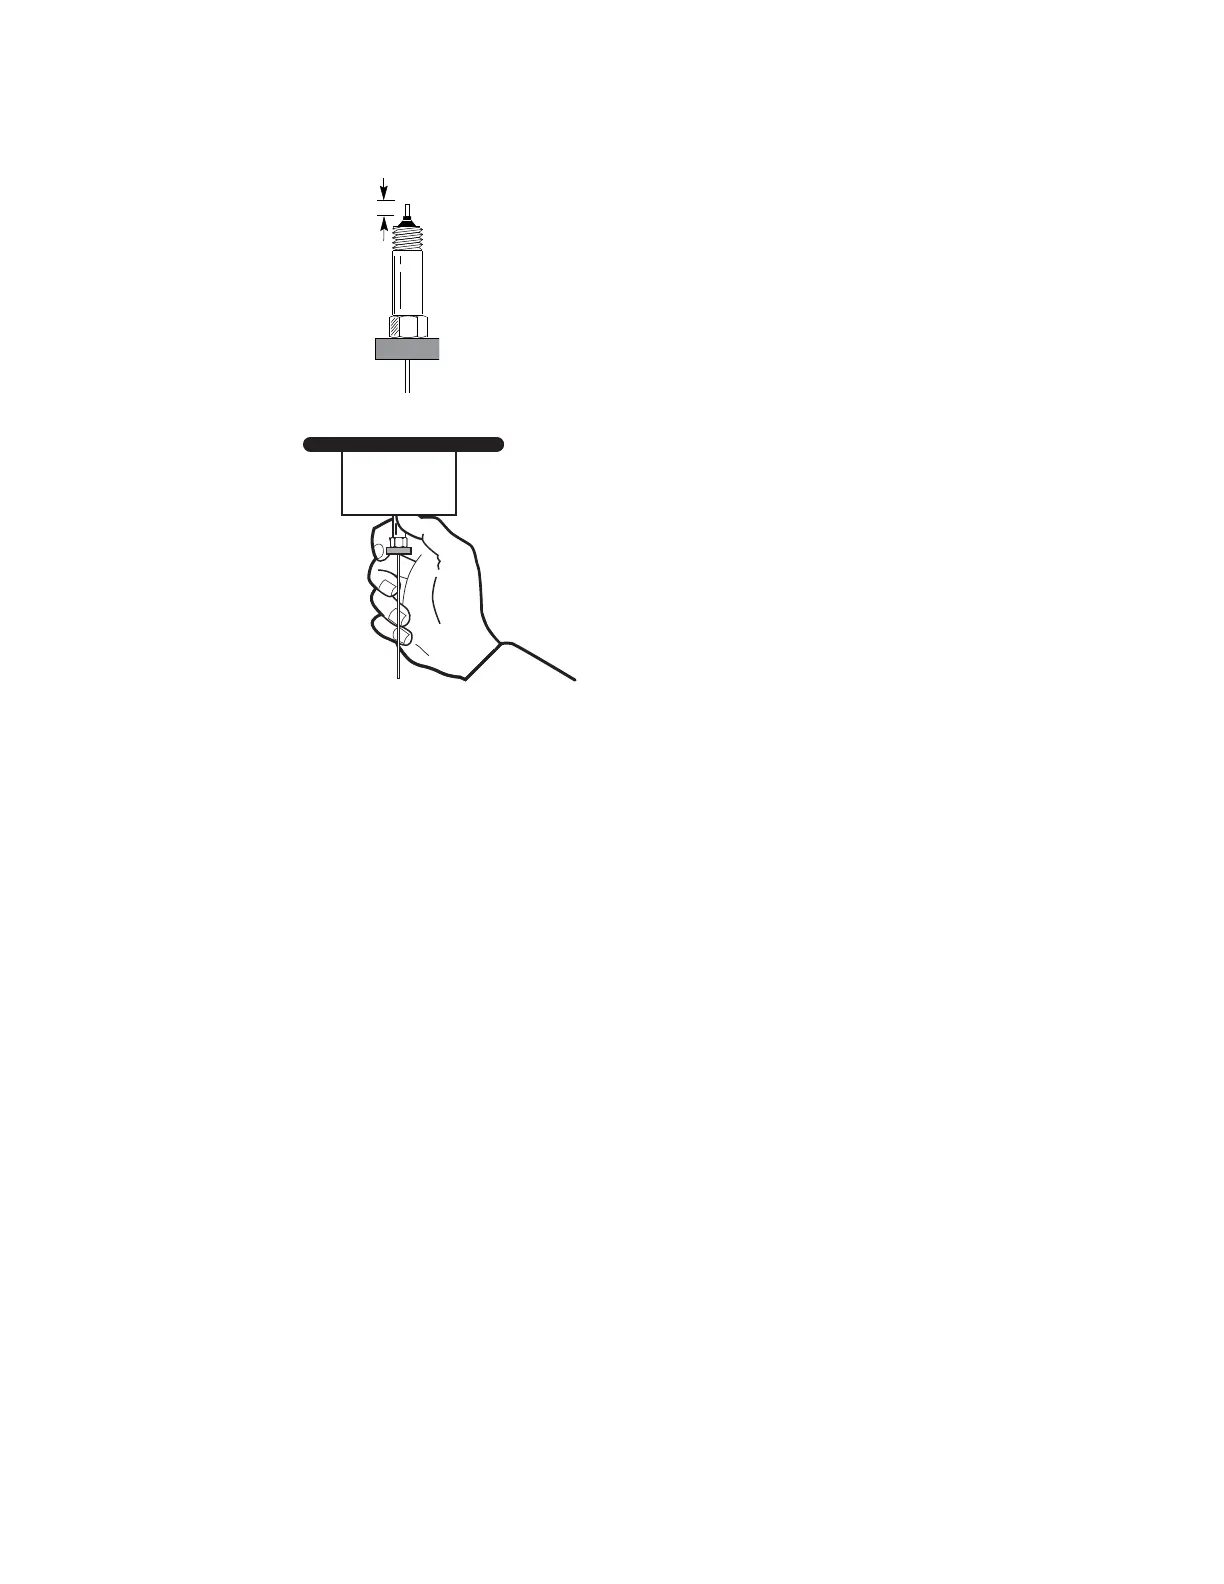
10 Thread the column nut into the inlet but do not tighten.
11 Adjust the column position so that the septum contacts the bottom of the column nut.
Finger-tighten the column nut until it begins to grip the column.
12 Tighten the column nut an additional 1/4 to 1/2 turn with a wrench so that the column
cannot be pulled from the fitting with gentle pressure.
13 Configure the new column.
14 Condition the column per the manufacturer’s recommendation. See To Condition a
Capillary Column.
15 Install the column into the detector.
• To Install a Capillary Column in the FID
• To Install a Capillary Column in the NPD
• To Install a Capillary Column in the TCD
• To Install a Capillary Column in the ECD
• To Install a Capillary Column to the FPD+
16 The GC maintenance wizard will perform checks at the appropriate times, including Leak &
Restriction tests, and will automatically reset the maintenance counters.
17 Select Finished, then select OK to exit the GC maintenance wizard.
18 After the column is installed at both inlet and detector, establish a flow of carrier gas and
purge as recommended by the column manufacturer.
19 Restore the analytical method.
• For FIDor FPD+, immediately turn off the flame.
• For NPD, immediately turn off the bead.
20 After the GC becomes ready, wait 10 minutes then ignite the detector flame or bead.

 Loading...


