19 Publication 1763-UM001E-EN-P - June 2015
Chapter
2
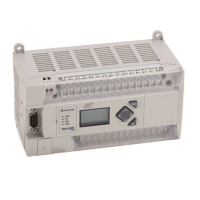
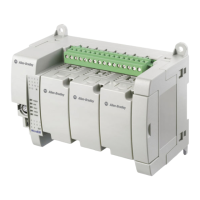
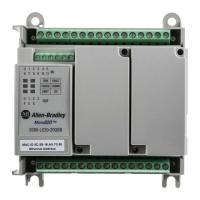
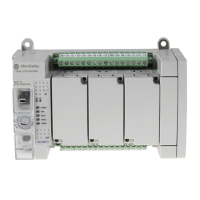
Installing Your Controller
This chapter shows you how to install your controller. The only tools you
require are a flat or Phillips head screwdriver and drill. Topics include:
• agency certifications
• compliance to European Union Directives
• installation considerations
• safety considerations
• power considerations
• preventing excessive heat
• master control relay
• installing a memory module
• using the battery
• controller mounting dimensions
• controller and expansion I/O spacing
• mounting the controller
• mounting 1762 expansion I/O
• connecting 1762 expansion I/O
Agency Certifications
• UL Listed Industrial Control Equipment for use in Class I, Division 2,
Hazardous Locations, Groups A, B, C, D
• C-UL Listed Industrial Control Equipment for use in Canada
• CE marked for all applicable directives
• C-Tick marked for all applicable acts
Compliance to European
Union Directives
This product has the CE mark and is approved for installation within the
European Union and EEA regions. It has been designed and tested to meet
the following directives.
 Loading...