186 Rockwell Automation Publication 1560F-UM001A-EN-P - June 2019
Chapter 9 Troubleshooting
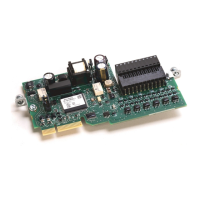
Measure across R25, R27, R29, R31, R33, and R35 located at the bottom
of each leg of the module. The resistance should be 11.3 kΩ. (The two
ground connections must be connected to ground, or to each other if the
module has been removed.)
If the values for each leg vary by more than 1%, the voltage sensing module
may need to be replaced. See Appendix H
and refer to procedure on
page 167
.
The ribbon cable must be connected to J1 only on the voltage sensing
board or the equipment will not function.
4. When repairs are complete, re-assemble all parts, check all fasteners, and
verify all connections are correct and tight. Make sure all barriers and
mechanical parts are in place and secured.
5. Repeat Thyristor (SCR) resistance checks (page 170
) and Power Supply
Tests (page 77
).
Snubber Resistor
Replacement
When replacing the ceramic wire-wound type snubber resistors, use caution
when handling the parts. The resistor element is under a thin coating on the
ceramic tube, and it may be damaged if dropped, struck or scraped.
ATTENTION: Grounds must be reconnected on the voltage sensing
boards. Failure to do so may result in injury, death or damage to
equipment.
The white high voltage wires must be connected to the correct tap on
each leg of the voltage sensing module. Failure to do so may result in
equipment damage.
ATTENTION: Make sure ground wires from the Voltage Sensing Module
are securely connected to the ground bar in the low voltage panel or
ground bus. Failure to do so may result in severe injury or equipment
damage.
 Loading...
