All rights reserved. Reproduction of this document, even in part, is only permitted with the approval of alpitronic Srl.
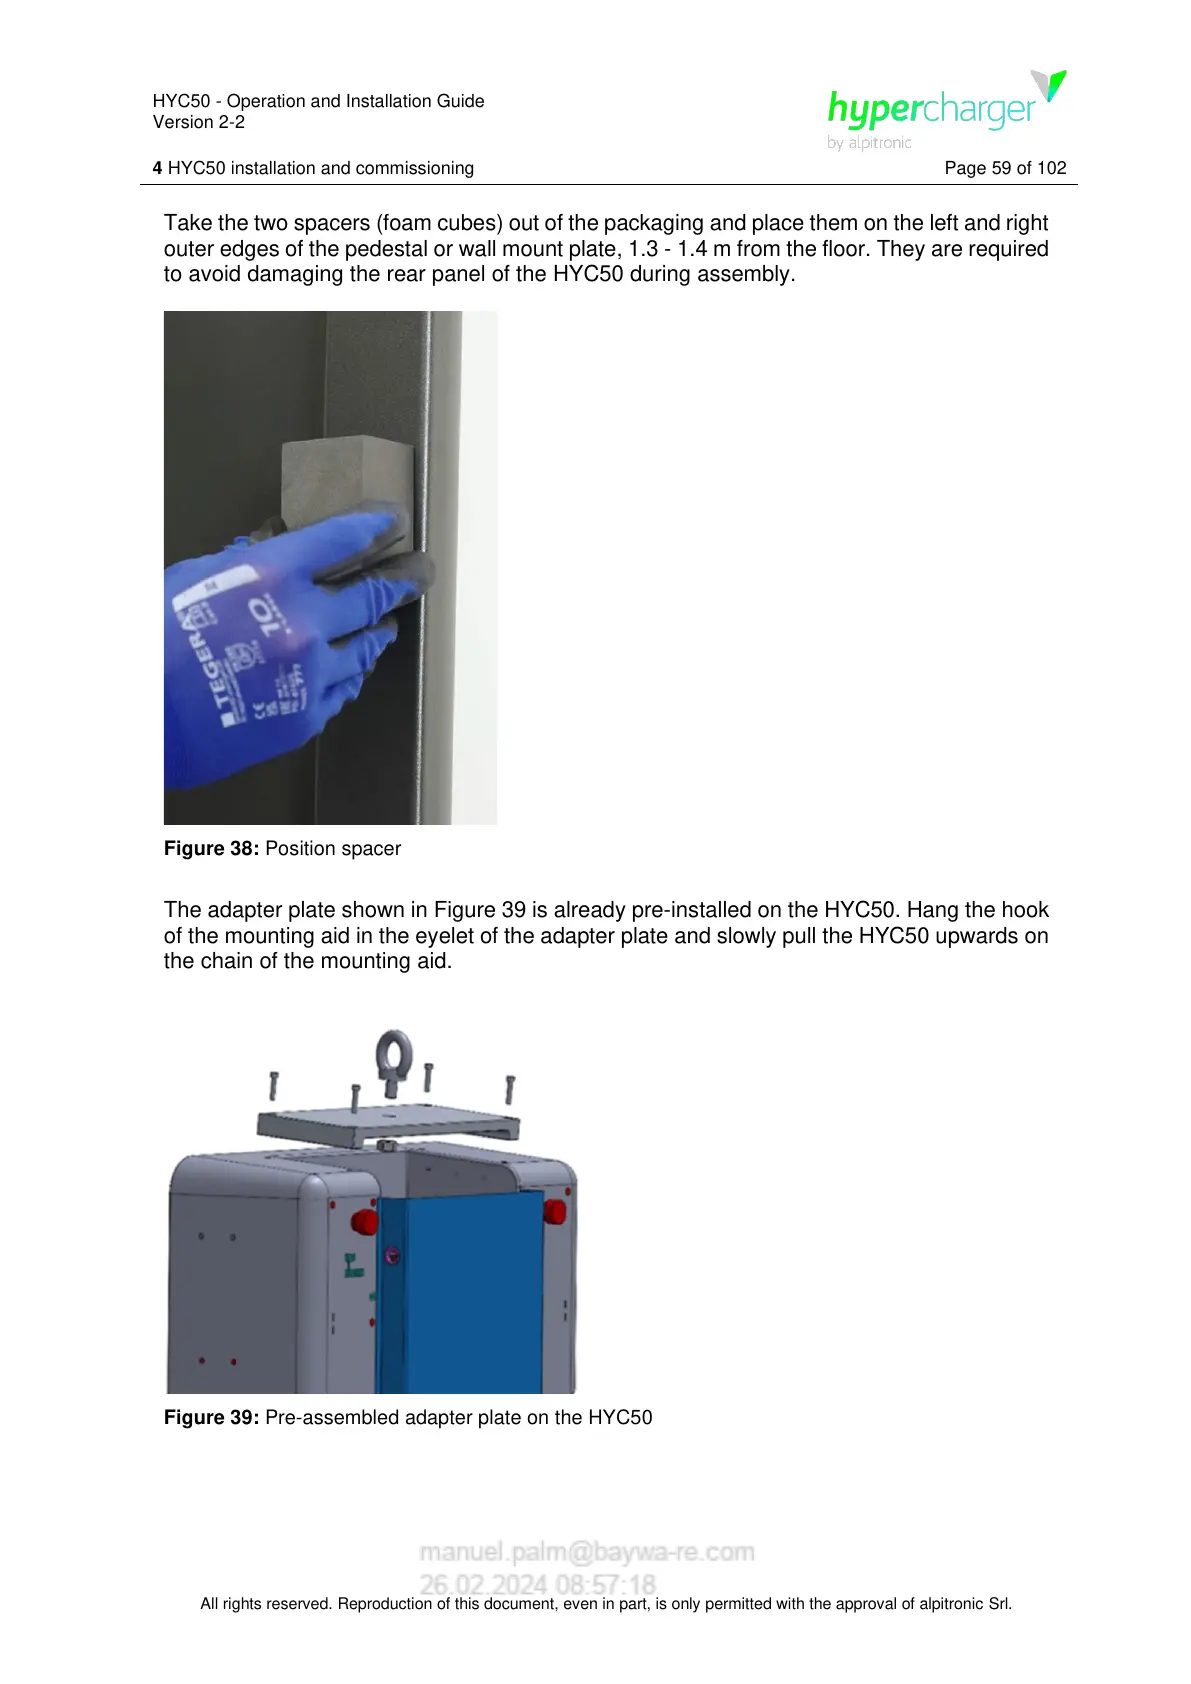
Take the two spacers (foam cubes) out of the packaging and place them on the left and right
outer edges of the pedestal or wall mount plate, 1.3 - 1.4 m from the floor. They are required
to avoid damaging the rear panel of the HYC50 during assembly.
Figure 38: Position spacer
The adapter plate shown in Figure 39 is already pre-installed on the HYC50. Hang the hook
of the mounting aid in the eyelet of the adapter plate and slowly pull the HYC50 upwards on
the chain of the mounting aid.
Figure 39: Pre-assembled adapter plate on the HYC50