HYC50 - Operation and Installation Guide
Version 2-2
4 HYC50 installation and commissioning
All rights reserved. Reproduction of this document, even in part, is only permitted with the approval of alpitronic Srl.
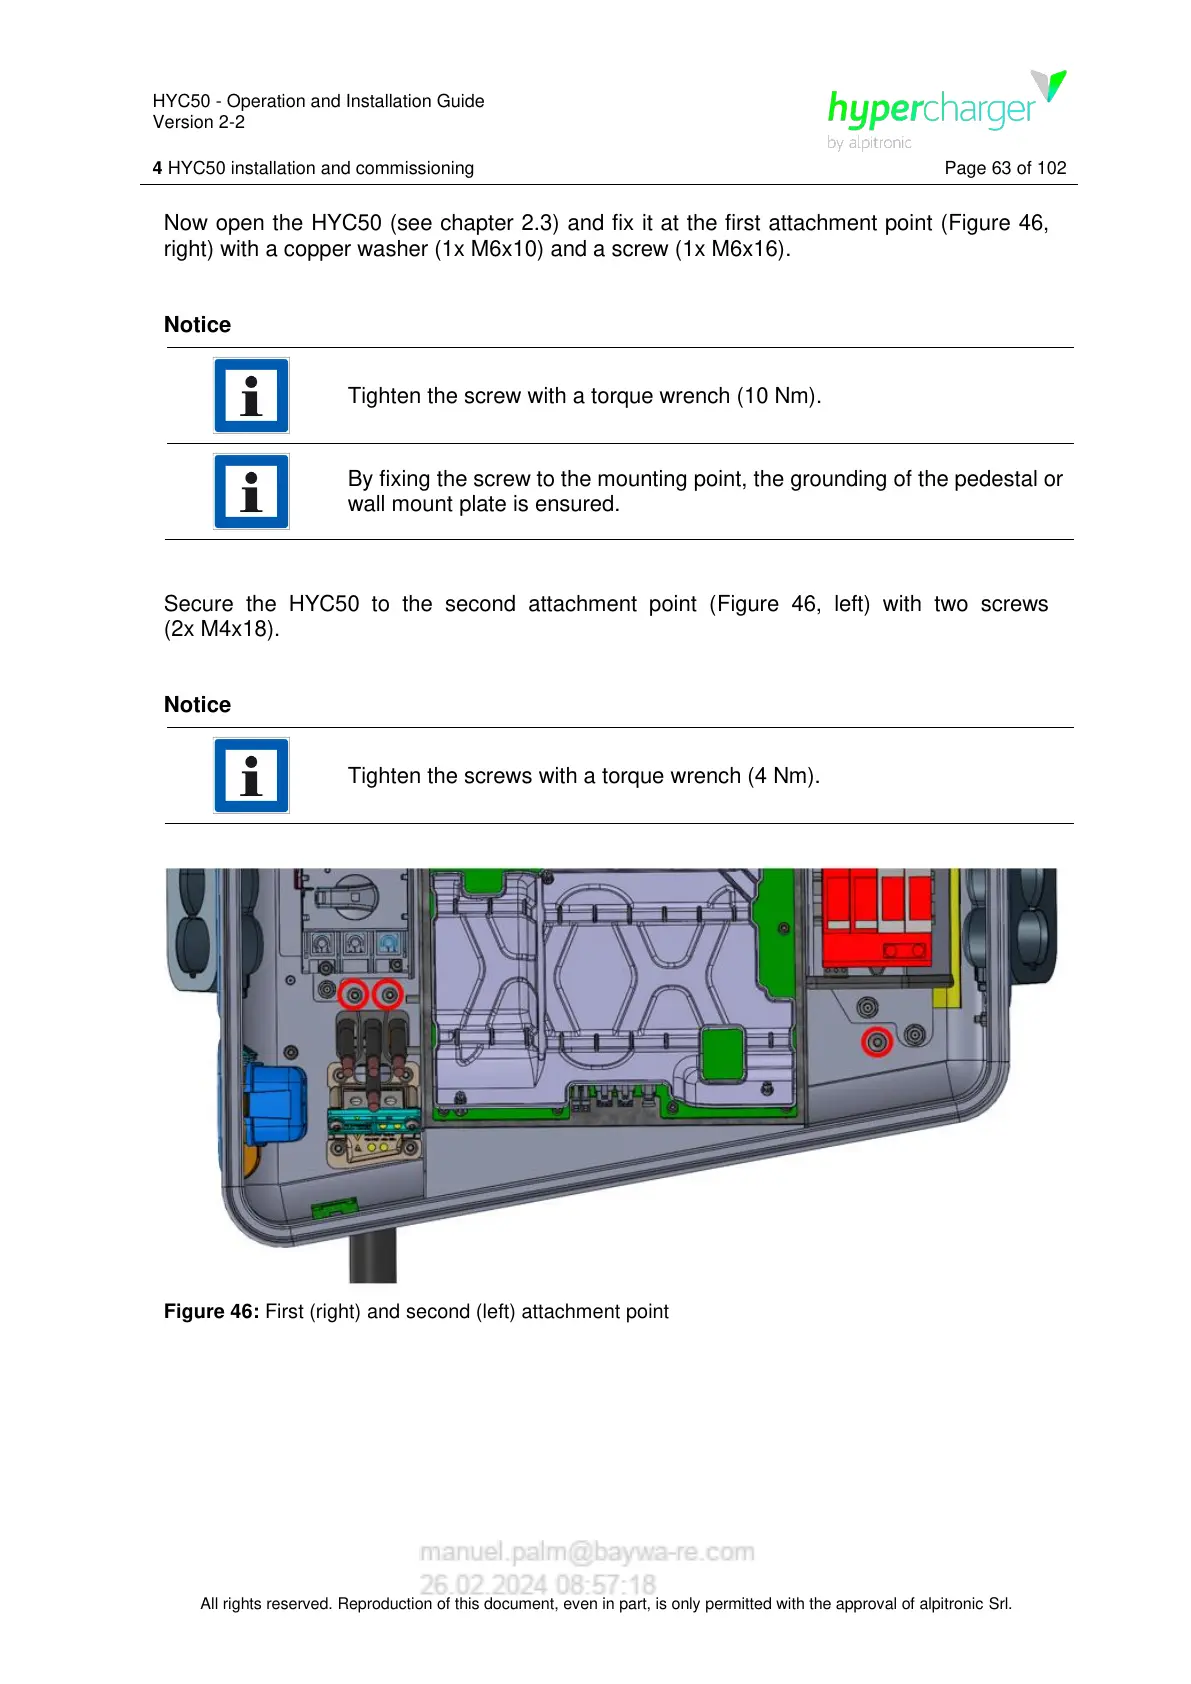
Now open the HYC50 (see chapter 2.3) and fix it at the first attachment point (Figure 46,
right) with a copper washer (1x M6x10) and a screw (1x M6x16).
Notice
Tighten the screw with a torque wrench (10 Nm).
By fixing the screw to the mounting point, the grounding of the pedestal or
wall mount plate is ensured.
Secure the HYC50 to the second attachment point (Figure 46, left) with two screws
(2x M4x18).
Notice
Tighten the screws with a torque wrench (4 Nm).
Figure 46: First (right) and second (left) attachment point
 Loading...