Installation and Setup
61
Instruction Manual – Enova DGX 8/16/32/64 Digital Media Switchers
Serial Communication Settings
If you are controlling the system with a serial controller, use serial communication software and make sure the baud rate
is set correctly for the system. The recommended settings (default settings) for serial communication with Enova DGX
Switchers are listed in the table on the previous page.
Enova DGX Switchers support baud rates of 9600 (default), 19200, 38400, and 57600. The settings on the PC serial
communication software and the enclosure must correspond to each other. If a change is required to make them match,
changing the PC’s settings is preferable. If you decide to change the enclosure’s settings instead, use XNConnect
configuration software (see the Help file).
Serial Connection via Control (USB) Port
Controlling an Enova DGX Switcher using a connection through the USB Control port requires the creation of a virtual
COM port. Once created, the virtual COM port is used as if it were a standard serial connection and can connect to a
control application or to a terminal emulation program for BCS control. For terminal emulation, use the Terminal view in
DGX Configuration Software (see page 187) or another terminal emulation program (e.g., TeraTerm, PuTTY, or
HyperTerminal).
Important: Enova DGX 64 only – the baud rate must
be 115200 for the enclosure’s USB port when it is in
serial port mode.
Important: You must have adequate rights to install USB device drivers to the PC. Check with your System
Administrator to be sure you have the required access.
If you are establishing a new connection, complete all of the steps in the instructions starting below.
Or
If you are reconnecting after previously establishing a USB connection, complete Steps 2 and 3 and then set up and
run the desired software program or utility.
To attach a PC to the USB (mini-B) port and establish a virtual COM port:
1.
Download the APBridge.inf file, which is located at www.amx.com (enter APBridge in the Search AMX.com field
in the upper right-hand corner of the site). No user permissions are required.
2. Apply power to the enclosure (see page 42).
3. Connect the enclosure to a PC running Windows with USB cable (FIG. 37).
4. If establishing a new connection, complete the remaining steps.
Or
If reconnecting after previously establishing a USB connection, go to Step 11 to run the desired software.
Note: The following dialog boxes appear only during the initial USB connection. Once the virtual COM port
has been assigned to the enclosure, the dialog boxes do not appear again. If they do appear, you have
connected the USB plug to a different COM port on the PC than the initial one – either switch to the initial
COM port or establish a virtual COM port for the new port on the PC.
The Driver Software Installation window appears. Click Close.
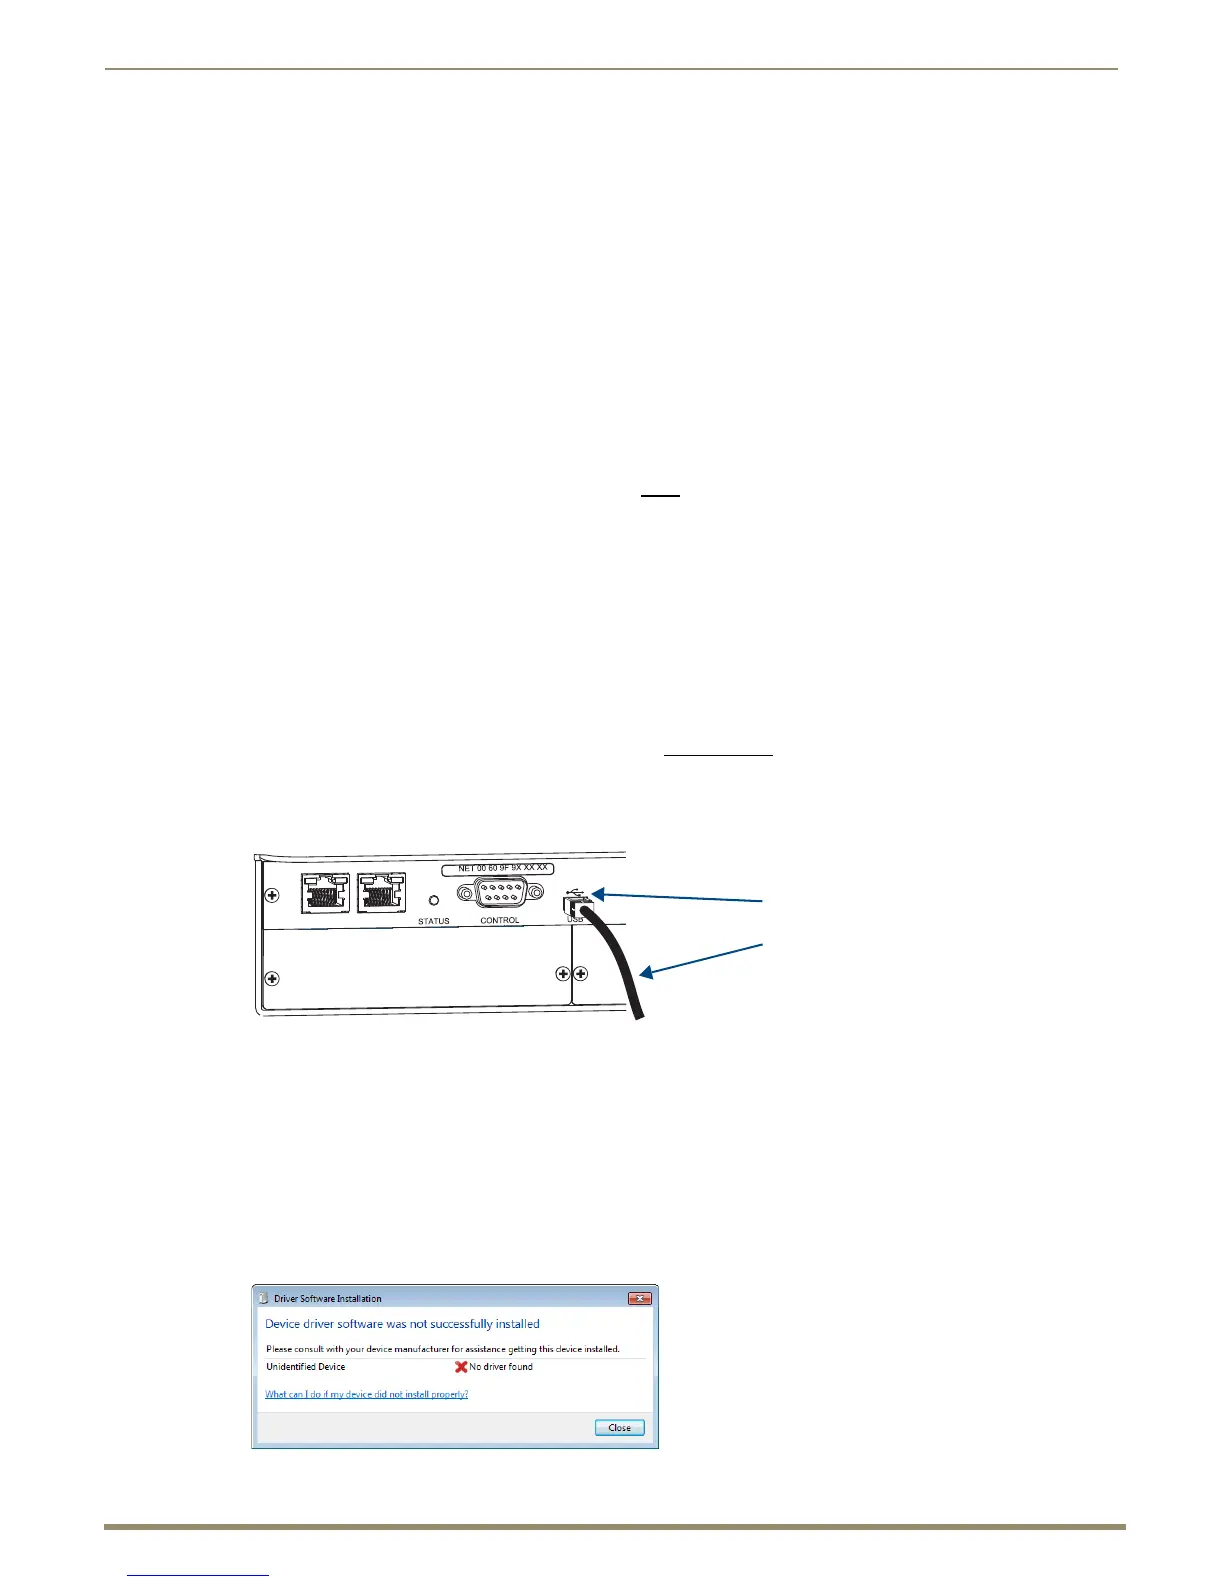
FIG. 37 USB cable connected to USB port on Enova DGX 32 and to PC
USB cable to PC
USB (mini-B) port

 Loading...


