Indication duringIndication during
chargingcharging
6. When installing the battery, note the direction of the battery terminals. With
the instrument placed on its back - and the battery compartment in front of
you - the terminals should be in the upper left corner.
7. Re-install the battery compartment door and tighten the lock screw.
22..33..22 Charging BatteryCharging Battery
The battery automatically charges anytime the instrument is plugged in to a live
AC power source using the AC adapter.
When two transport modules are installed in the Network Master, the batteries are not
charged while power is turned on.
To charge the batteries, turn the power off.
When the AC adapter is connected and plugged in, the Power button flashes
rapidly in orange while the instrument boots up. After approx. 30 seconds, the
button then flashes slowly to indicate the battery is charging. Flashing stops
when the charging is complete. If the battery is defective - the Power button will
also light. Therefore, the best way to check the battery status is to switch on the
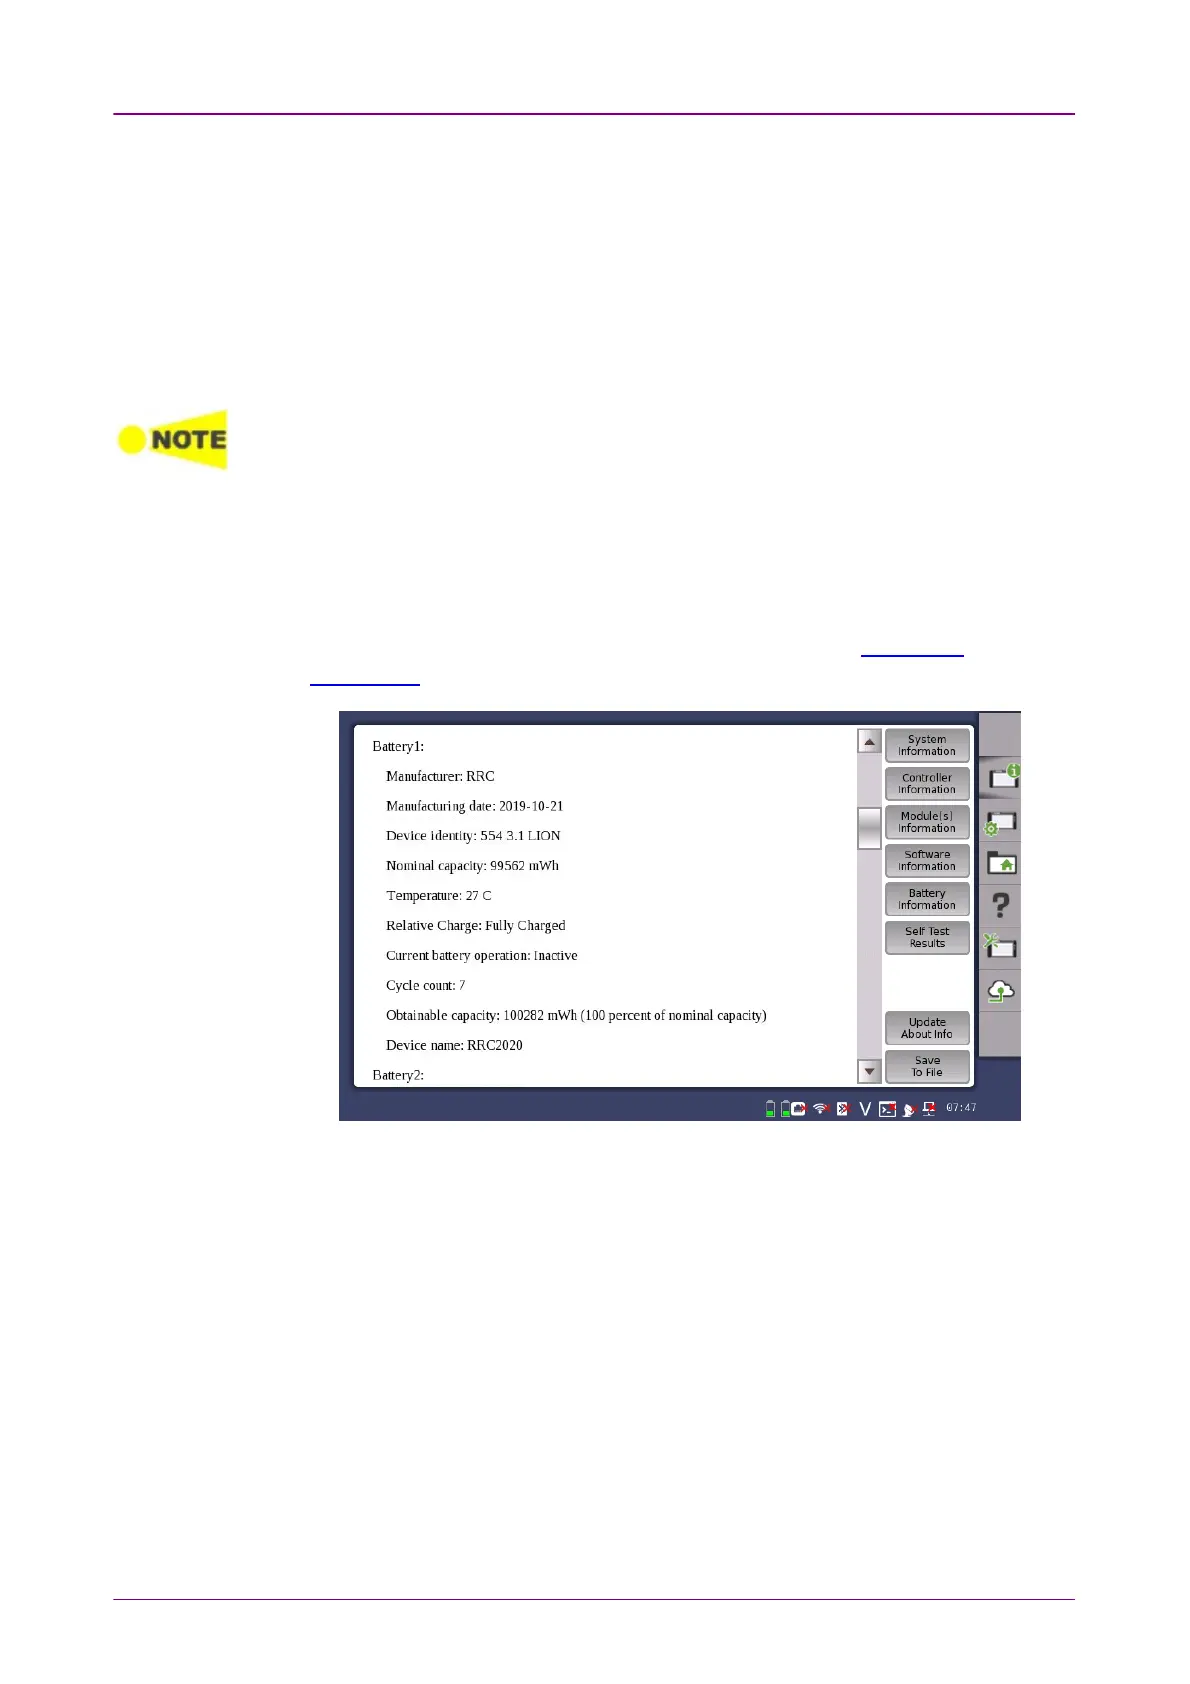
Network Master and observe the battery information in the Instrument
information on Instrument toolbar.
Example of Battery Information
The battery status can be checked in the status bar if the battery indicator is
displayed there. See the "Battery Status Information" section below.
22..33..33 Battery Status InformationBattery Status Information
The battery icon is displayed in the status line at the bottom of the screen.
The following icons are used to indicate the current battery status: