TM 9-4935-601-14-7&P
Model 8640B
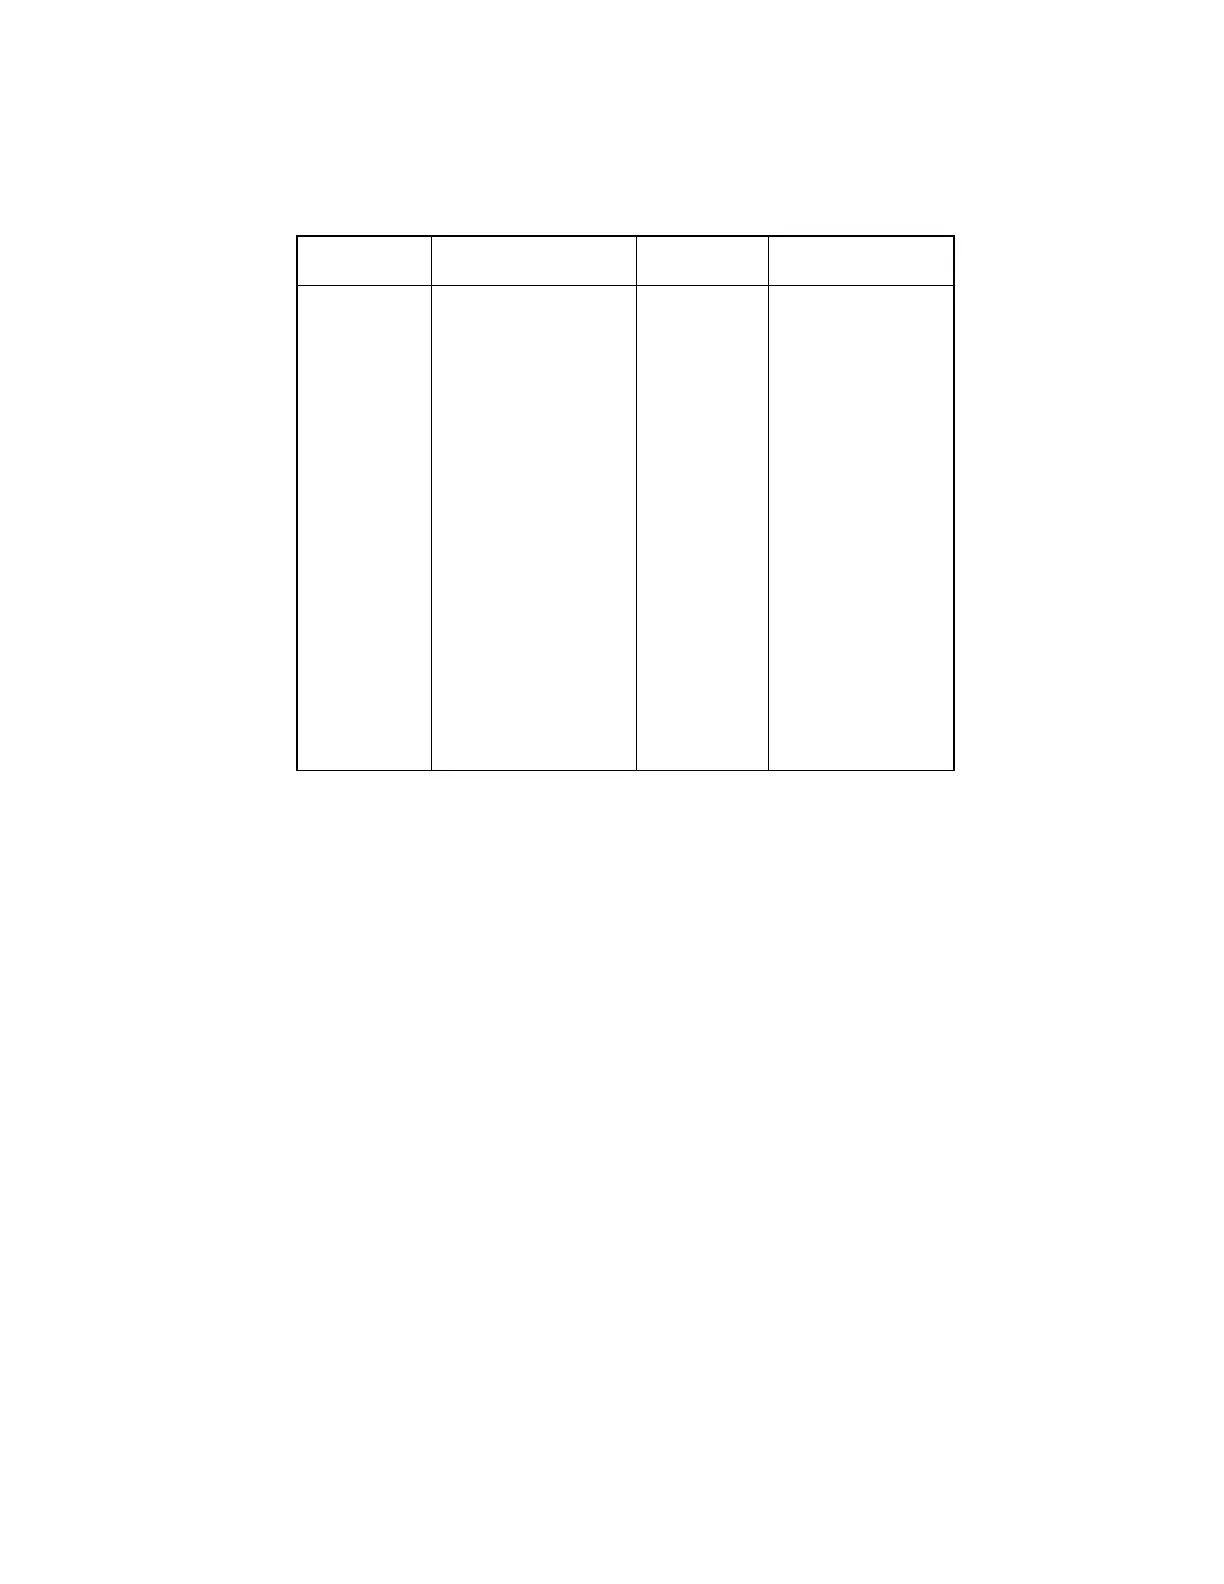
A9A1 Switch Assembly Legend
Item Reference Item Reference
Number Designator Number Designator
1 A9A1MP31 22 A9A1MP3-5
2 A9A1MP30 23 A9A1MP6
3 A9A1MP28 24 A9A1MP7, 8
4 A9AlMP22 25 A9AlMP41
5 A9A1MP21 26 A9A1MP40
6 A9A1MP23 27 A9A1MP39
7 A9A1MP24 28 A9AlMP38
8 A9A1A1 29 A9A1MP37
9 A9 A1 A2 30 A9A1MP36
10 A9A1R1 31 A9AlWl
11 A9A1MP25 32 A9A1MP35
12 A9A1MP28 33 Not Assigned
13 A9A1MP12 34 A9AIMP34
14 A9AlMP13 35 A9AlMP26
15 Not Assigned 36 A9AlMP33
16 A9AlMP10,11 37 A9AlMP17
17 A9AlMP9 38 A9AlMP32
18 A9AlMP27
19 A9AlMP18-20
20 A9A1MP14-16
21 A9A1MP1, 2
A9 Assembly Removal Procedure
1. Set PEAK DEVIATION, and RANGE switches four positions ccw from full cw.
2. Place instrument upside down and remove bottom cover (see Service Sheet F).
3. Disconnect gray coaxial cable A9AlW1 from A7 FM Shaper Assembly.
4. Disconnect A9A2 Interconnect Assembly from switch.
5. Loosen two setscrews on coupler at the RANGE switch shaft. Do not disturb coupler at the A10 Divider/Filter
Assembly shaft.
6. Remove PEAK DEVIATION, RANGE and FM vernier knobs. The knobs are secured to their shafts with allen
setscrews.
7. Remove two nuts and lockwashers that secure the switch assembly to front panel.
8. Lift assembly from instrument.
9. Remove coupler from RANGE switch shaft only.
10. Disconnect 30-pin edge connector A9A2P1 from the mother board.
Continued........
7-71
Artisan Technology Group - Quality Instrumentation ... Guaranteed | (888) 88-SOURCE | www.artisantg.com