Programming the IPSI circuit packs
Issue 4.1 June 2005 61
Administering the location assignment
1. Fully insert the TN2312BP IPSI circuit pack. If necessary, reseat the circuit pack to begin
the programming sequence.
Note:
Note: You must start the following steps within 5 seconds after inserting the circuit pack.
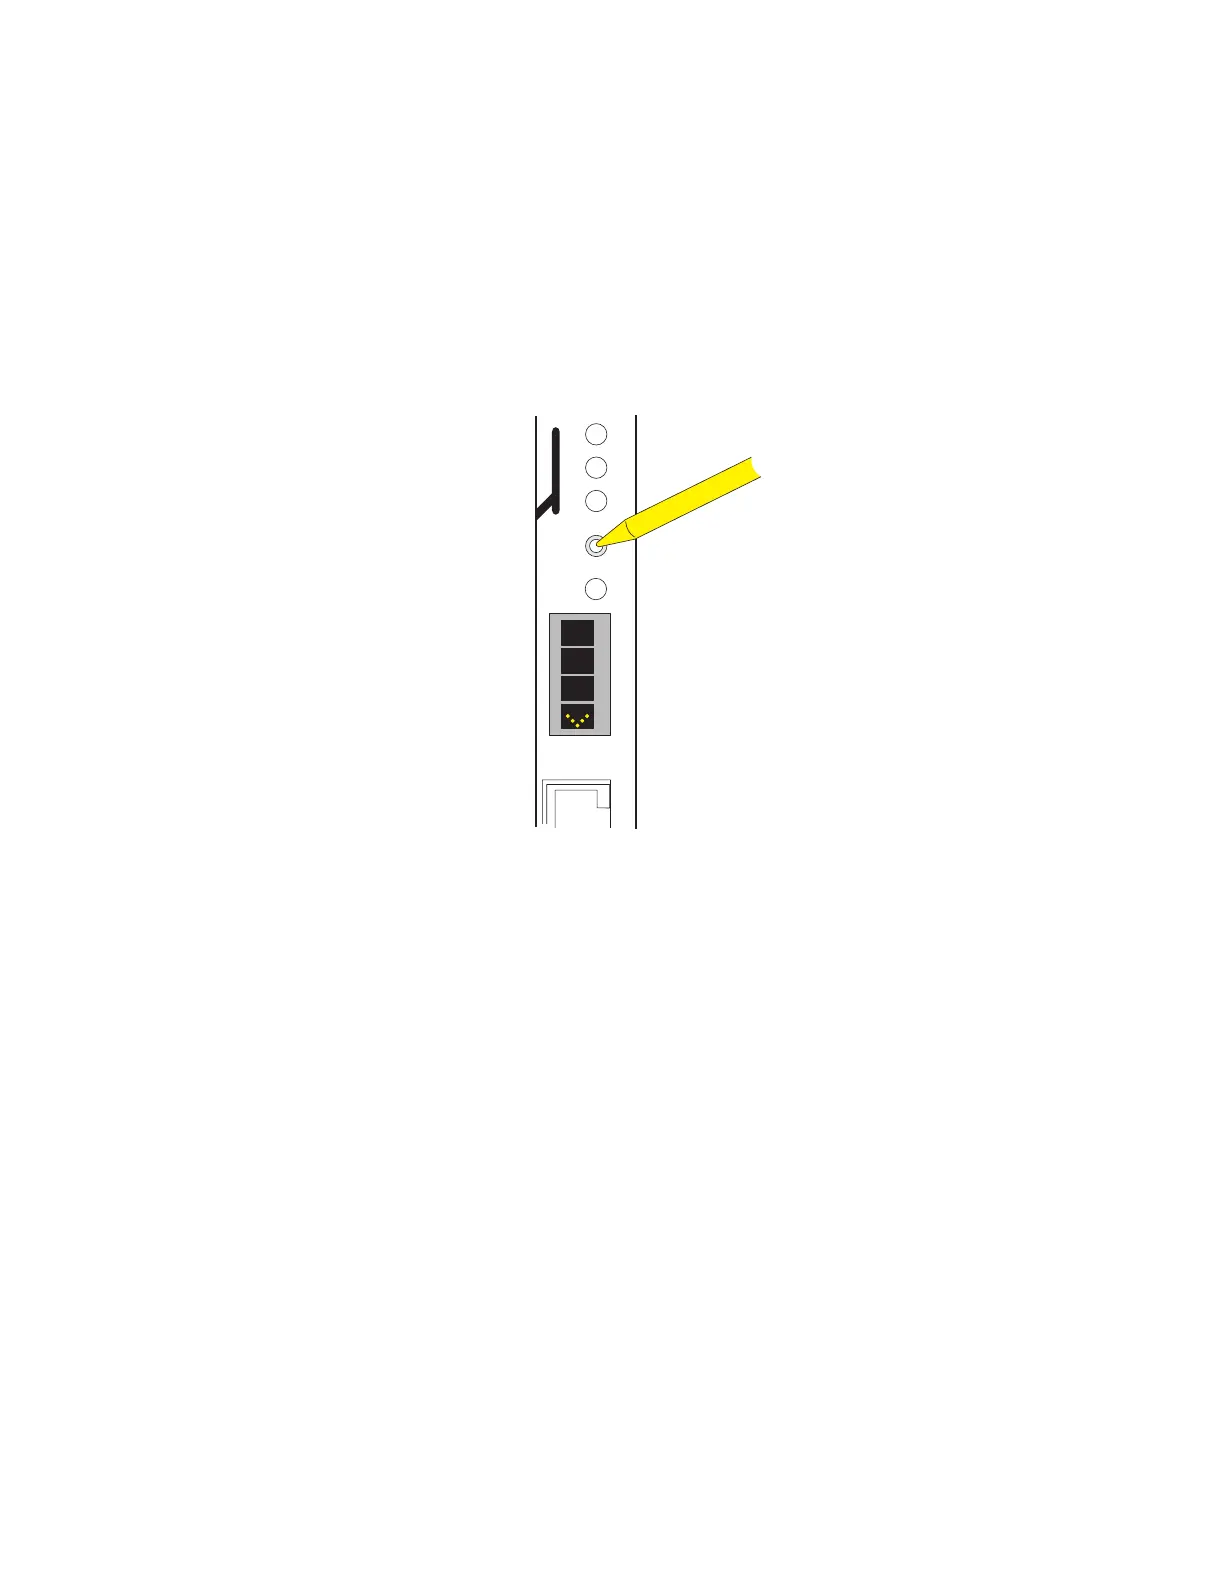
2. Insert a pen, golf tee, or similar object (no graphite pencil) into the recessed push button
switch.
Note:
Note: If you pass up the letter or number that you want, you must either cycle through
all the letters or numbers to get to the one you want or reinsert (reseat) the circuit
pack and begin again.
Setting the switch ID
If you have only one system, the default switch ID is A. The second system would be B and so
on. The switch ID is not the media gateway or carrier letter.
1. While the display is flashing, press the button until the switch ID (A through J) shows on the
top character of the LED display. When the correct letter shows, stop. It will flash a few
times (5 seconds) then stop. The next character down begins to flash.
CLK
S
E
R
V
fpdlled3 LJK 022502

 Loading...