User’s Manual—SNAP™ 700 Printer 63
Classification: Avery Dennison - Public
Figure 16. Print Head Components
6. Put on your anti-static gloves be for beginning to remove the head from the
printer.
7. To remove the head lift slightly on the outer end of the head to lift it off the
locating pins. Pull the head towards the stacker end of the printer. It will slip
out from under the flat retaining springs located at both ends of the head.
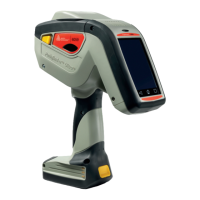
8. Unplug the two cables that connect to the print head by grasping the print
head cable, rocking it gently (see Fig. 17a). Remove the print head
assembly from the print station (see Fig. 17b).
Figure 17a. Unplugging Print Head
Cable
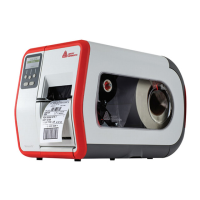
Figure 17b. Print Head released from
springs
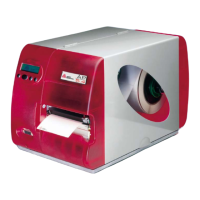
Figure 17c. Print Head Assembly –
Removed
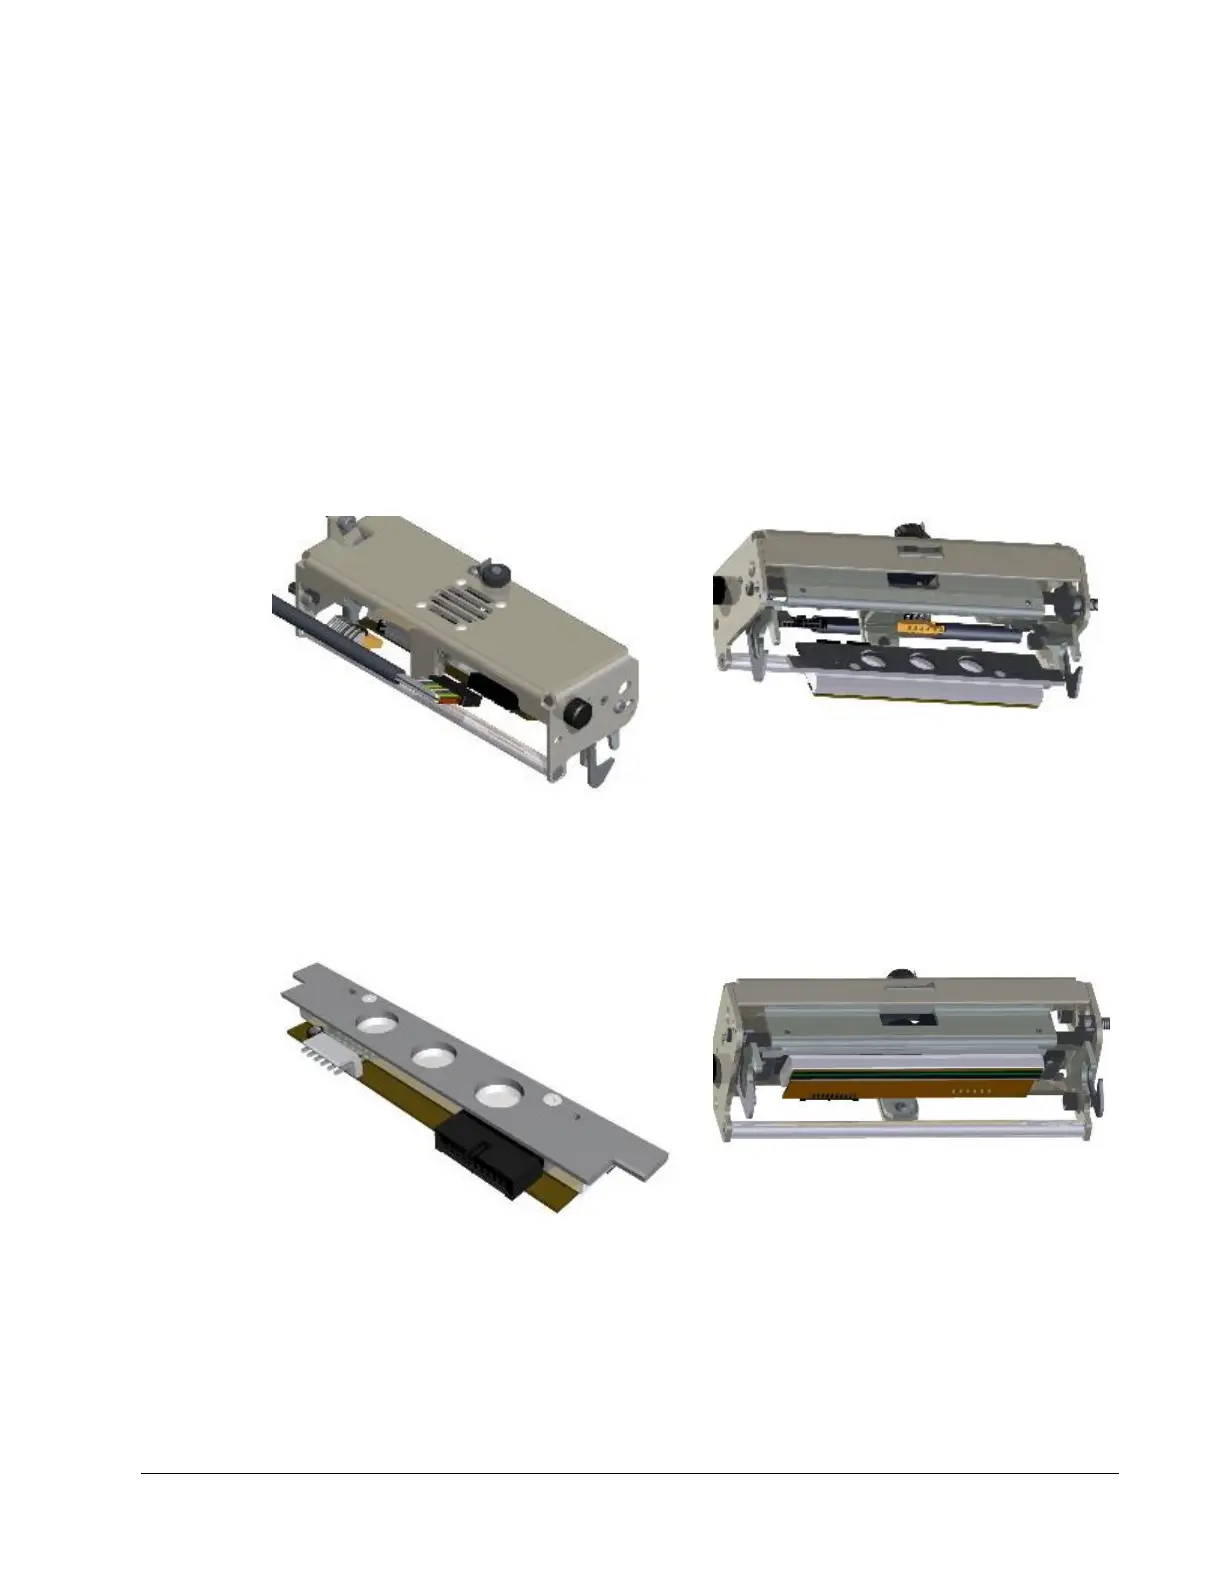
Figure 17d. Inserting Print Head
Assembly
9. Place the new print head assembly onto the print station (see Fig. 17c and