INSTALLATION
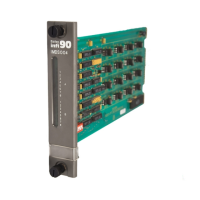
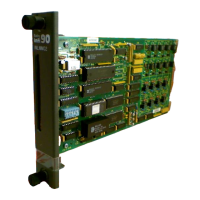
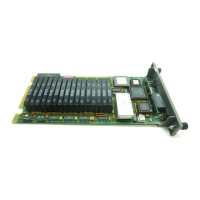
IEPMU01 AND IEPMU02 POWER MOUNTING UNIT INSTALLATION
3 - 14 I-E96-506B1
®
Required Tools
The following tools are needed to install the power mounting
unit:
•
16-inch blade screwdriver.
•
7/16-inch nut driver.
•
Pliers.
•
Volt/ohmmeter.
•
Heat gun.
Installation in the INFI 90 Cabinet
NOTE:
Install the IEPMU01 unit from the rear of the cabinet, the
IEPMU02 unit from the front.
1. Mount the power mounting unit directly beneath the fan
assembly.
2. Secure both sides of the power mounting unit to the cabi-
net mounting rails.
3. Proceed to Wiring Instructions.
Wiring Instructions
NOTE:
Do all wiring at the rear of the cabinet. Wires are
color-coded.
Steps 1 through 23 and Figures C-2 and C-4 apply to INFI 90
cabinets only. Refer to Appendix D for instructions on retrofit-
ting the power mounting unit in Network 90 cabinets.
1. Attach the AC input wire harness (part number
6637814_2) to TB2 on the power entry panel (PEP). Attach the
other end of the wire harness to the terminal block on the right
side of the power mounting unit. Wire and terminal assign-
ments on the PMU terminals are:
Green/Yellow - to ground tab (top)
Blue - to L2 Neutral (middle)
Brown - to L1 Hot (bottom)
2. On the left side of the PMU card cage starting at the third
conductive strip (from the top), attach one end of the first
heavy 0 AWG wire assembly (part number 6632285_45).
NOTE:
For Steps 2 and 5, before installing the 0 AWG (part number
6632285_45) braided wire, shape it into a
[
form to avoid overstress-
ing the PMU bus bar terminals.
3. Attach the other end to the system MCOM tab at the top of
the system power bus bar.
Artisan Technology Group - Quality Instrumentation ... Guaranteed | (888) 88-SOURCE | www.artisantg.com