REPAIR/REPLACEMENT PROCEDURES
POWER MODULE
7 - 4 I-E96-506B1
®
2. Remove and save the 4 screws on the front of the assembly
that attach it to the cabinet frame.
3. Carefully slide the assembly out of its mounting position.
Be careful not to disturb other cabinet wiring.
4. Verify that the replacement assembly has the same AC
power requirements as the one just removed.
5. Slide the replacement assembly into the same spot vacated
by the faulty fan assembly.
6. Secure the fan assembly into its mounting position with
the 4 screws removed in Step 2.
7. Plug the power cord into the connector labeled J1 on the
power entry panel.
8. Listen for fan rotation to verify that the replacement assem-
bly is operating.
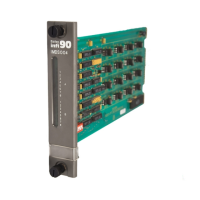
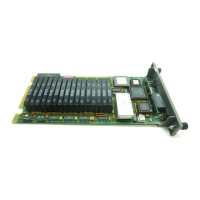
POWER MODULE
Before replacing IEPAS01 or IEPAF01 power module with
IEPAS02 or IEPAF02 power module read the information in
Appendix E. Power modules can be removed under power.
Always insert a replacement power module before removing a
power module.
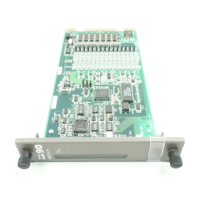
Power Module Replacement
1. Set the jumper settings on the replacement power module.
2. Grasp the replacement module by its faceplate handle.
3. Align the top and bottom edges of the circuit board with the
guides of its slot in the power mounting unit or module mount-
ing unit.
4. Hold the module by the faceplate handle and slide it into
the slot; push until the rear edges are firmly seated in the
backplane connectors.
5. Firmly press the module handle while using a flat blade
screwdriver to push and turn the 2 concentric screws 1/2-turn
clockwise to lock the module in place.
Artisan Technology Group - Quality Instrumentation ... Guaranteed | (888) 88-SOURCE | www.artisantg.com