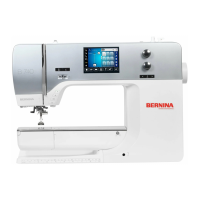
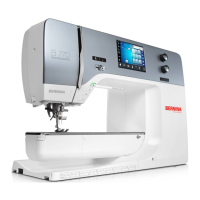
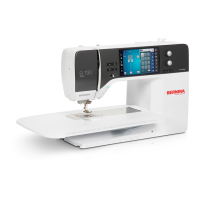
Creative embroidering
147
> Tap «Group».
– All embroidery motifs are added to the embroidery motif group.
> Select the embroidery motif group.
> Tap «Ungroup».
– The grouping is canceled.
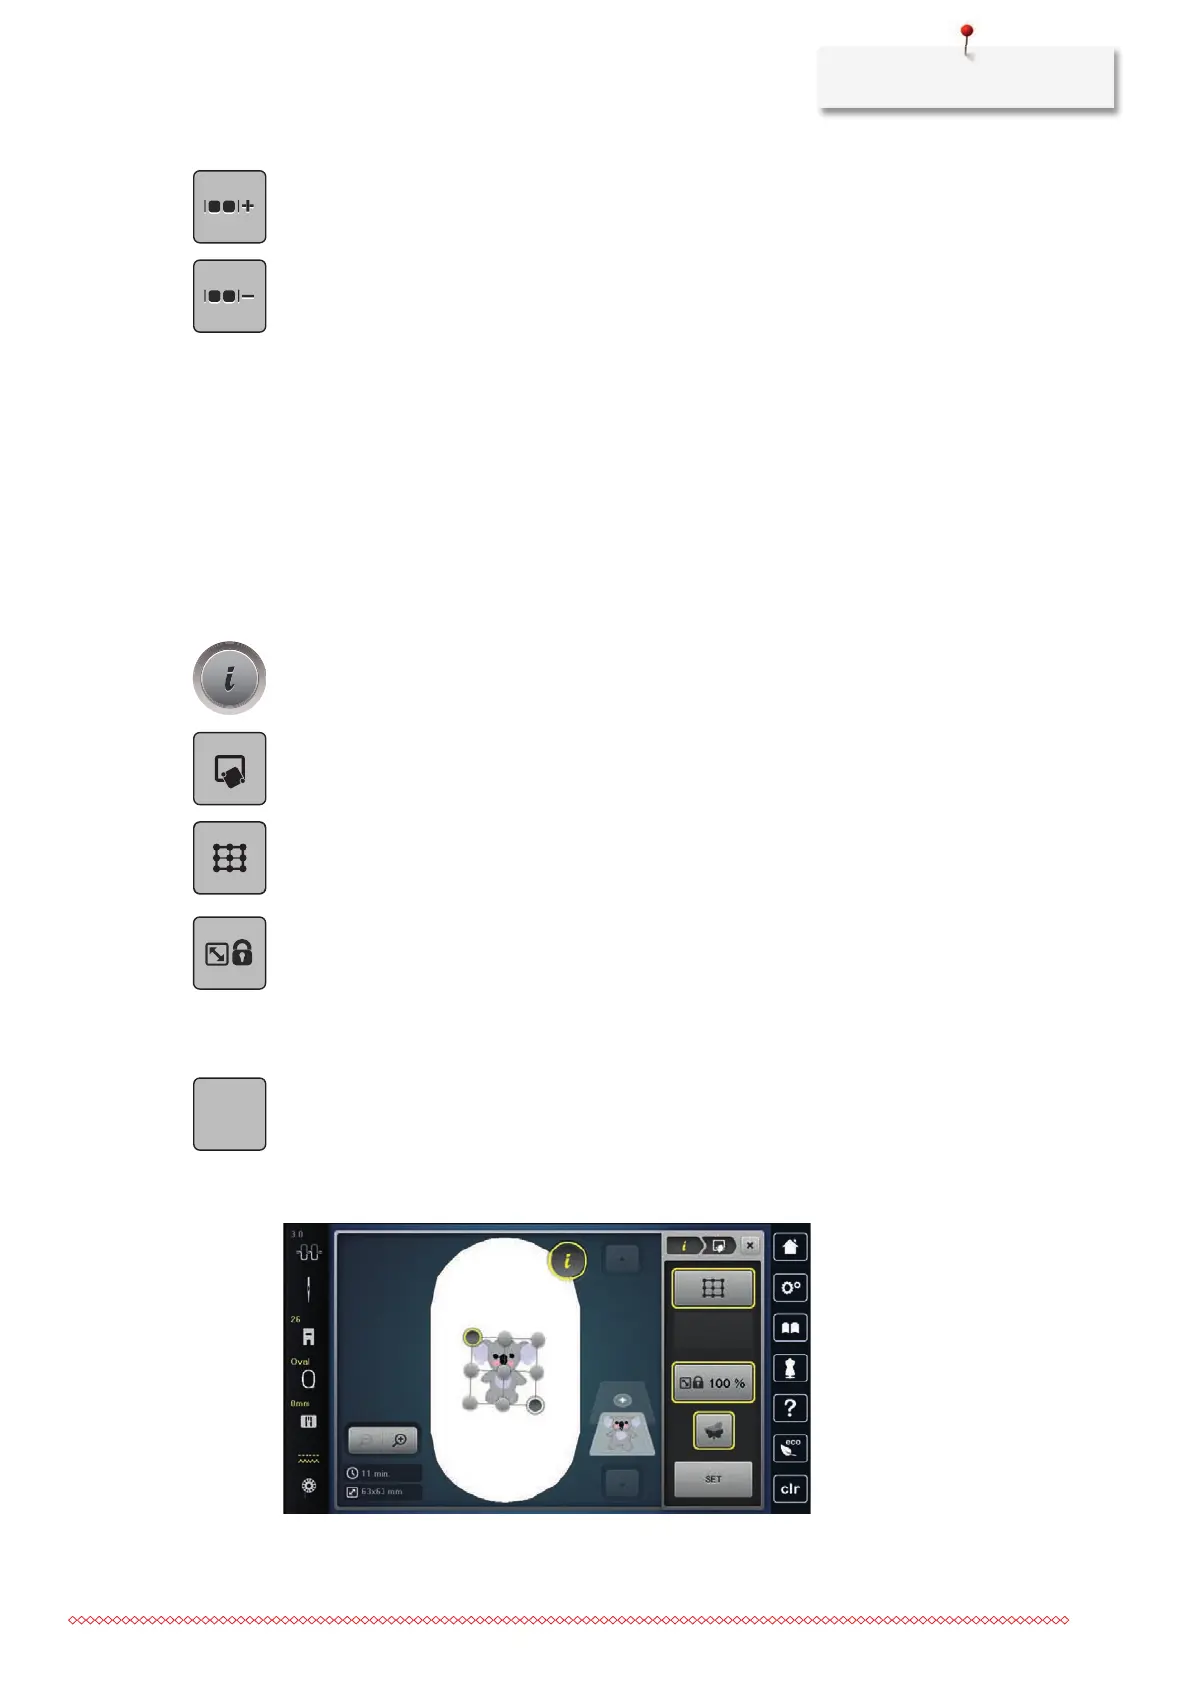
15.6 Pinpoint placement
Positioning of grid points
This function allows the exact positioning of the embroidery motif on the fabric in an easy way. The
positioning points can be placed in the grid.
Prerequisite:
• Any two points of the embroidery motif are marked with chalk or a water-soluble pen on the fabric. The
place or the location where the embroidery motif is to be positioned is clearly visible.
> Select an embroidery motif.
> Tap «i-Dialog».
> Tap «Pinpoint Placement».
> Tap «Grid Point Positioning».
– The embroidery motif is given a grid with nine different location/positioning points.
> To prevent the size of the embroidery motif from being changed when positioning the points, tap «Scale
the Size of Embroidery Motif».
> Select the desired positioning point to which the embroidery motif is to be adjusted.
– The point changes color.
> Turn the «Upper Multifunctional knob» or the «Lower Multifunctional knob» to the left or to the right to
position the needle above the respective mark on the fabric.
> To confirm the changed position, tap «Save Position».
– The point changes color and is set.
> Select the second positioning point of the embroidery motif.
> Turn the «Upper Multifunctional knob» or the «Lower Multifunctional knob» to the left or to the right to
position the needle above the respective mark on the fabric.