10. Click Finish and then click Close twice to exit the Printer Ports and Wraptor Properties dialog
boxes.
11. On the Wraptor Control Panel:
¾ Select the CONFIG tab and select TCP as the Connection Type
¾ If you entered a fixed IP address in the printer driver (step 8):
Select the IP tab
Select the Specify IP Address option
Select the Enter IP Number… button
Enter the same IP address you entered earlier
Select the OK button
¾ If you entered a printer name in the printer driver (step 8):
Select the Obtain DHCP Address option
Type the same printer name you entered earlier in the Name: field of the IP tab
Press the Enter DNS Number… button
Enter the DNS Server or WINS Server
Select the OK button
The Wraptor is ready to print and wrap via the Ethernet/TCPIP connection.
4.1.3 Power Up the Wraptor
Step 1. Connect Unit to Power
1. Obtain a suitable alternate power cord if outside of North America. See
Power Cord
Specifications
on page 2 for appropriate substitutes.
2. Connect the power cord to the back of the Wraptor and into the outlet.
CAUTION: Make sure the outlet is grounded.
Step 2. Power Unit ON
If you haven’t already done so, power on the Wraptor unit. The touch screen automatically
initializes and the Wraptor Control Panel screen appears. See
The Wraptor Control Panel
on page
33 of this guide for details.
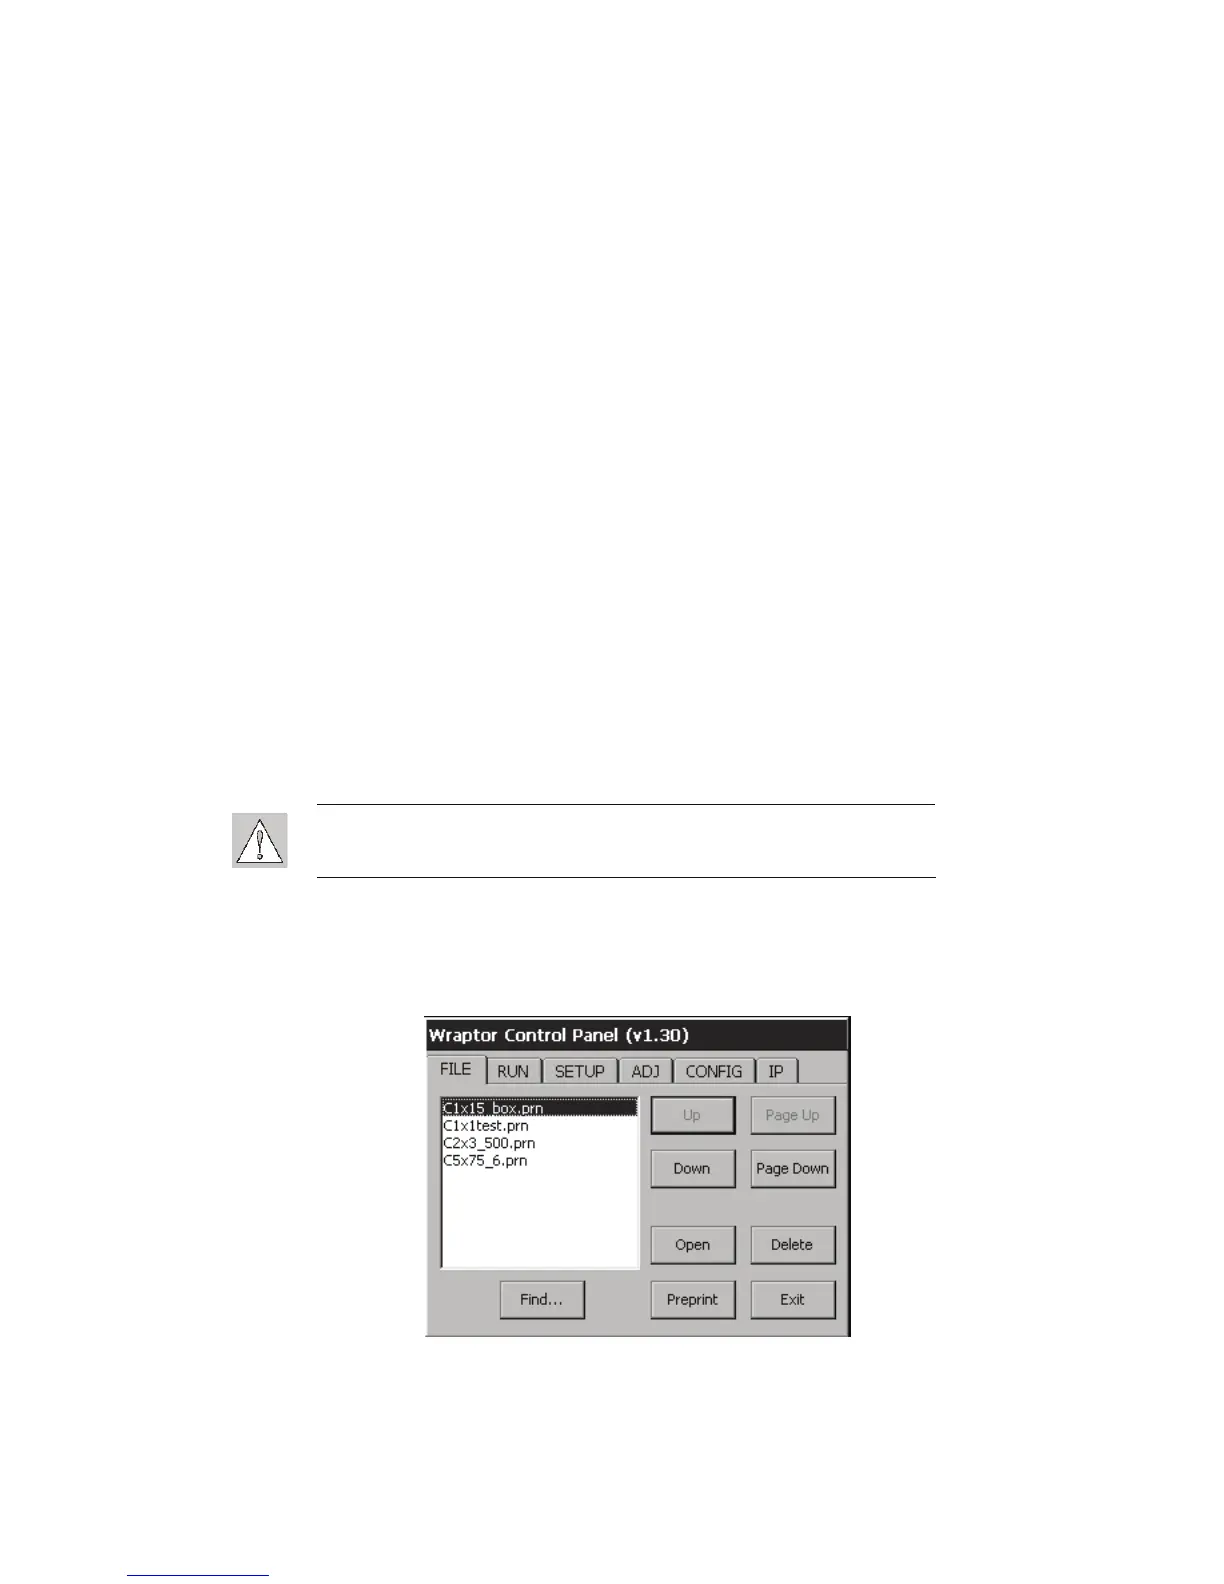
Figure 6. Wraptor Control Panel
Complete the Load Label Material and Load the Printer Ribbon steps to prepare the Wraptor for
printing/wrapping.
20 Wraptor™ User’s Guide