Safety Barrier Assembly Installation (Optional)
H148850_3_003 41
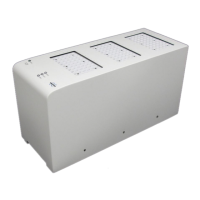
Step 10: Secure the cap by replacing the four screws removed in step 6.
Step 11: Mount the wall to the base of the autosampler, using the same procedure as
described in step 4.
Step 12: Join the wall to the top brace using 8-32x.375 PHPH, Bag B, screws, three per
bracket.
Step 13: Next, secure the wall to the mounting bracket that was installed in the step
Preparing the Sample Changer [}35], using the four 8-32x.75 PHPH, Bag D, screws.
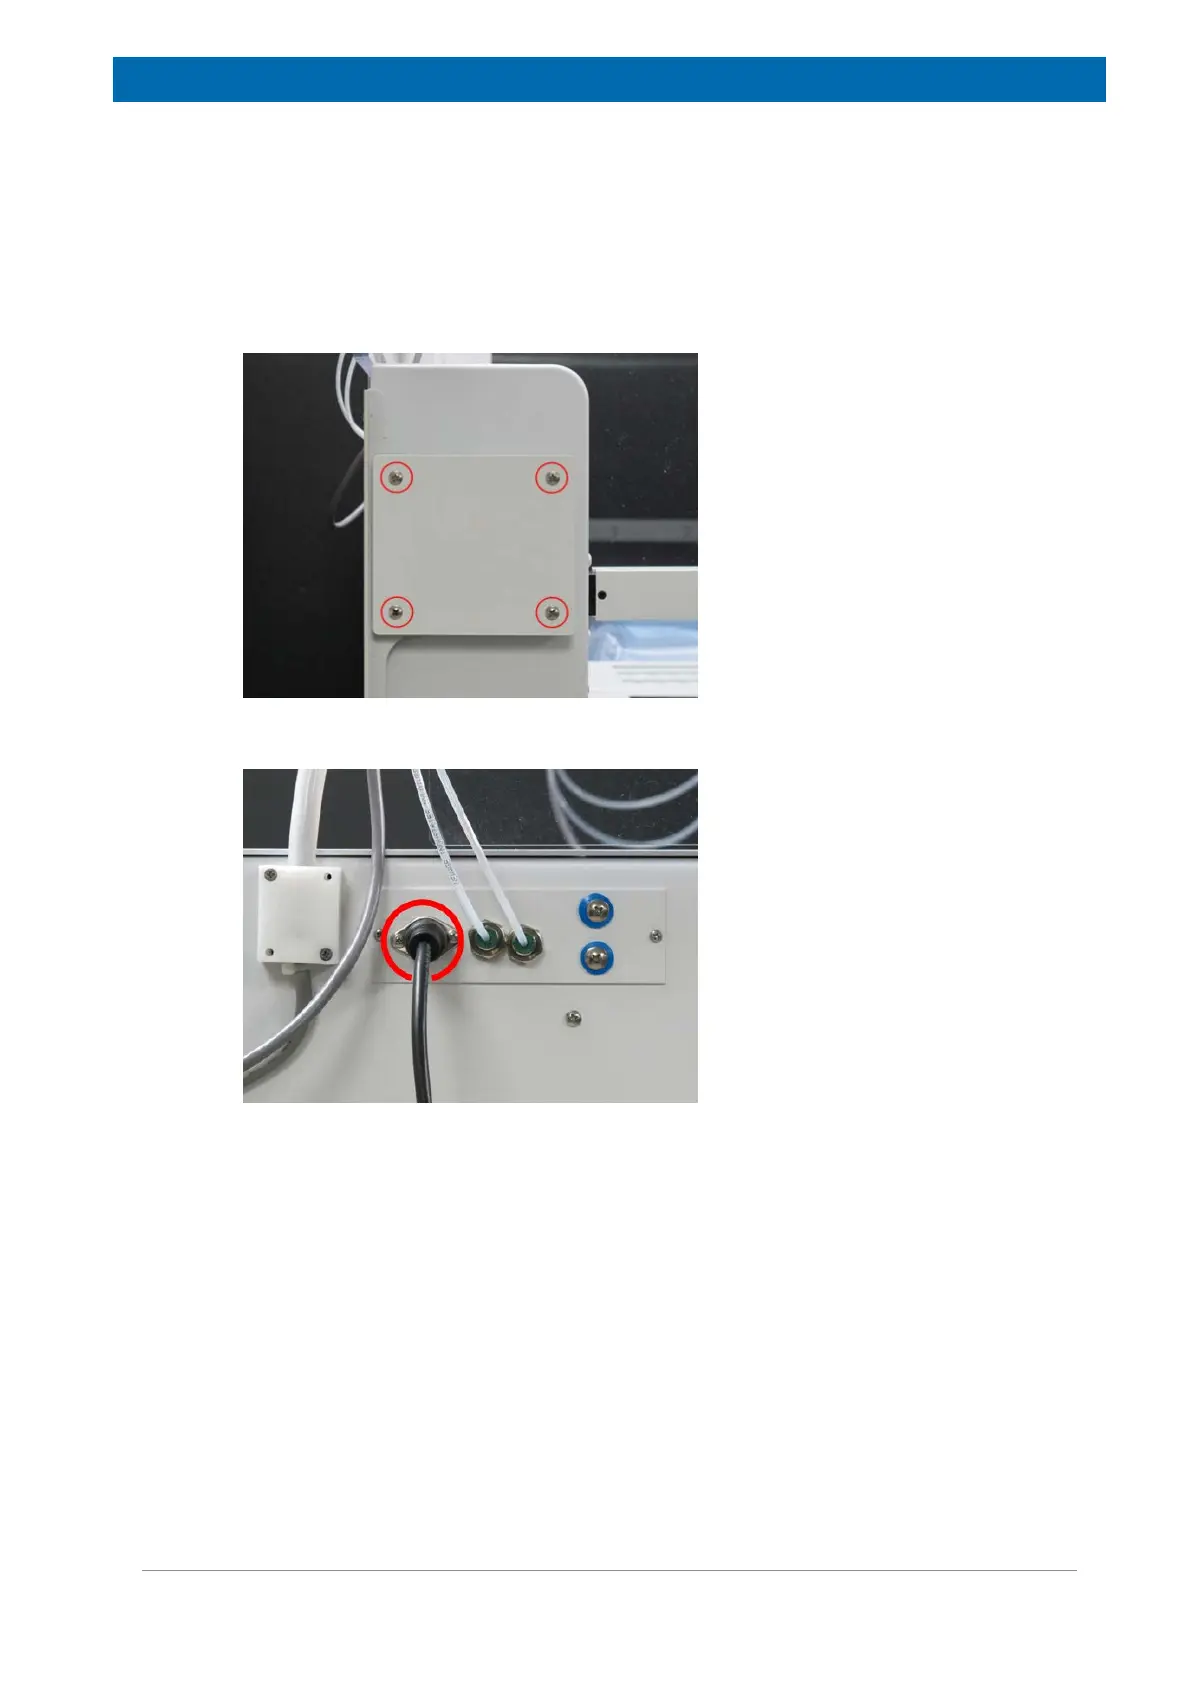
Step 14: Plug the E-stop button into the connector on the back panel of the autosampler.