feature disabled the log file will be dependent on time as
opposed to memory size.
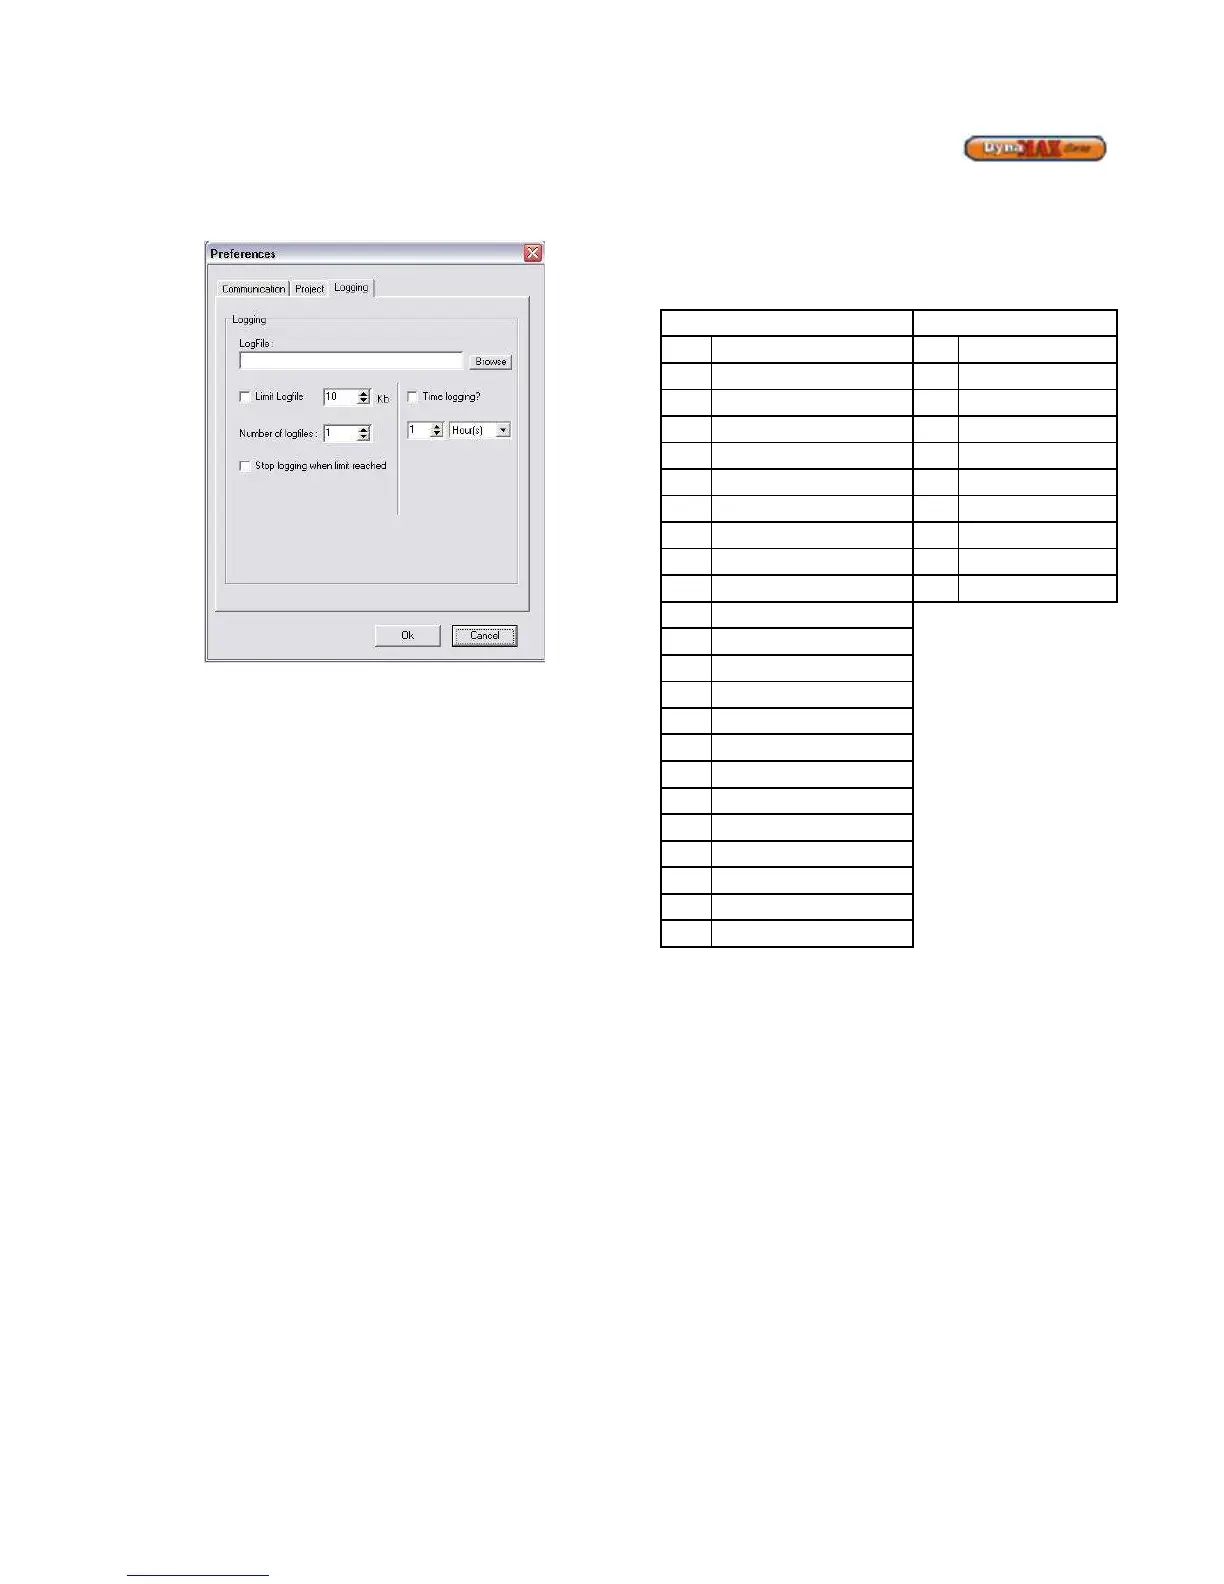
Figure 49: Unlimited Log File Size
When logging is complete click on Logging > Stop Logging.
Notice that the status bar has changed from red to blue. This
informs that Logging is complete.
To view a log file, Camus recommends using Microsoft®
Excel.
8.8.1 Procedure for Viewing Log Files in Microsoft®
Excel
1) Open Microsoft® Excel
2) Use a new spreadsheet, if Microsoft® Excel fails to
load a new spreadsheet. Click on File > New..
3) Data > Import External Data > Import Data..
4) A window appears titled ‘Select Data Source’
5) Identify the log file that was created and double-
click it
6) A new window will pop up titled ‘Text Import
Wizard’. Select Delimited. Click Next.
7) Place a checkmark beside ‘Tab’ and ‘Semi-Colon’
from the checkboxes provided. Click Next.
8) In the ‘Column data format’ section of the window,
ensure that ‘General’ is selected. Click Finish.
9) An ‘Import Data’ window will appear and check to
see that ‘Existing Worksheet’ is selected and the
text box reads: ‘=Sheet1!$A$1’ or ‘=$A$1’. This
allows the data to start to importing the data at cell
‘A1’ of the spreadsheet.
10) Click OK.
11) The log file will appear on the spreadsheet.
8.8.2 Analysis of Microsoft® Excel Log File
The log file parameters are divided into columns with a
reference to the time of data collection on each row. The
Status and State parameters are identified by numbers and
these can be translated into a description, listed below.
Table 27: Description of State and Status Parameters