Should overheating occur or the gas supply fail to shut off,
do not turn off or disconnect the electrical supply to the
pump, instead, shut off the gas supply at a location external
to the appliance
12.11 SETTING THE CORRECT COMBUSTION
Refer to Section 10.1 Setting the Correct Combustion.
12.12 CASCADE SETUP
The following components are needed for a Cascade setup
1) DynaMax Ignition Control Board (848-MN)
2) DynaMax Text Display (848-RC)
3) LabVision Software (recommended)
4) 10kΩ System Sensor
Turn off all the boilers before beginning the setup process.
To setup the DynaMax Cascade system follow the
instructions:
System Sensor
Insert the supplied 10kΩ system sensor into the return
header to the boilers. The wires coming out of the system
sensor should be connected to pin#5 and #6 of the green
DynaMax terminal board.
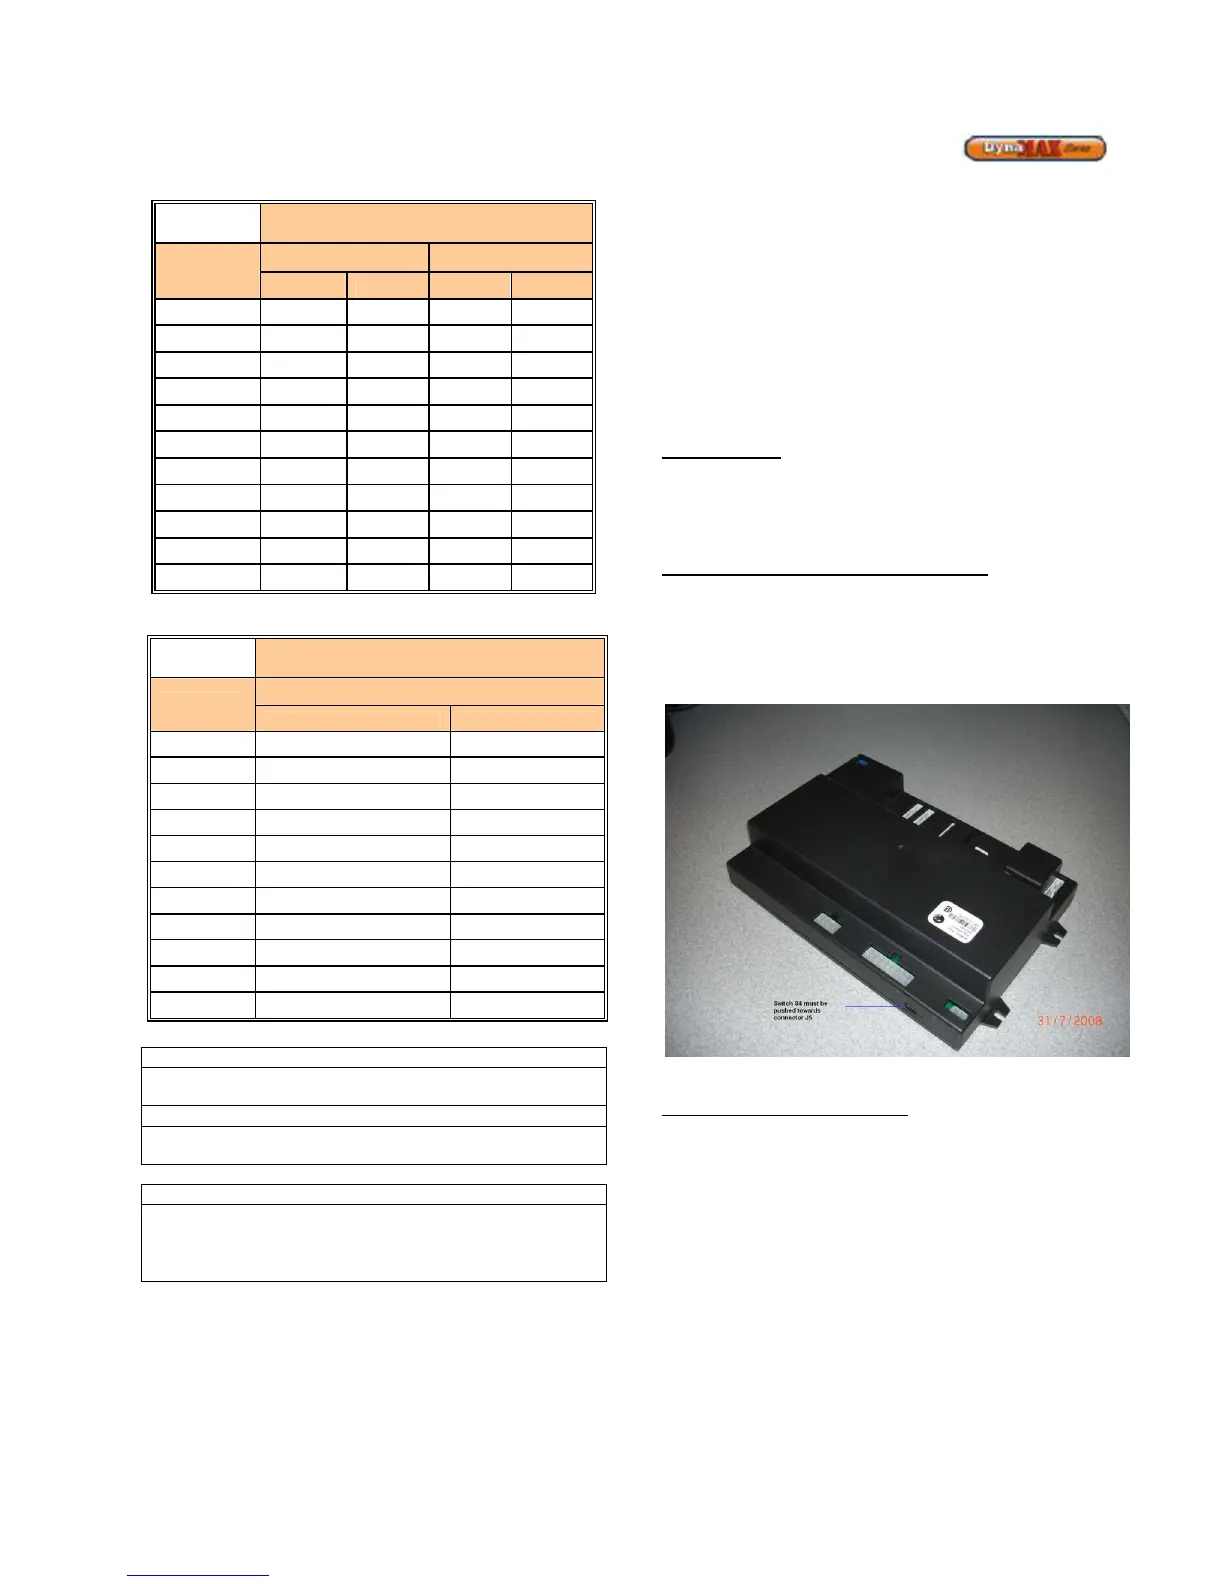
DynaMax Ignition Control Board (848-MN)
The S4 connector as shown in the figure below is to be
pushed towards connector J5 on the Master and Slave
boiler(s). This step is done by Camus unless the
configuration was altered in the field.
Figure 61: DynaMax Ignition Control Board
DynaMax Text Display (848-RC)
The display has 3 Molex Minifit Jr connections at the
backside. The single one is to be connected to the DynaMax
Ignition Control Board (848-MN). The two other Molex Minifit
Jr connectors which are located closer to the switch are
used for the Cascade setup.
Switch Setup
There is a switch located on the backside of the text display.
Only the Master Text Display is required to provide power to
the Slave boilers, therefore the switch on the backside of the
Master display should be in the ON position, and the switch
at the Slave displays should be in the OFF position. Figure
59 refers to how the switch is to be placed.