Chapter 1
1-106
[Job Management]
T-1-64
[Adjust Printer]
T-1-65
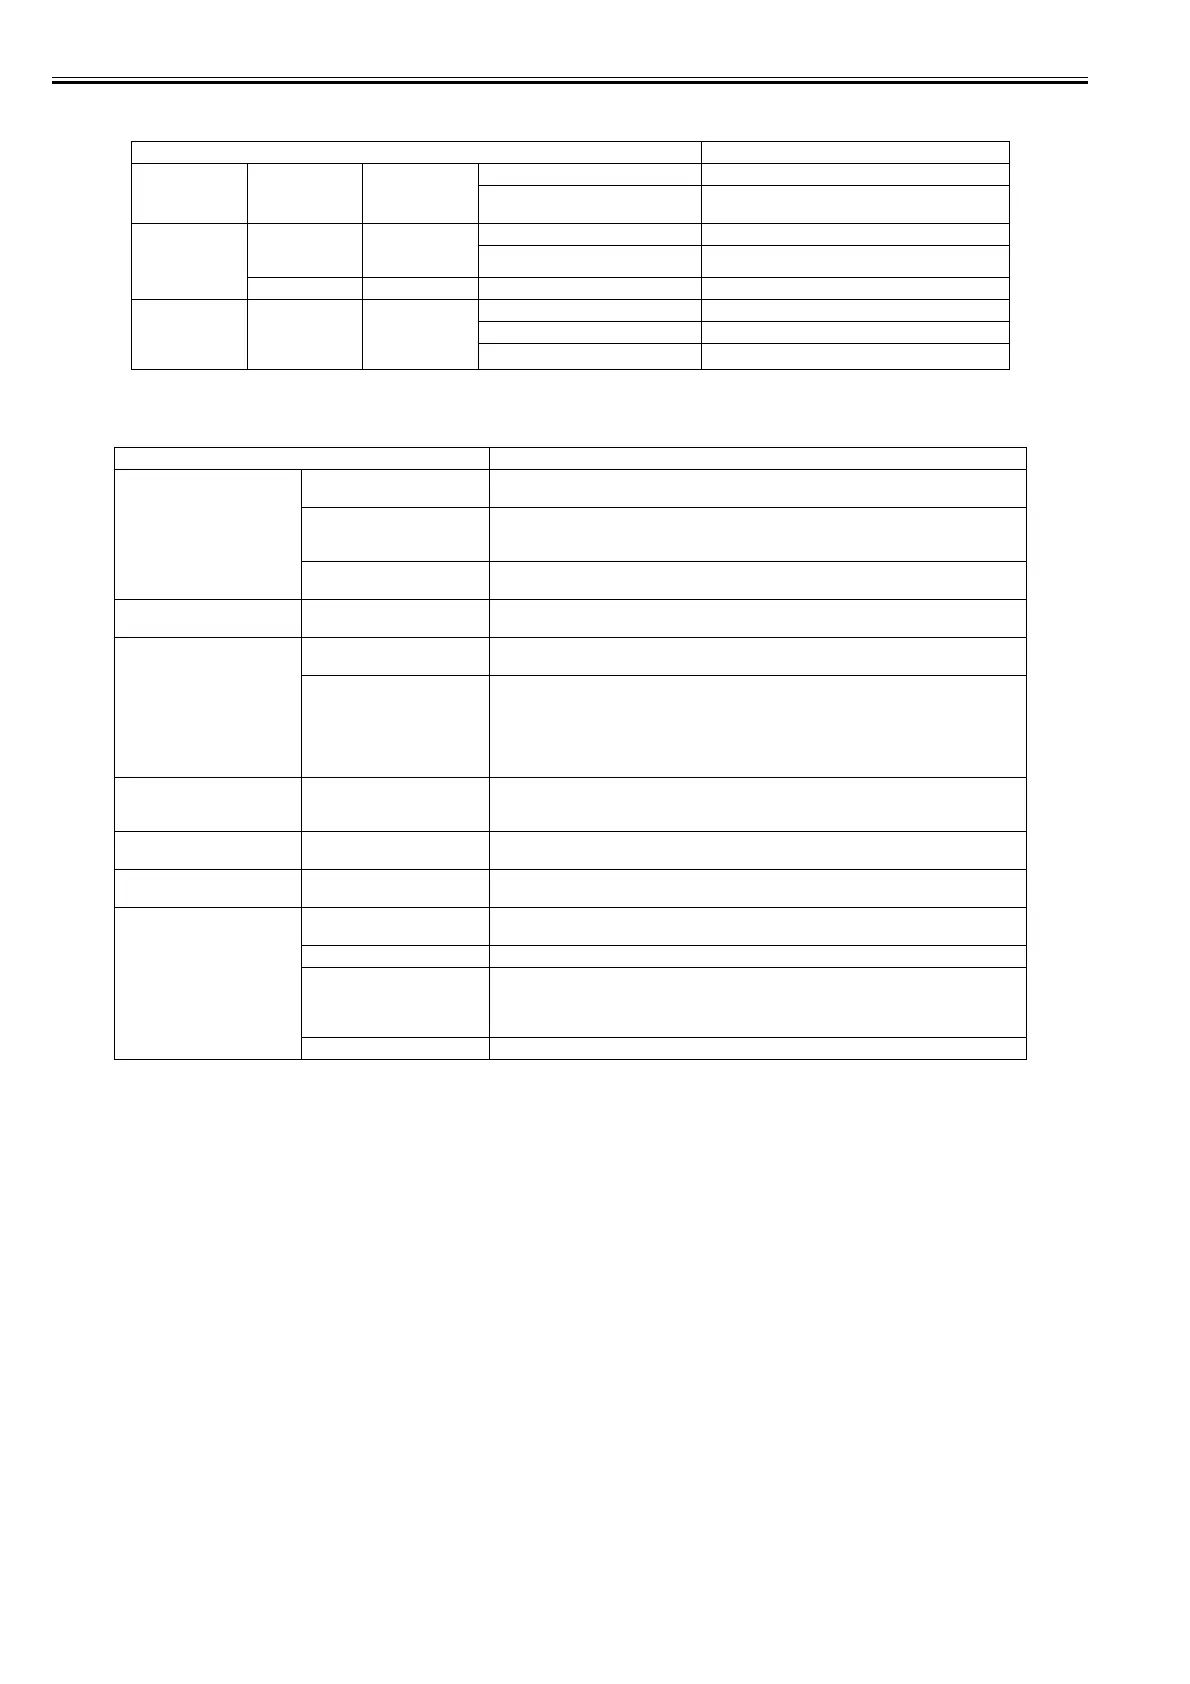
Setting Item Description/Instructions
[Job Queue Ope.] [Job List] (Choose a print
job)
[Delete] Delete the current job or queued jobs.
[Priority] Print the job first after the current print job is finished
printing.
[Com. BOX Ope.] [Job List] (Choose a print
job)
[Print] Print jobs in the Common Box.
[Delete] Delete jobs in the Common Box.
[Print Job List] Print a list of jobs in the Common Box.
[Psnl. BOX Ope.] [Folder List] (Enter a password
if one has been
set.)
[Job List]-[Print] Print jobs in Personal Boxes.
[Job List]-[Delete] Delete jobs in Personal Boxes.
[Print Job List] Print a list of jobs in Personal Boxes.
Setting Item Description/Instructions
[Auto Head Adj.] [Standard Adj.] Choose Yes to have the printer print and read a test pattern for the automatic adjustment of
Printhead alignment relative to the printing direction.
[Advanced Adj.] Choose Yes to have the printer print and read a test pattern for the automatic adjustment of
Printhead alignment relative to the nozzle, ink tank, and printing direction.
Three sheets are required when printing on sheets.
[Auto Print] Choose On to have the printer automatically execute the Advanced Adj. operations after you
replace the Printhead .
[Manual Head Adj] Choose Yes to print a test pattern for adjustment of Printhead alignment relative to the printing
direction. Enter the adjustment value manually based on the resulting pattern.
[Auto Band Adj.] [Standard Adj.] Choose Yes to have the printer print and read a test pattern for band adjustment, based on which
the printer automatically adjusts the feed amount.
[Advanced Adj.] Choose this option when using paper other than genuine Canon paper, or paper for purposes
other than checking output.
Choose Yes to have the printer print and read a test pattern for band adjustment, based on which
the printer automatically adjusts the feed amount. Note that this function takes more time and
requires more ink than Standard Adj.
Two sheets are required when printing on sheets.
[Manual Band Adj] Choose Yes to print a test pattern for adjusting the feed amount based on the paper type.
Two sheets are required when printing on sheets.
[Adj Far Ed Feed] [Choose Yes to print a test pattern for adjusting the feed amount of the trailing edge of paper
based on the paper type.
[Adjust Length] Choose Yes to print a test pattern for adjustment relative to paper stretching or shrinkage, after
which you can enter the amount of adjustment.
[Calibration] [Auto Adjust] Select [Yes] to print a color calibration adjustment pattern and adjust the correction value
automatically. This color calibration adjustment value is extended to all print tasks.
[Execution Log] The date of color calibration and the paper type are displayed for visual verification.
[Use Effect Value] Select [Disable] and press the [OK] button not to apply the color calibration correction value to
printing. The printer driver setting governs.
Select [Enable] and press the [OK] button to apply the color calibration correction value to
printing. It is overridden by the printer driver setting, though.
[Return Defaults] The color calibration correction value and the execution history are cleared.