GE Voluson E10 Training Manual
© 2017 Conquest Imaging
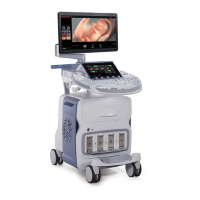
RTB - Distribution Board Bottom
The following are the functions of the Distribution Board Bottom
(RTB):
USB2.0 Interface, Board is connected to PC via a USB cable.
5 port USB2.0 Hub for connecting peripherals (e.g., optional ECG)
Feed through DC-Power and Signals for the console (12V_ATX,
5V_ATX, 5VSB, PWR_On, Start_Key, Loud speaker)
Multiplexer and Amplifier for PC-Sound, Doppler Audio and
VCR/DVD-Recorder)
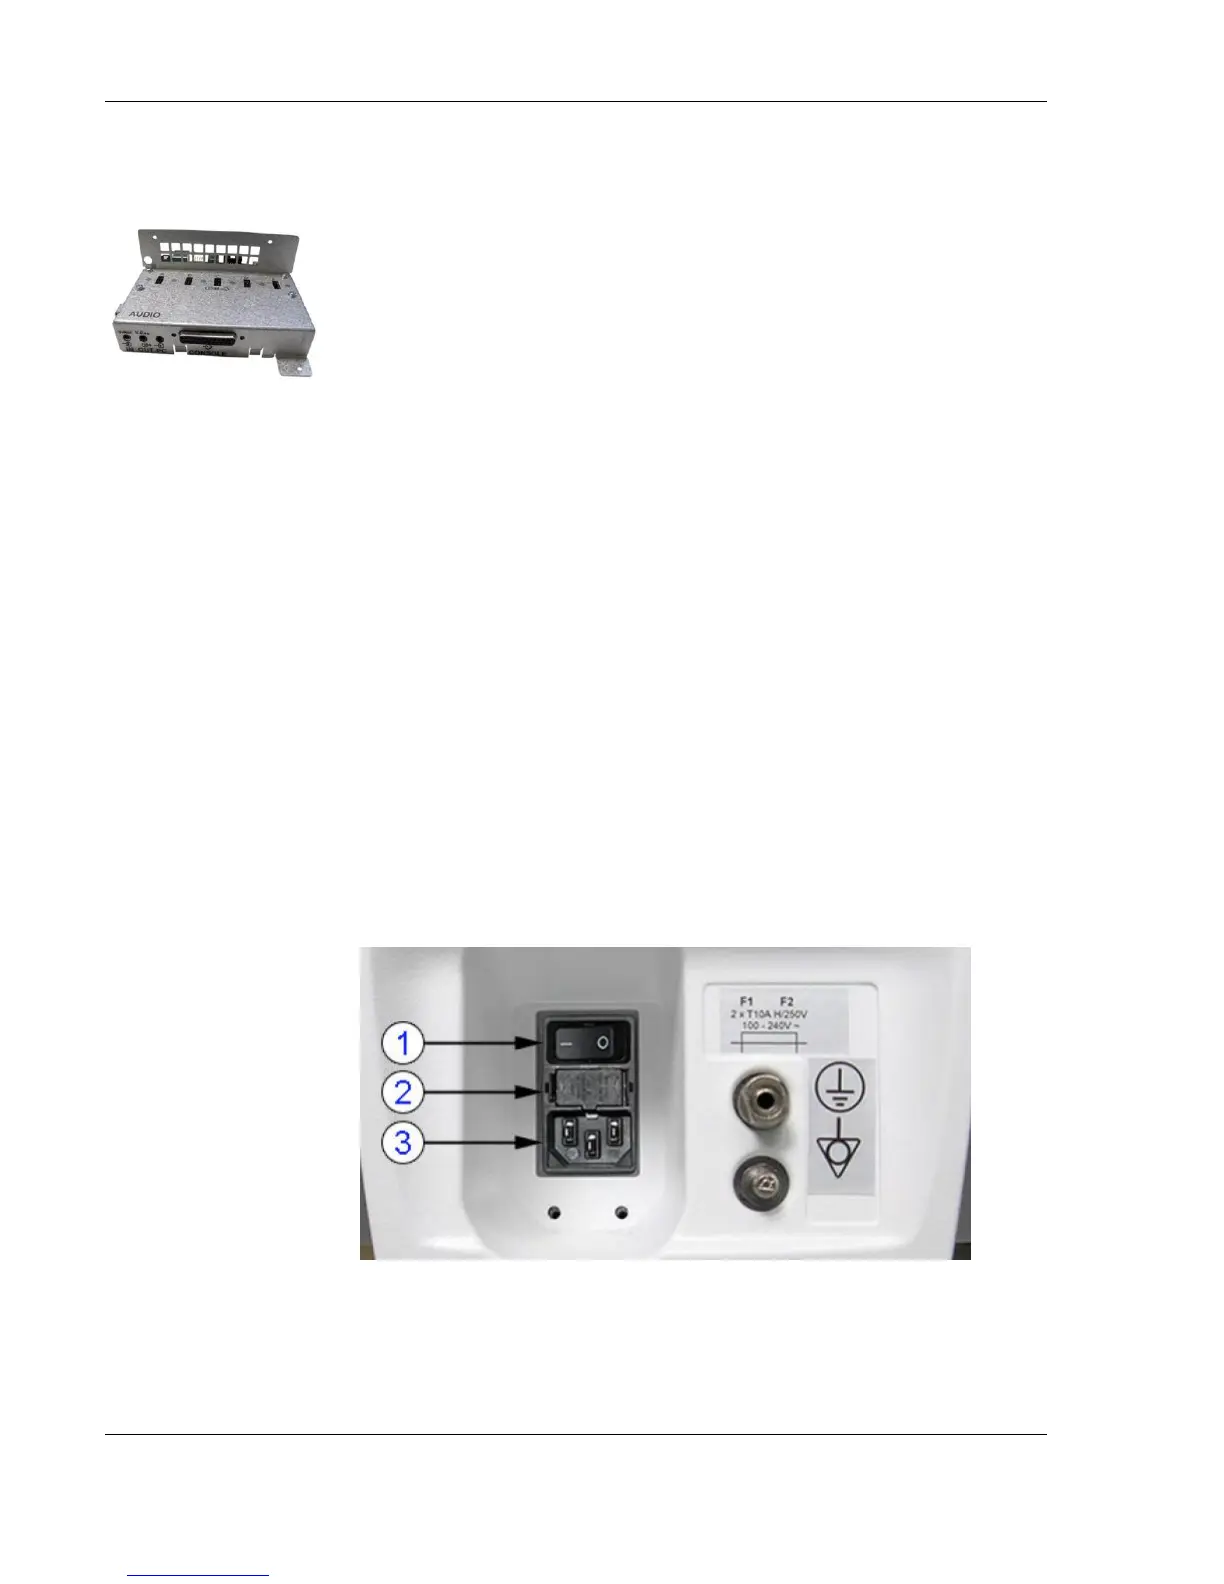
Normal Power ON / Shut Down Sequence
Power On / Boot Up:
1. Connect the main power cable to the back of the system.
2. If not already done, screw on the pull-out protection of the mains
power cable with the two screws.
3. Connect the main power cable to a hospital grade power outlet
with the proper rated voltage. Never use an adapter that would
defeat the safety ground.
4. Switch ON the circuit breaker at the rear of the system.
When AC power is applied to the system, the ON/OFF standby button
on the control console is amber, indicating that the system is in
standby mode.
Note After turning off a
system, wait at least 10
seconds before turning it
on again. The system may
not be able to boot if
power is recycled too
quickly.
1. Circuit Breaker
2. Fuses
3. Outlet Plug