Web Operations 149
5.2.1.4.2 Introducing PTZ Settings
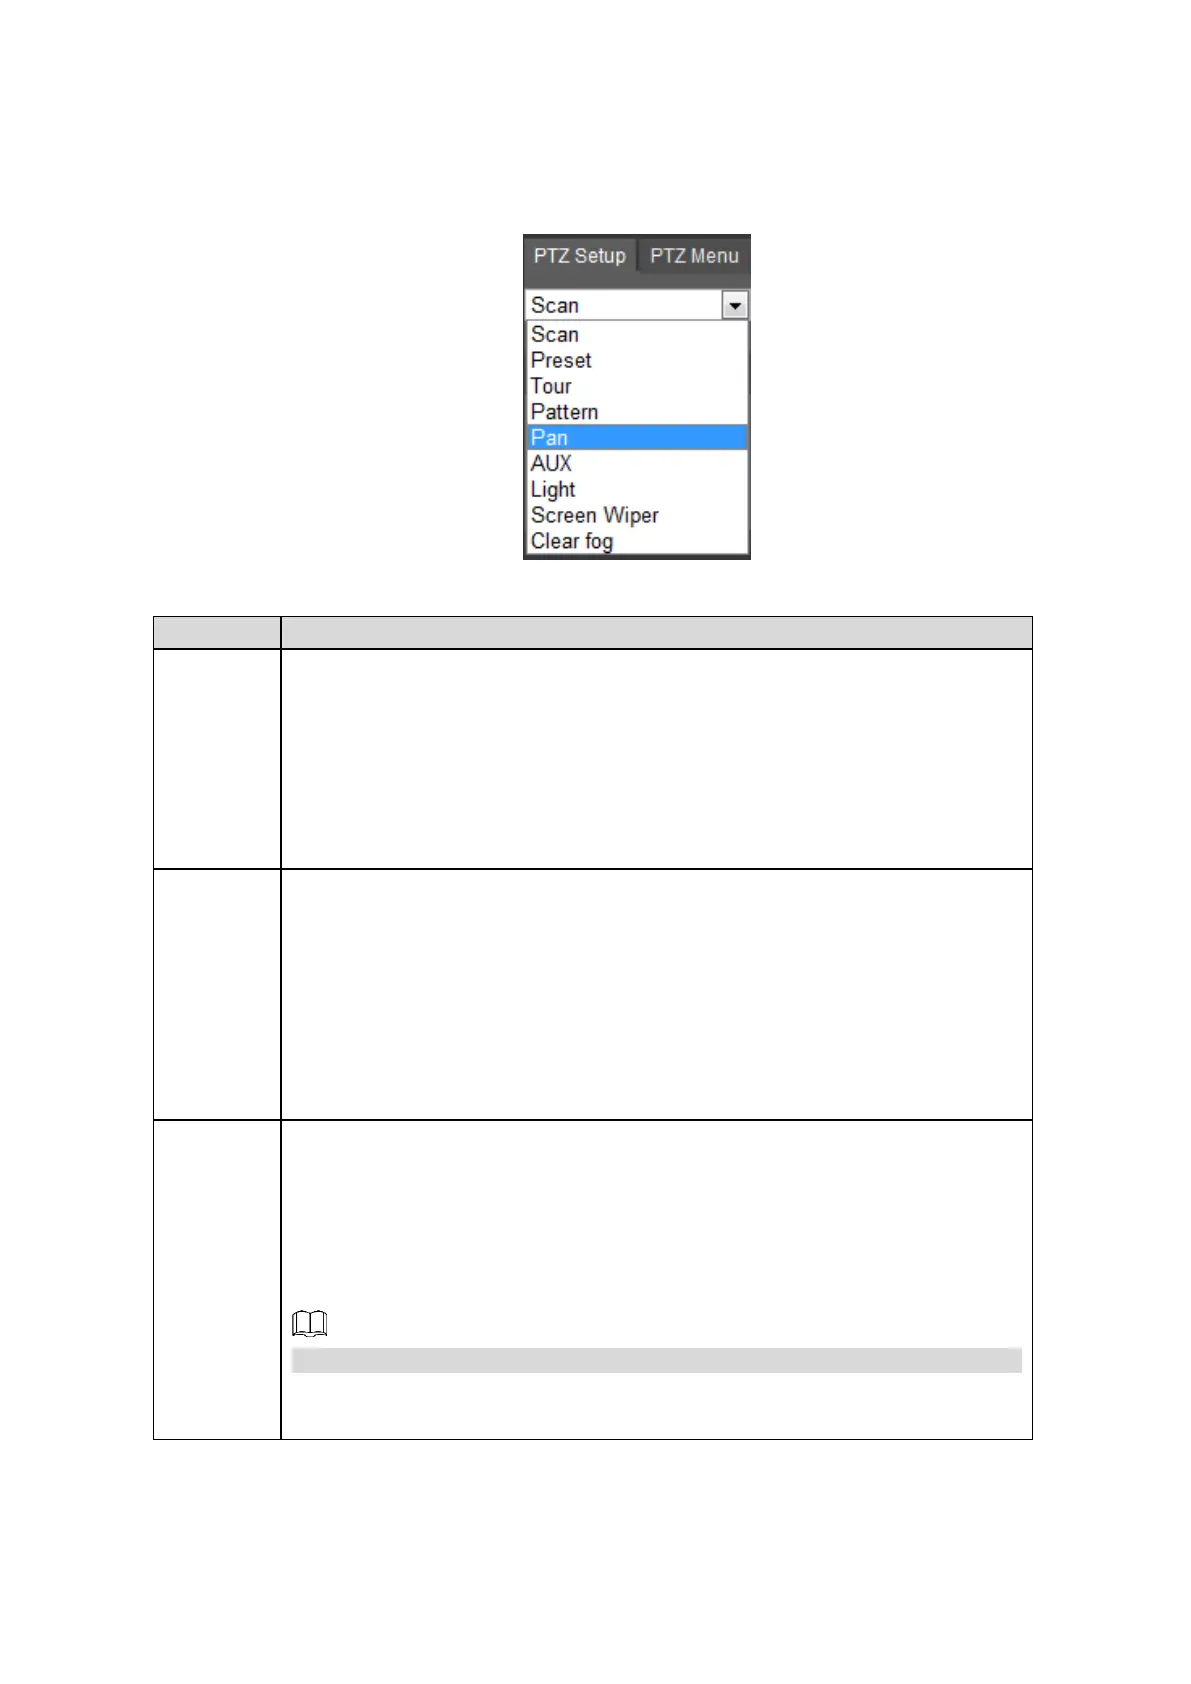
You can configure scan, preset, tour, pattern, and auxiliary functions. For details, see Figure
5-30 and Table 5-10.
PTZ setting Figure 5-30
Table 5-10 PTZ functions settings parameters
The camera automatically scans the configured left border and right border
after configuration.
1. In the PTZ Setup list, select Scan, and then click Setup.
The Set Left and Set Right buttons are displayed.
2. Move the camera to the required left border, and then click Set Left; then
move the camera to the required right border, and then click Set Right.
3. Click Start to start border scanning; click Stop to stop border scanning.
You can quickly move the PTZ camera to the configured presets after
configuration.
1. In the PTZ Setup list, select Preset, and then move the camera to the
direction that you want to monitor.
2. In the Preset box, enter the preset value.
3. Click Add to complete adding preset.
4. In the Preset box, enter the preset value, and then click Goto, the camera
moves to the location of preset. Click Del to delete the preset.
The PTZ camera repeats performing tours among the configured presets after
configuration.
1. In the PTZ Setup list, select Tour, and then enter the value in the Tour
box.
2. Click Add, and then enter the preset value.
3. Click Add Preset or Del Preset to add or delete the preset in tours.
You can click Add Preset or Del Preset for multiple times to repeat operations.
4. Enter the tour value, and then click Start. The camera starts rotating
according to the configured tour. Click Del to delete the tour.
 Loading...